- Semiconductor BusinessHOME
- Products and Services of Macnica,Inc.
-
technical information

-
Events and Seminars
- Handling Manufacturer
- Support
- Inquiry
- Click here to purchase products
- Semiconductor business e-mail magazine registration
![]()
![]() Narrow down by specifying conditions
Narrow down by specifying conditions
現在2004件がヒットしています。check
Introduction
This time, Previously created development environment We will create an application that uses the GPIO of the QCA4020 to blink the LED (LED blinks). QCA4020 prepares an API called QAPI that wraps the OS layer of FreeRTOS/ThreadX. By using QAPI, you can write code without being aware of OS differences. For creating an app, here (external site) document.
・QCA402x (CDB2x) Development Kit User Guide: How to use the reference board and SDK
・QCA402X (CDB2X) PROGRAMMER'S GUIDE: Know-how for creating applications
・QCA402X QAPI SPECIFICATION: QAPI specifications
・QCA4020 Device Specification: Device specification
・QCA4020 Design Package: Hardware design
App base creation
First, create a folder for the app under the SDK directory below.
{SDK_TOP}\target\quartz\demo
Next, create src and build/gcc folders in the created folder.
{SDK_TOP}\target\quartz\demo\Sample\src
{SDK_TOP}\target\quartz\demo\Sample\build\gcc
Since the document does not explain how to make each file, we will create an application based on Helloworld.
Copy the files under {SDK_TOP}\target\quartz\demo\Helloworld_demo\build\gcc to the gcc folder created above.
create app
1. modify build.bat
”Sources to compile” : Add the path of the created source code.
”Include directories” : Add the paths of the required header files.
”External objects and libraries” : Add the path of the required libraries.
2. Create a source code base
When creating Helloworld, you can omit the initialization of some functions by using pal.c prepared by SDK.
The entry point of the app when using pal.c is to call Initialize_Demo() first, then App_Start().
Write application-specific initialization processing in Initialize_Demo() and application processing in App_Start().
3. Thread creation
This time, App_Start() creates a Thread, loops on the Thread, and blinks the LED using PWM.
I generate a Thread (Sample_Thread) with the code below.
qurt_thread_attr_init(&Thread_Attribte); qurt_thread_attr_set_name(&Thread_Attribte, "SampleThread"); qurt_thread_attr_set_priority(&Thread_Attribte, THREAD_PRIORITY); qurt_thread_attr_set_stack_size(&Thread_Attribte, THREAD_STACK_SIZE); qurt_thread_create(&Thread_Handle, &Thread_Attribte, Sample_Thread, NULL);4. Added GPIO/PWM settings
GPIO uses GPIO12 that supports PWM. (Refer to QCA4020 Device Specification)
The following code sets various settings for GPIO12.
OUTPUT/NO PULL/default HIGH/4.0mA drive
// Configure GPIO12 gpio_cfg.func = 0; gpio_cfg.dir = QAPI_GPIO_OUTPUT_E; gpio_cfg.pull = QAPI_GPIO_NO_PULL_E; gpio_cfg.drive = QAPI_GPIO_4P0MA_E; gpio_cfg.pin = 12; // Drive GPIO with high value qapi_TLMM_Get_Gpio_ID(&gpio_cfg, &gpio_id); qapi_TLMM_Config_Gpio(gpio_id, &gpio_cfg); qapi_TLMM_Drive_Gpio(gpio_id, gpio_cfg.pin, QAPI_GPIO_HIGH_VALUE_E);Next is PWM. Since the PWM associated with GPIO12 is channel 0, set as follows.
frequency 300Hz/duty cycle 5%/phase shift 20%
// Configure PWM channel 0(GPIO12) config_set.freq = 30000; config_set.duty = 500; config_set.phase = 2000; config_set.moduleType = 0; config_set.source_CLK = QAPI_PWM_SOURCE_CLK_SLEEP_MODE_E; qapi_PWM_Channel_Open(QAPI_PWM_CHANNEL_0_E, &handle); qapi_PWM_Channel_Set(handle, &config_set); qapi_PWM_Enable(&handle, 1, 0x01);After that, change the duty value periodically in a loop to blink the LED.
while(true) { ・・・ duty値を更新 ・・・ qapi_PWM_Channel_Set(handle, &config_set); }execution
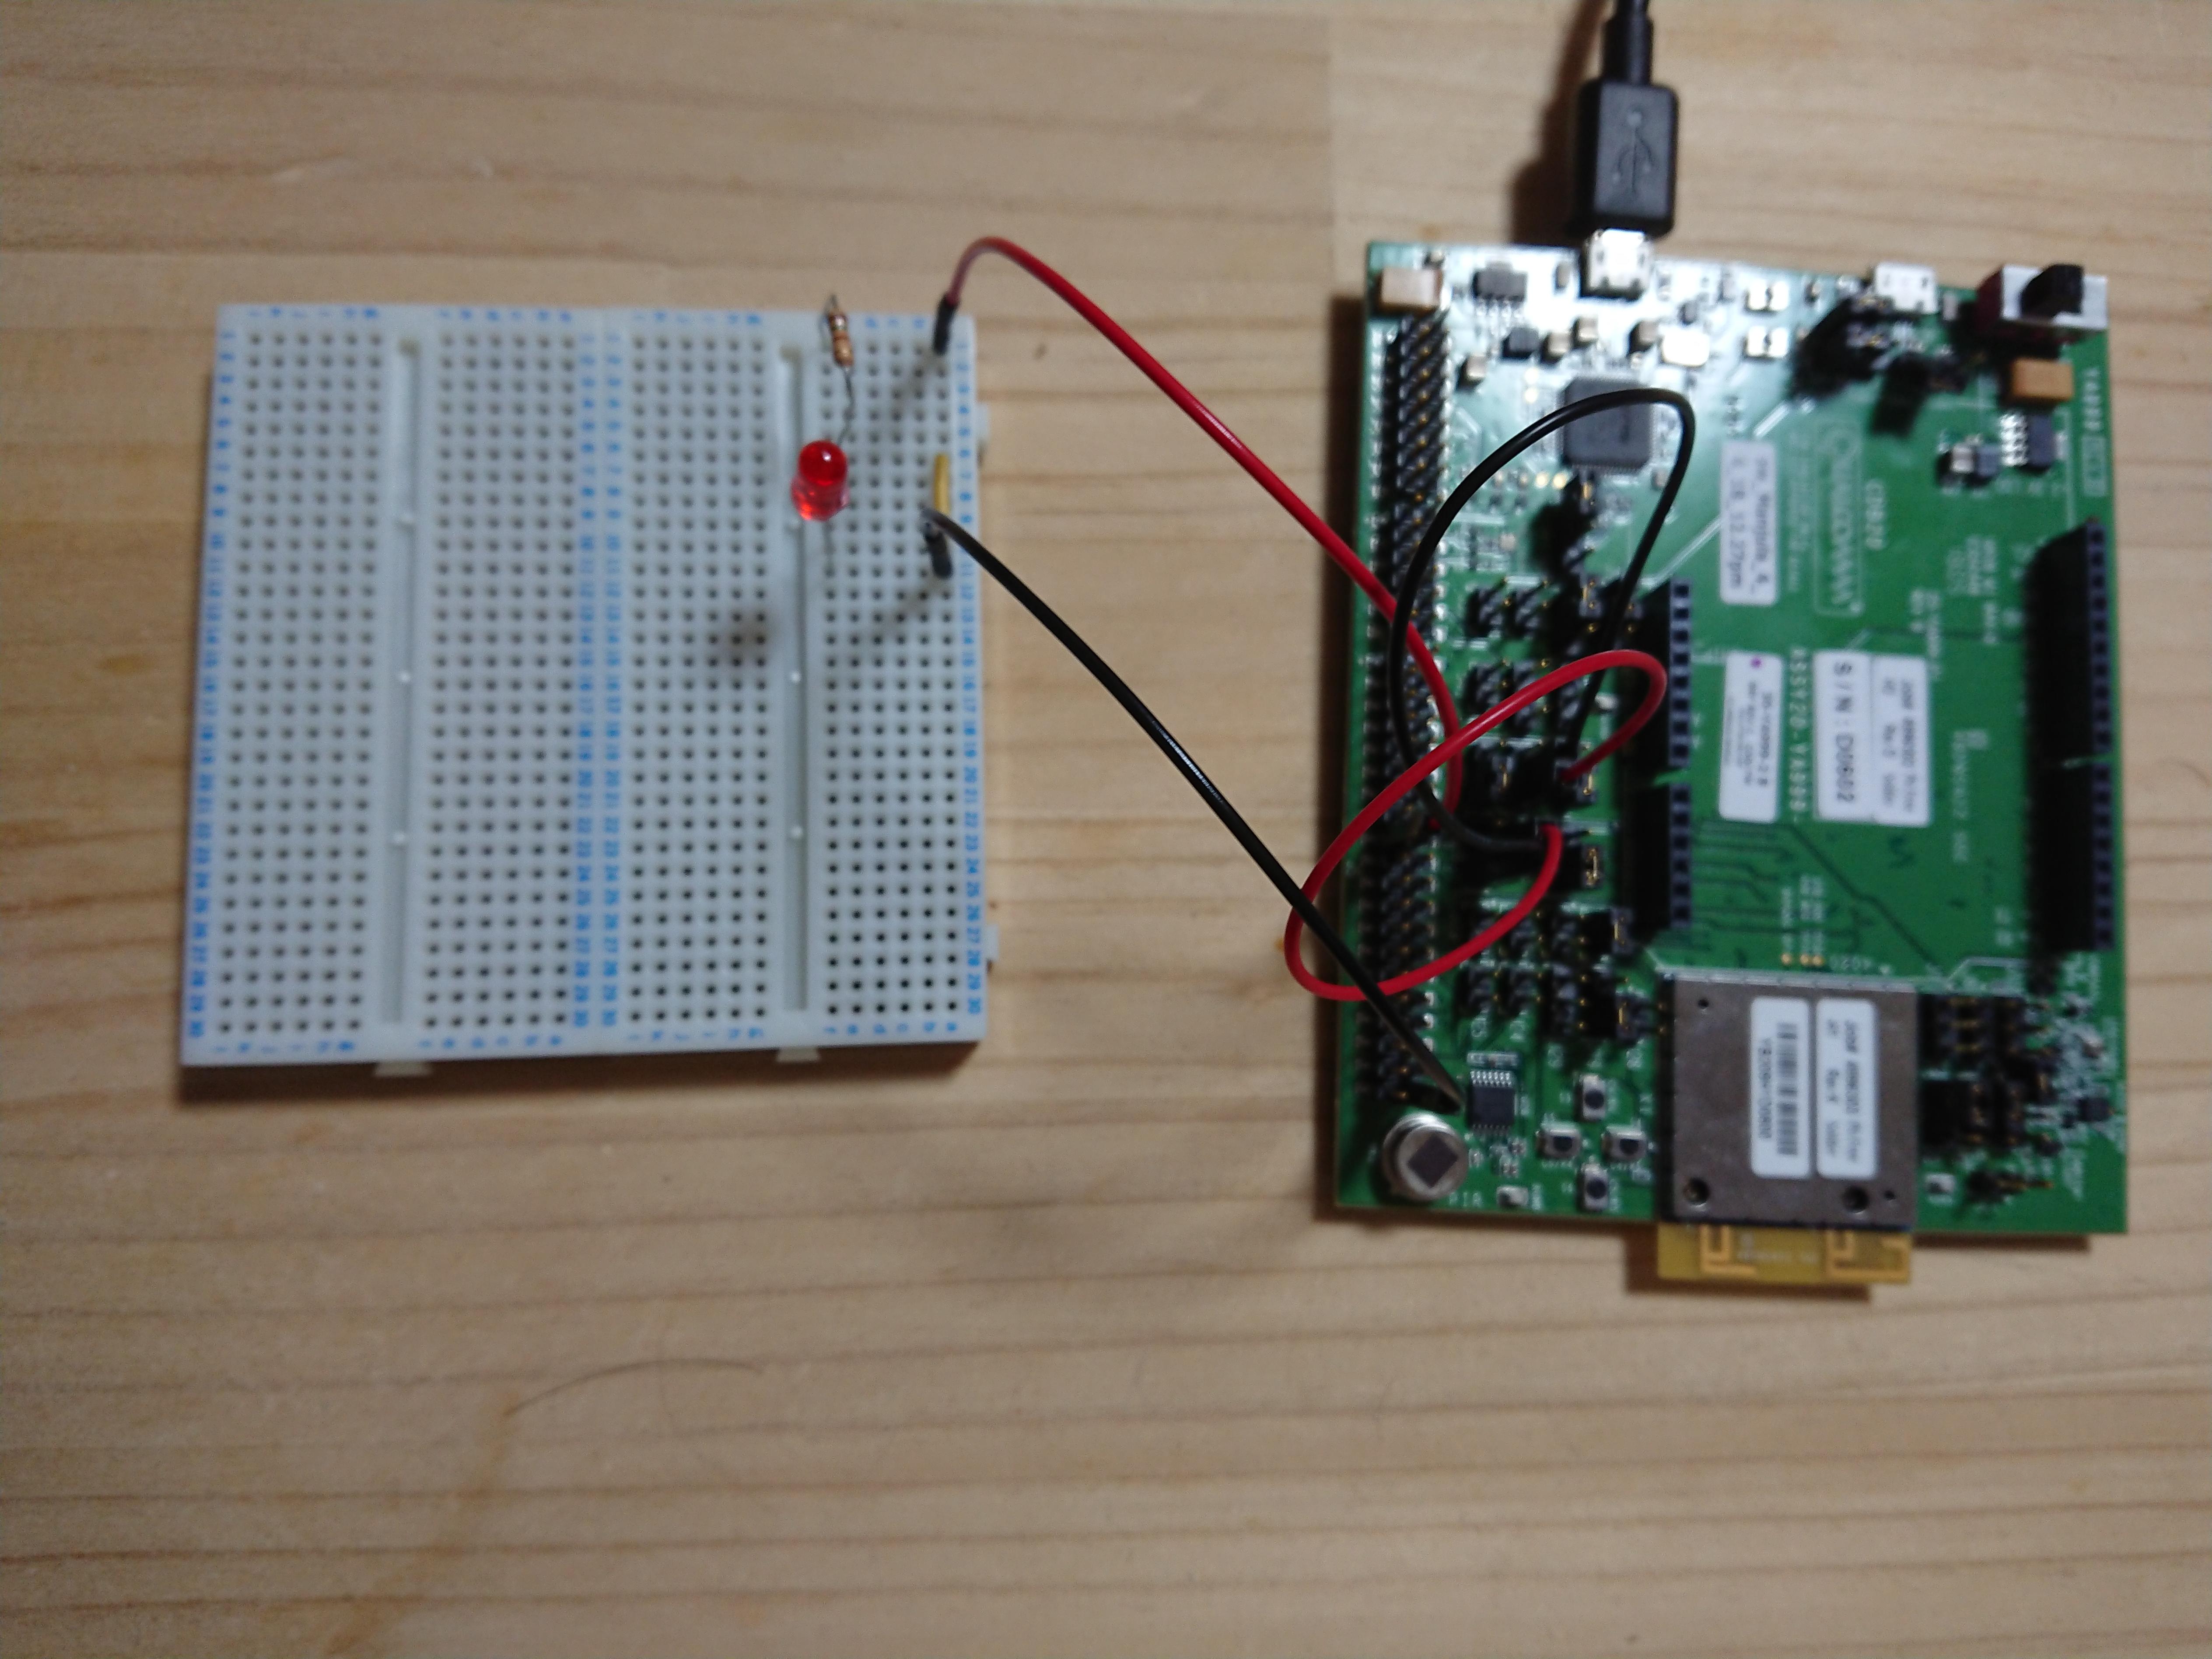
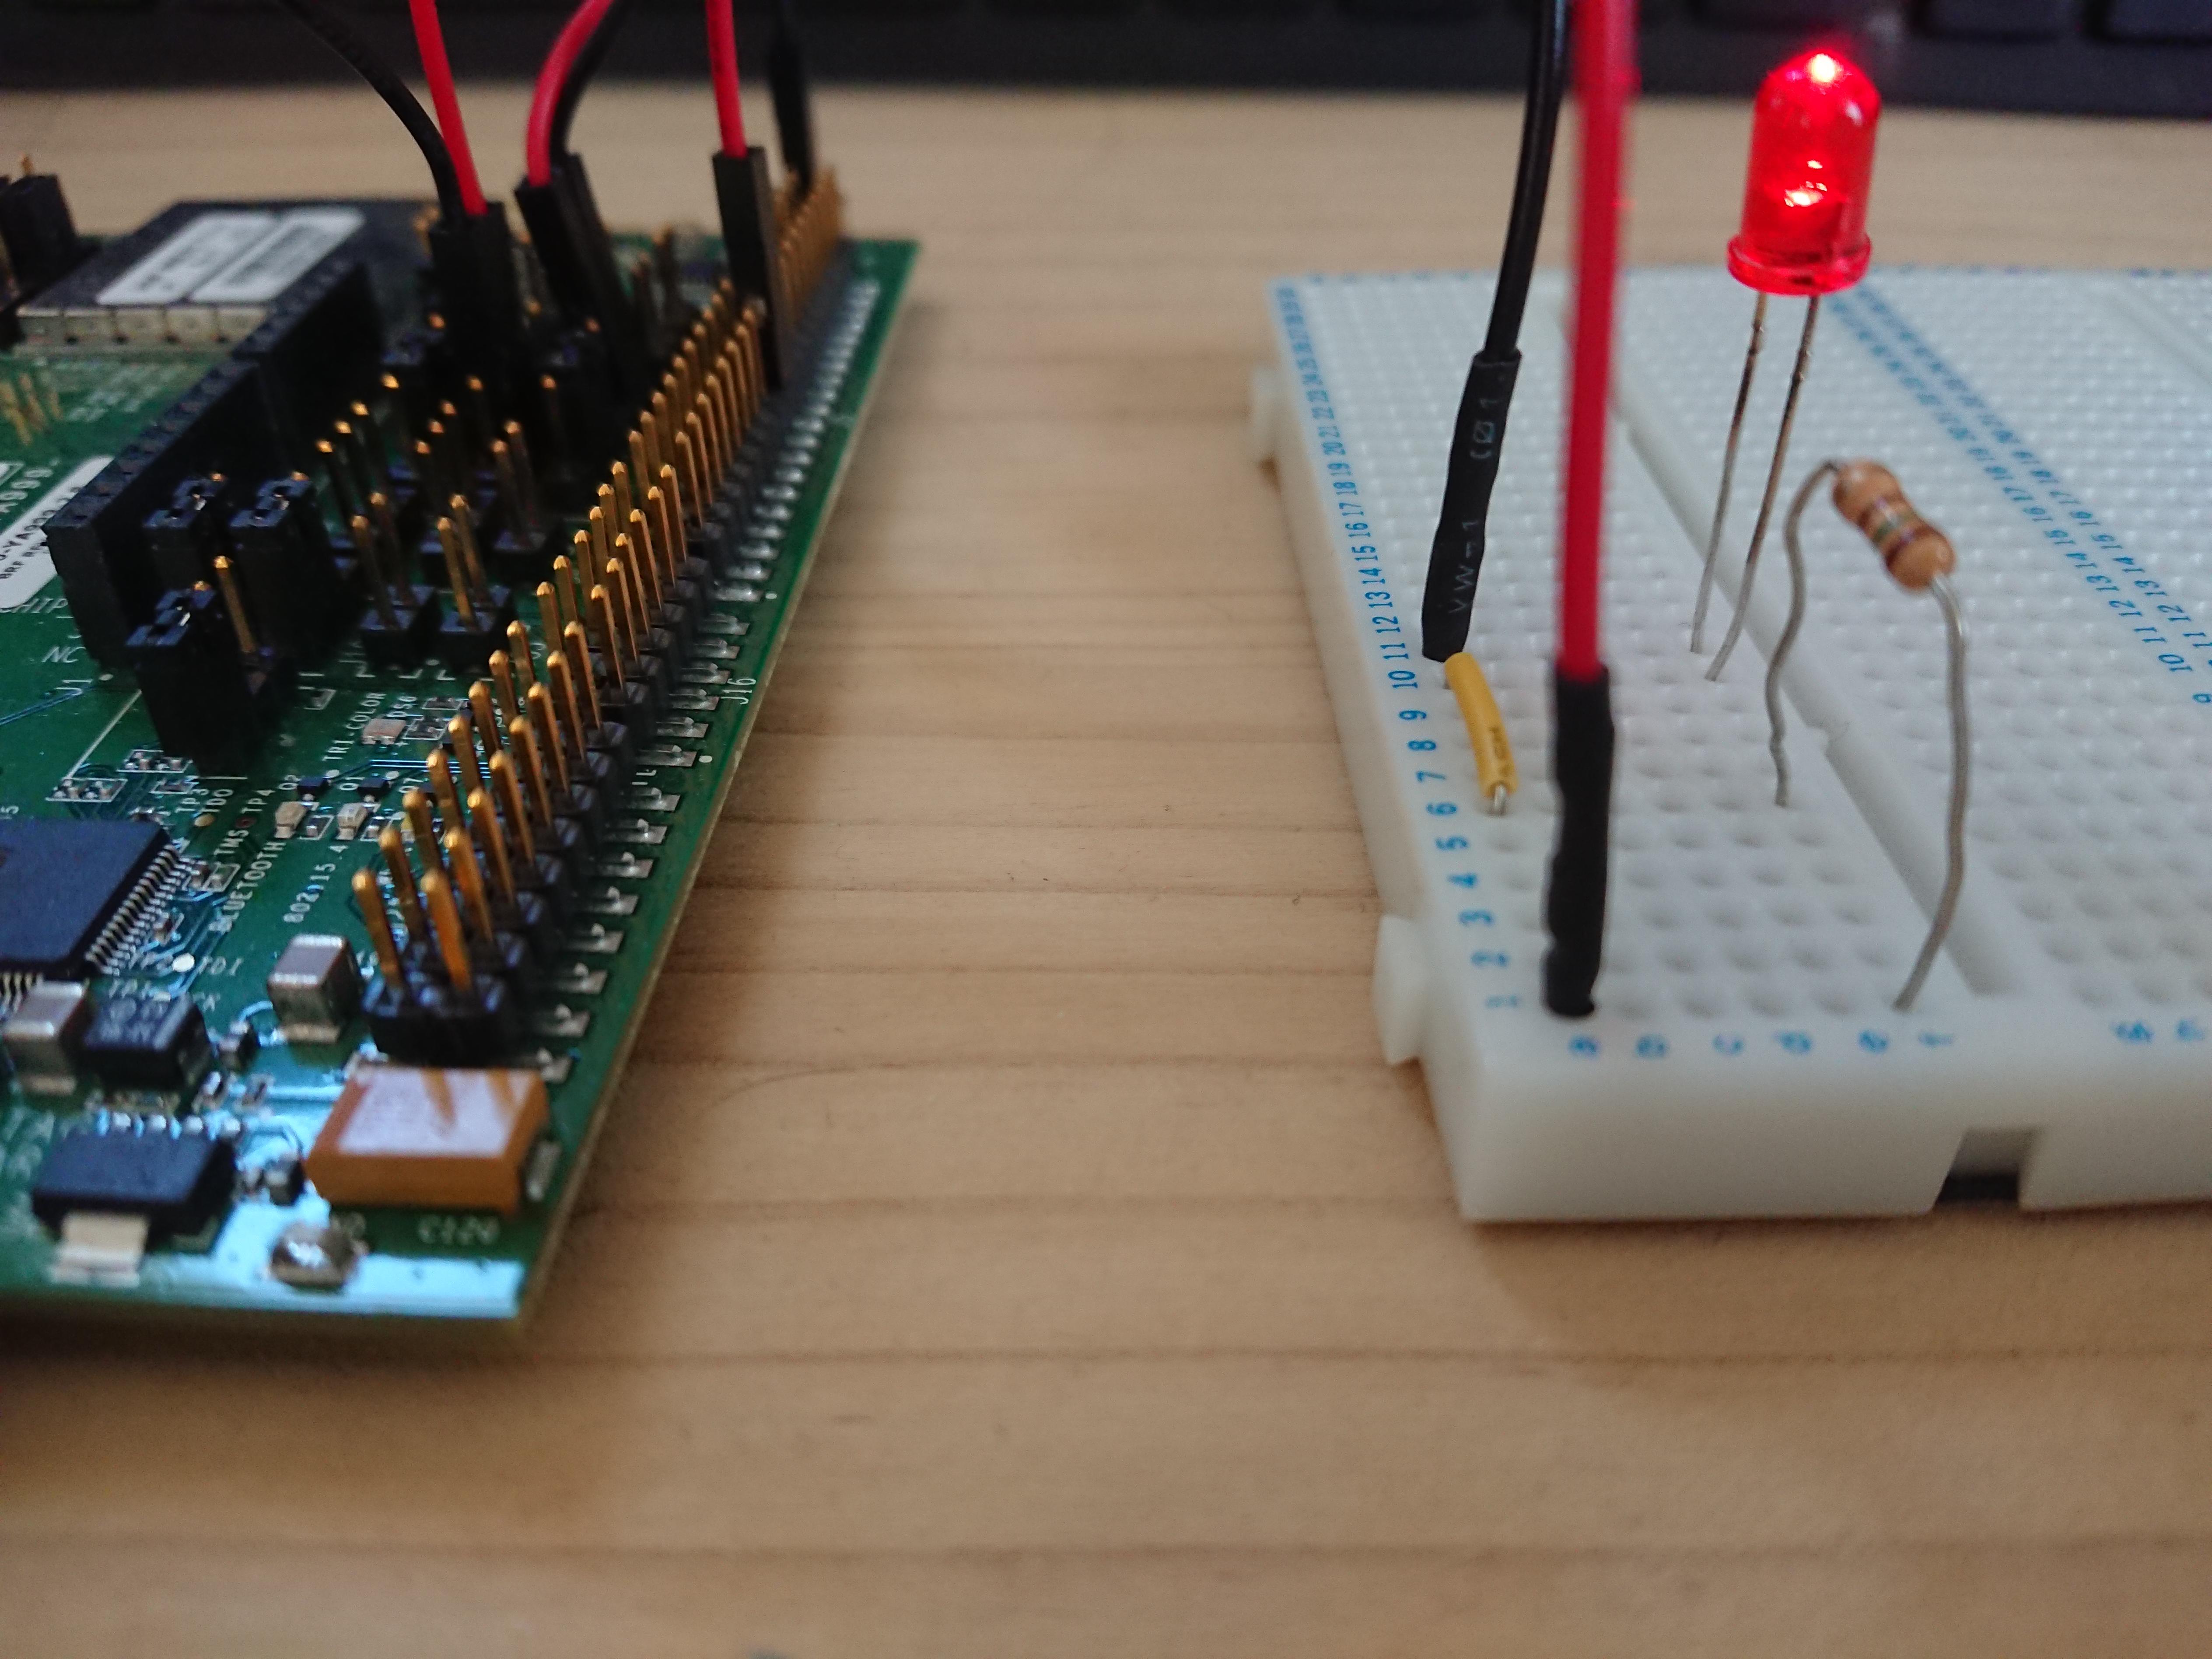
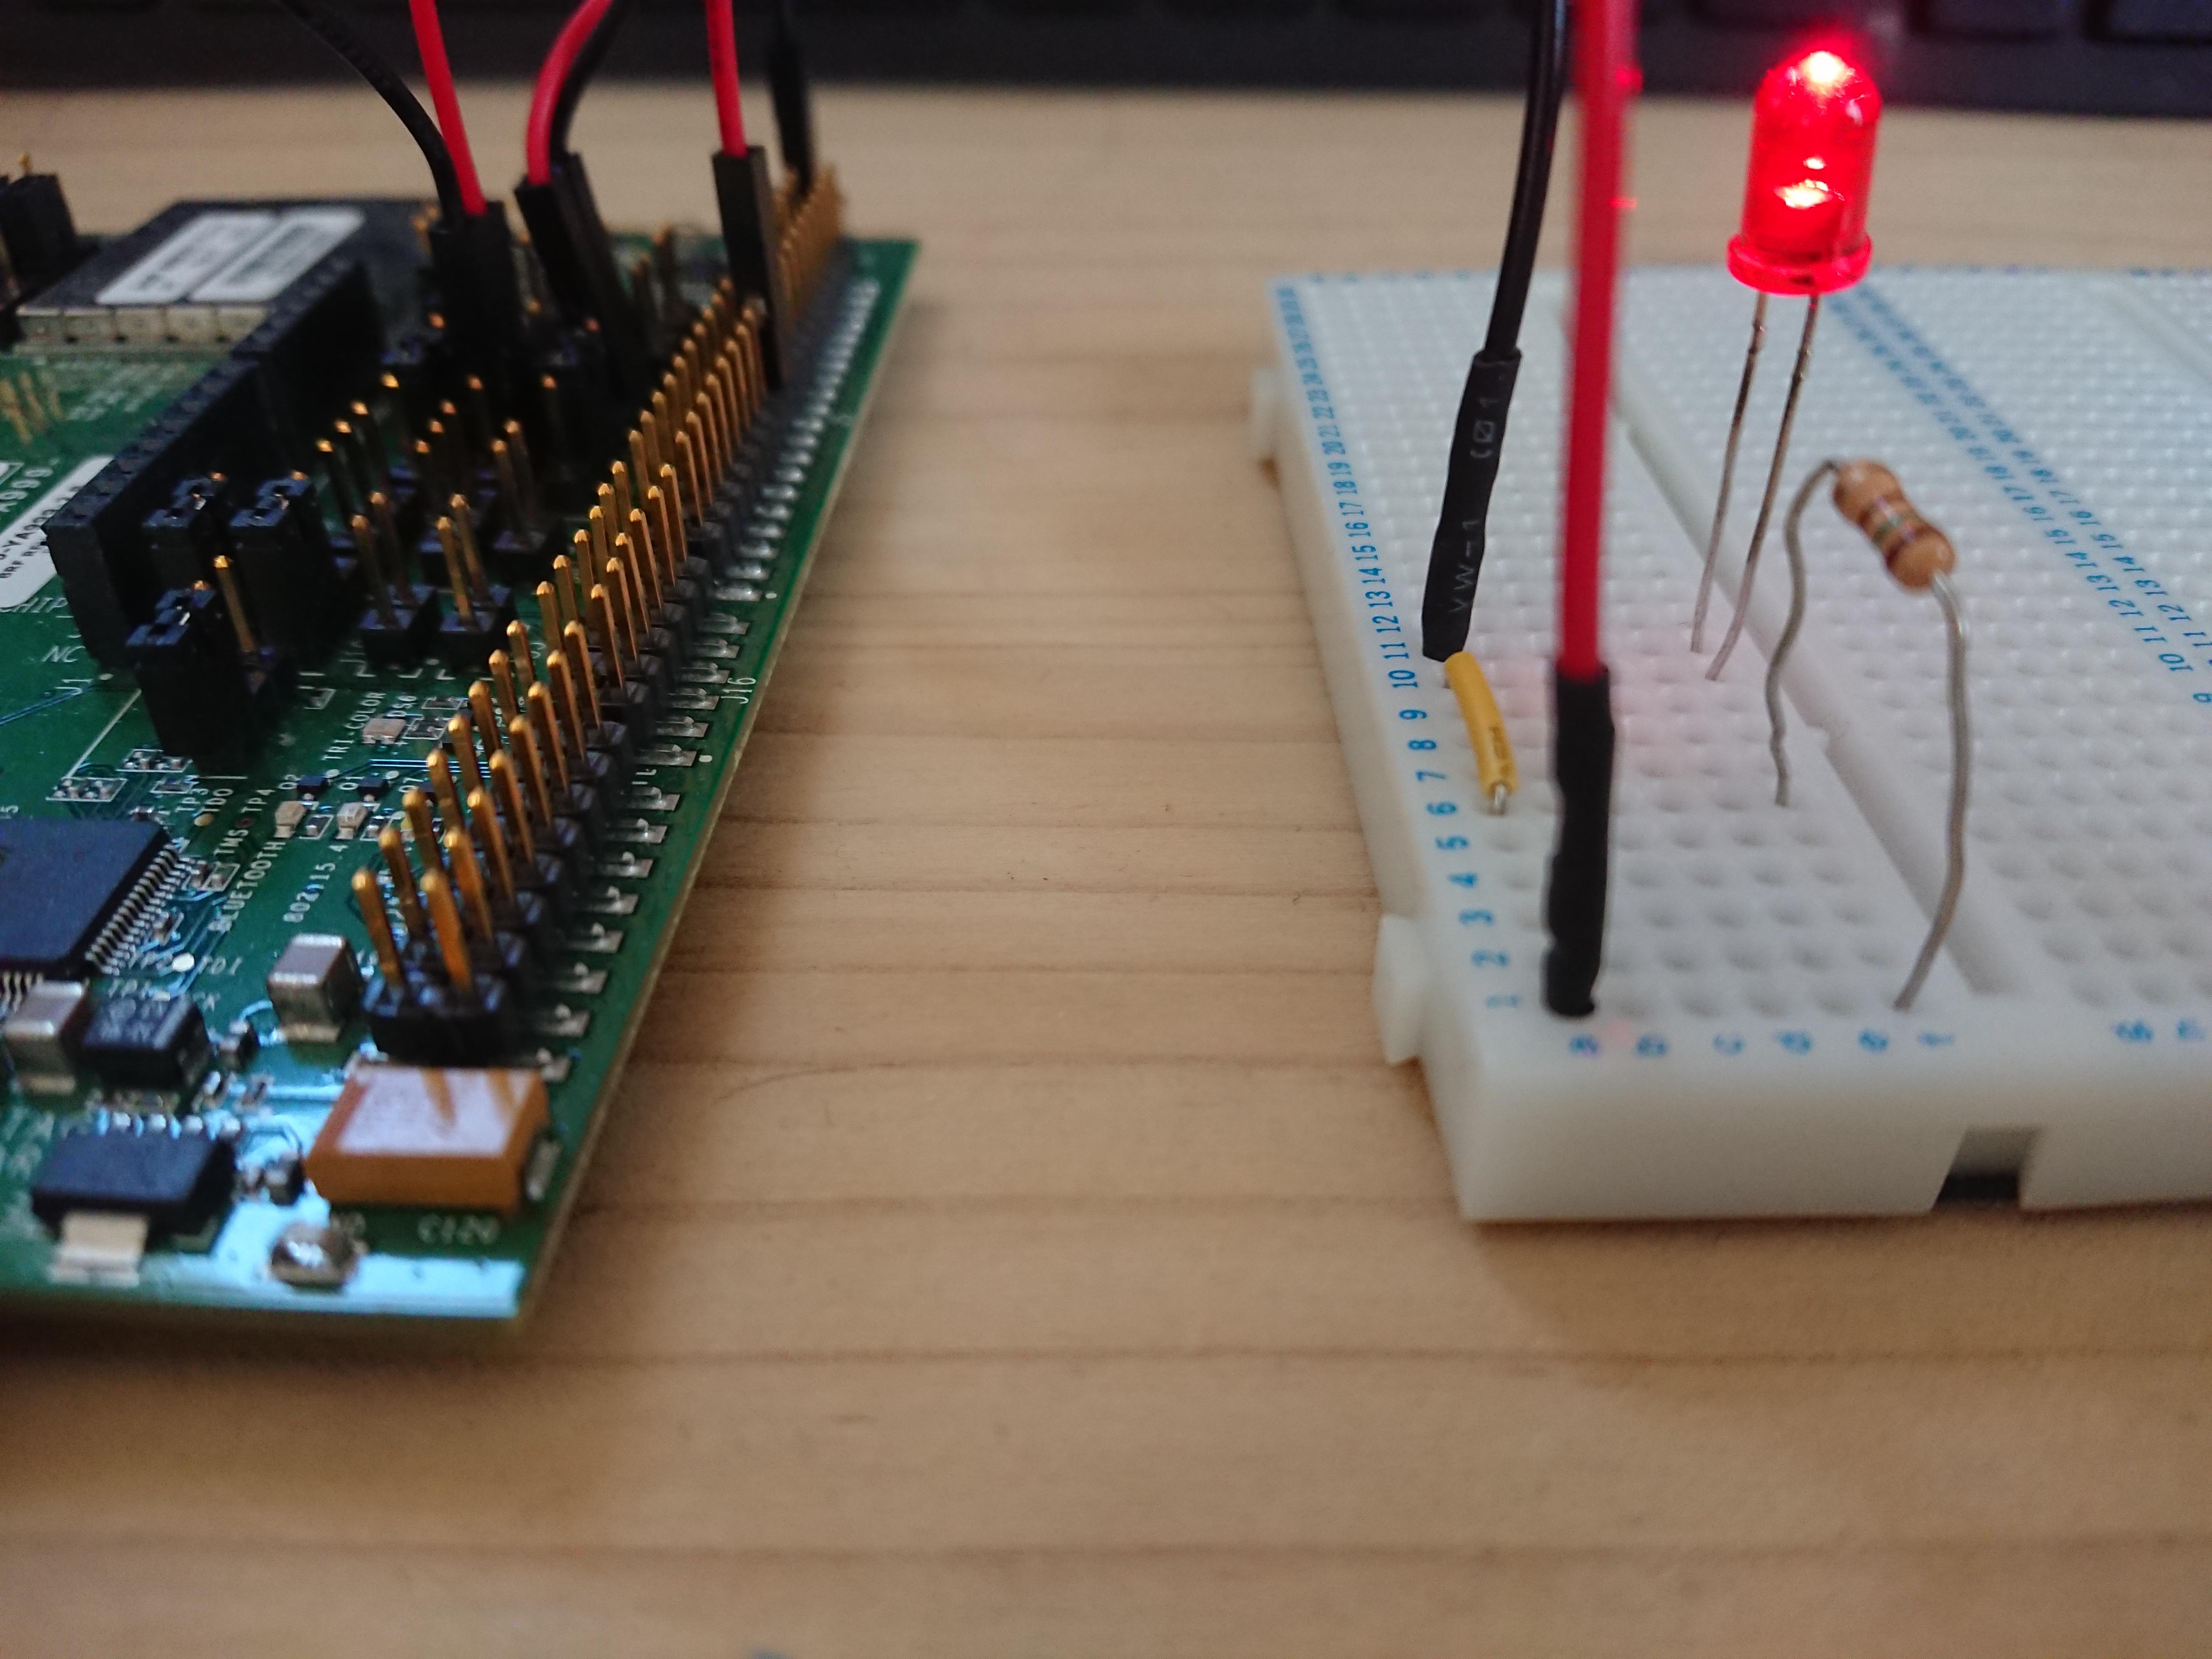
Check the PIN of GPIO12/GND from the circuit diagram included in the QCA4020 Design Package. Connect GPIO12 and GND of J5 on the reference board to the breadboard and connect the LED and resistor to complete. It's hard to understand, but when you run it, it blinks like the screen below.
Summary
This time, I created an LED flashing app based on Helloworld with QCA4020. Finally, import the code created this time into the Wi-Fi connection application and turn on the LED when the Wi-Fi connection is completed. Next time, we will implement a switch interrupt to trigger the Wi-Fi connection.
If you are interested in QCA4020, please contact us below.
Inquiry
For product inquiries, please use the link below.
To Qualcomm manufacturer information Top
If you want to return to the Qualcomm manufacturer information top page, please click below.