- Semiconductor BusinessHOME
- Products and Services of Macnica,Inc.
-
technical information

-
Events and Seminars
- Handling Manufacturer
- Support
- Inquiry
- Click here to purchase products
- Semiconductor business e-mail magazine registration
![]()
![]() Narrow down by specifying conditions
Narrow down by specifying conditions
現在2182件がヒットしています。check
Introduction
The semiconductor strain sensor STREAL is a high-precision strain sensor originally designed and developed by Macnica It is primarily attached to the surface of metals and structures to detect minute deformations (strain) with high sensitivity. However, since the quality of the bonding work is directly related to measurement accuracy and durability, it is important to understand and practice the correct bonding procedures.
In this article, we will introduce the tools required for applying STREAL, the adhesive procedure, and points to note.
Materials and tools required for bonding
・Adhesive: For initial evaluation, we recommend ThreeBond TB2217 adhesive. Although it is a heat-curing type, it can be cured at a relatively low temperature of 80 °C. After curing, it has high hardness and effectively transmits the strain of the target object to STREAL.
・Sandpaper (#300-1000): For surface preparation.
-Ethanol: For degreasing and cleaning, we recommend using high-purity ethanol.
-Tweezers: Used to position and hold down the sensor.
・ Micro spatula: For applying adhesive, allowing for uniform application.
-Cloths (Kimwipes, etc.): For cleaning, choose ones that leave little fiber residue.
Installation procedure (4 steps)
STEP 1 Surface preparation
1-1 polishing
Sand the surface of the target and the back of the SR300 series (model name: SRMS300NS0002 or SRMS345NS0002) using sandpaper in a circular motion. The purpose is to remove dirt and oxide film and create fine irregularities to increase adhesive strength. It is important to sand over an area larger than the sensor size to create a uniform surface.
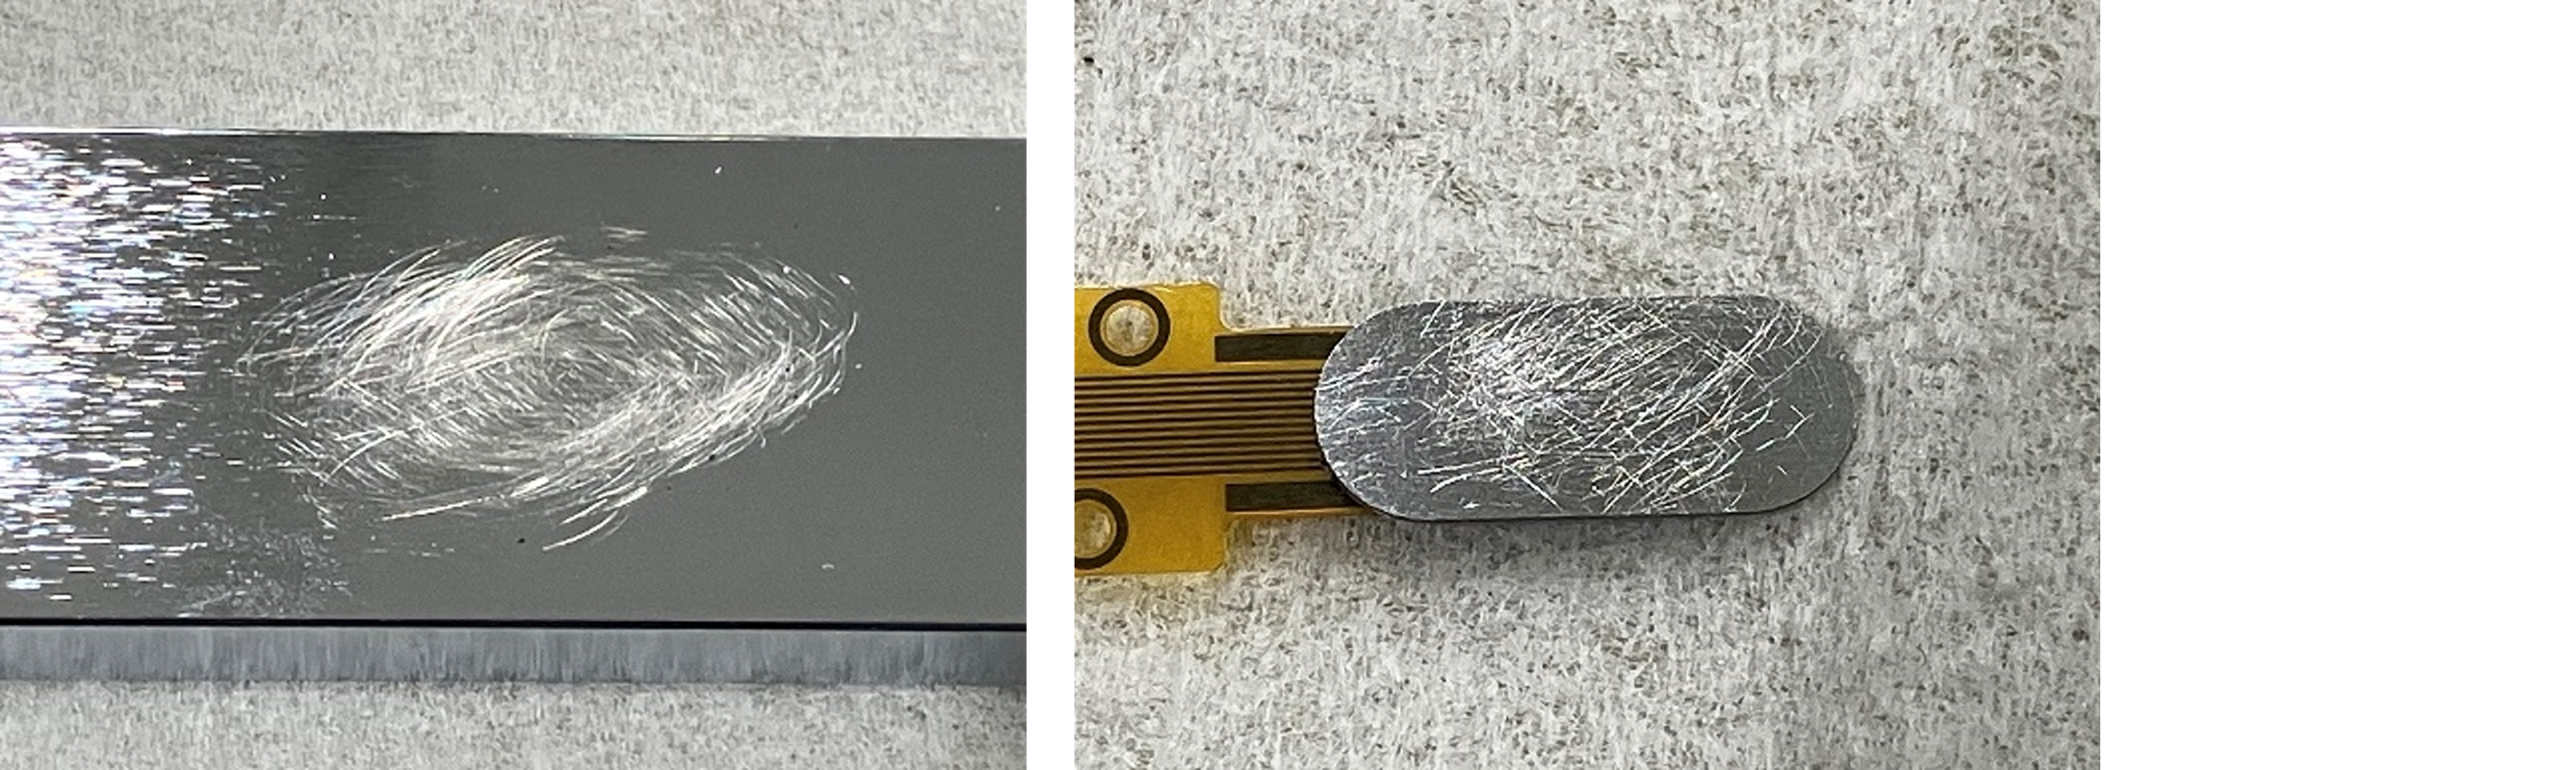
Figure 1: Left (polished surface of the target) Right (polished back of the sensor)
1-2 Degreasing and cleaning
Use a cloth soaked in ethanol to wipe off any dust or oil from the application surface and sensor in one direction. Avoid wiping back and forth, as this may cause re-adhesion. Ensure adequate ventilation when working.
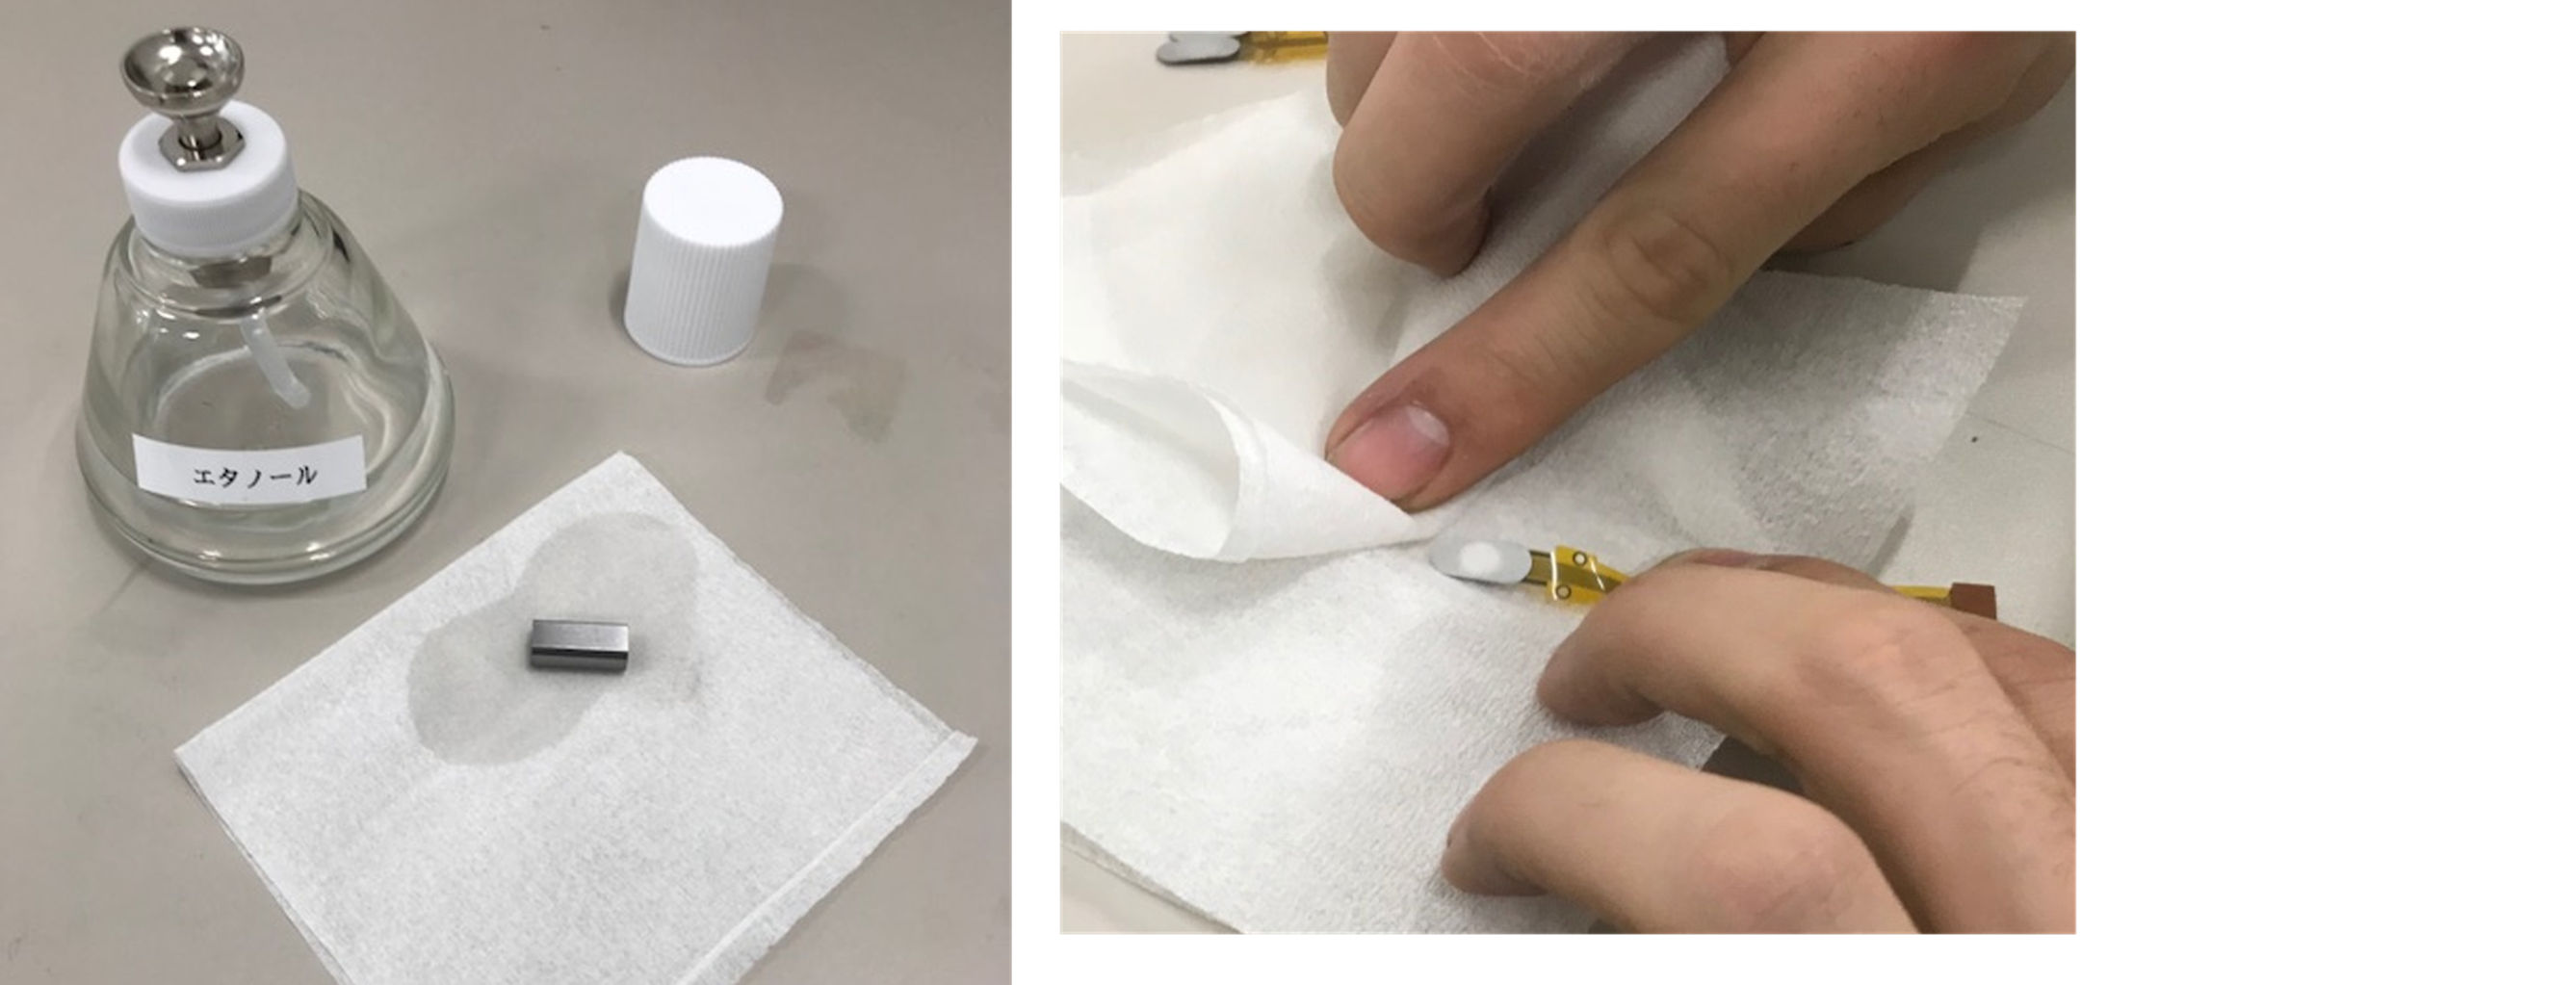
Figure 2: Wiping the object to be attached and the back of the sensor with ethanol.
STEP 2 Applying adhesive
Apply adhesive to the back of the sensor.
・SR300 series: Apply to the entire back surface of the sensor
・SR500 series: Apply to 5 points
*Although the amount applied is not quantitatively controlled, please be careful to avoid uneven application or missed spots.
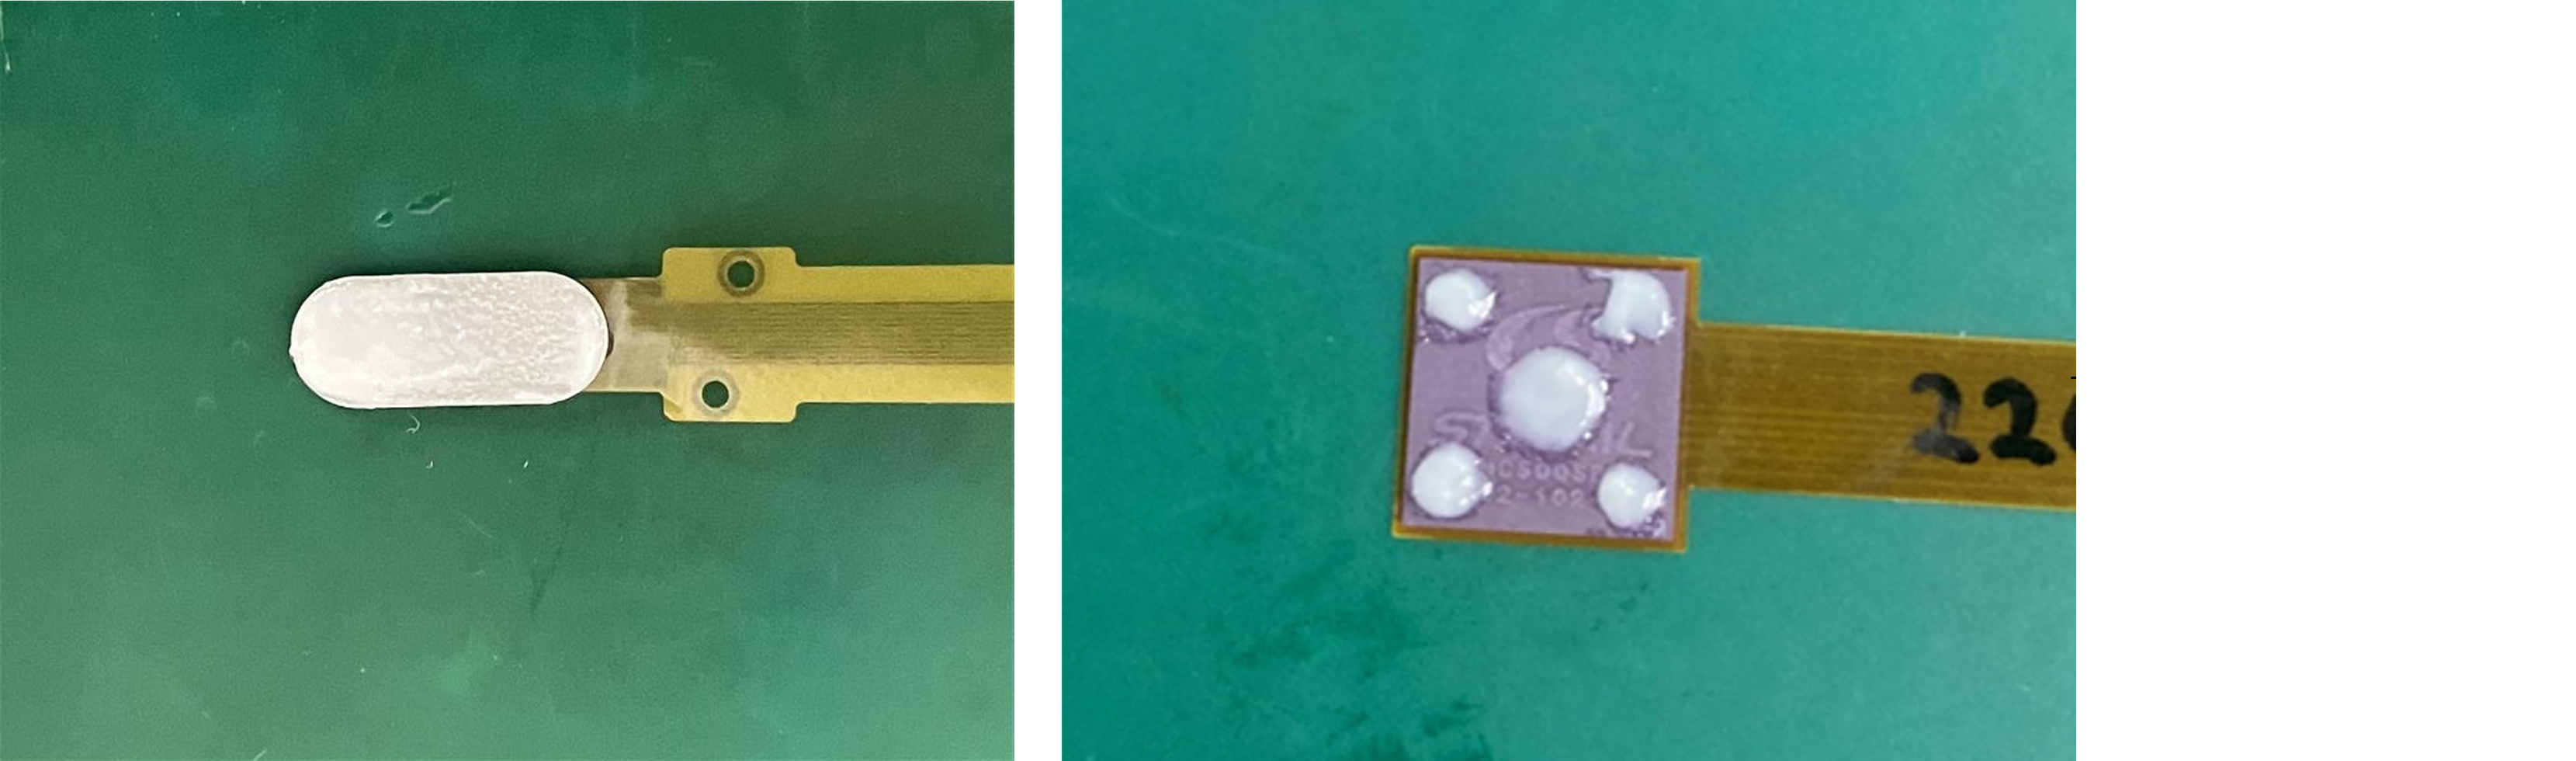
Figure 3: Left side (attachment surface of SR300 series with adhesive applied) Right side (attachment surface of SR500 series with adhesive applied)
STEP 3: Attaching the sensor
Gently place the sensor on the adhesive surface and press down lightly with tweezers. Make sure that adhesive is oozing out from all sides of the sensor. It is important to apply even pressure to the entire surface to avoid uneven or insufficient adhesive.
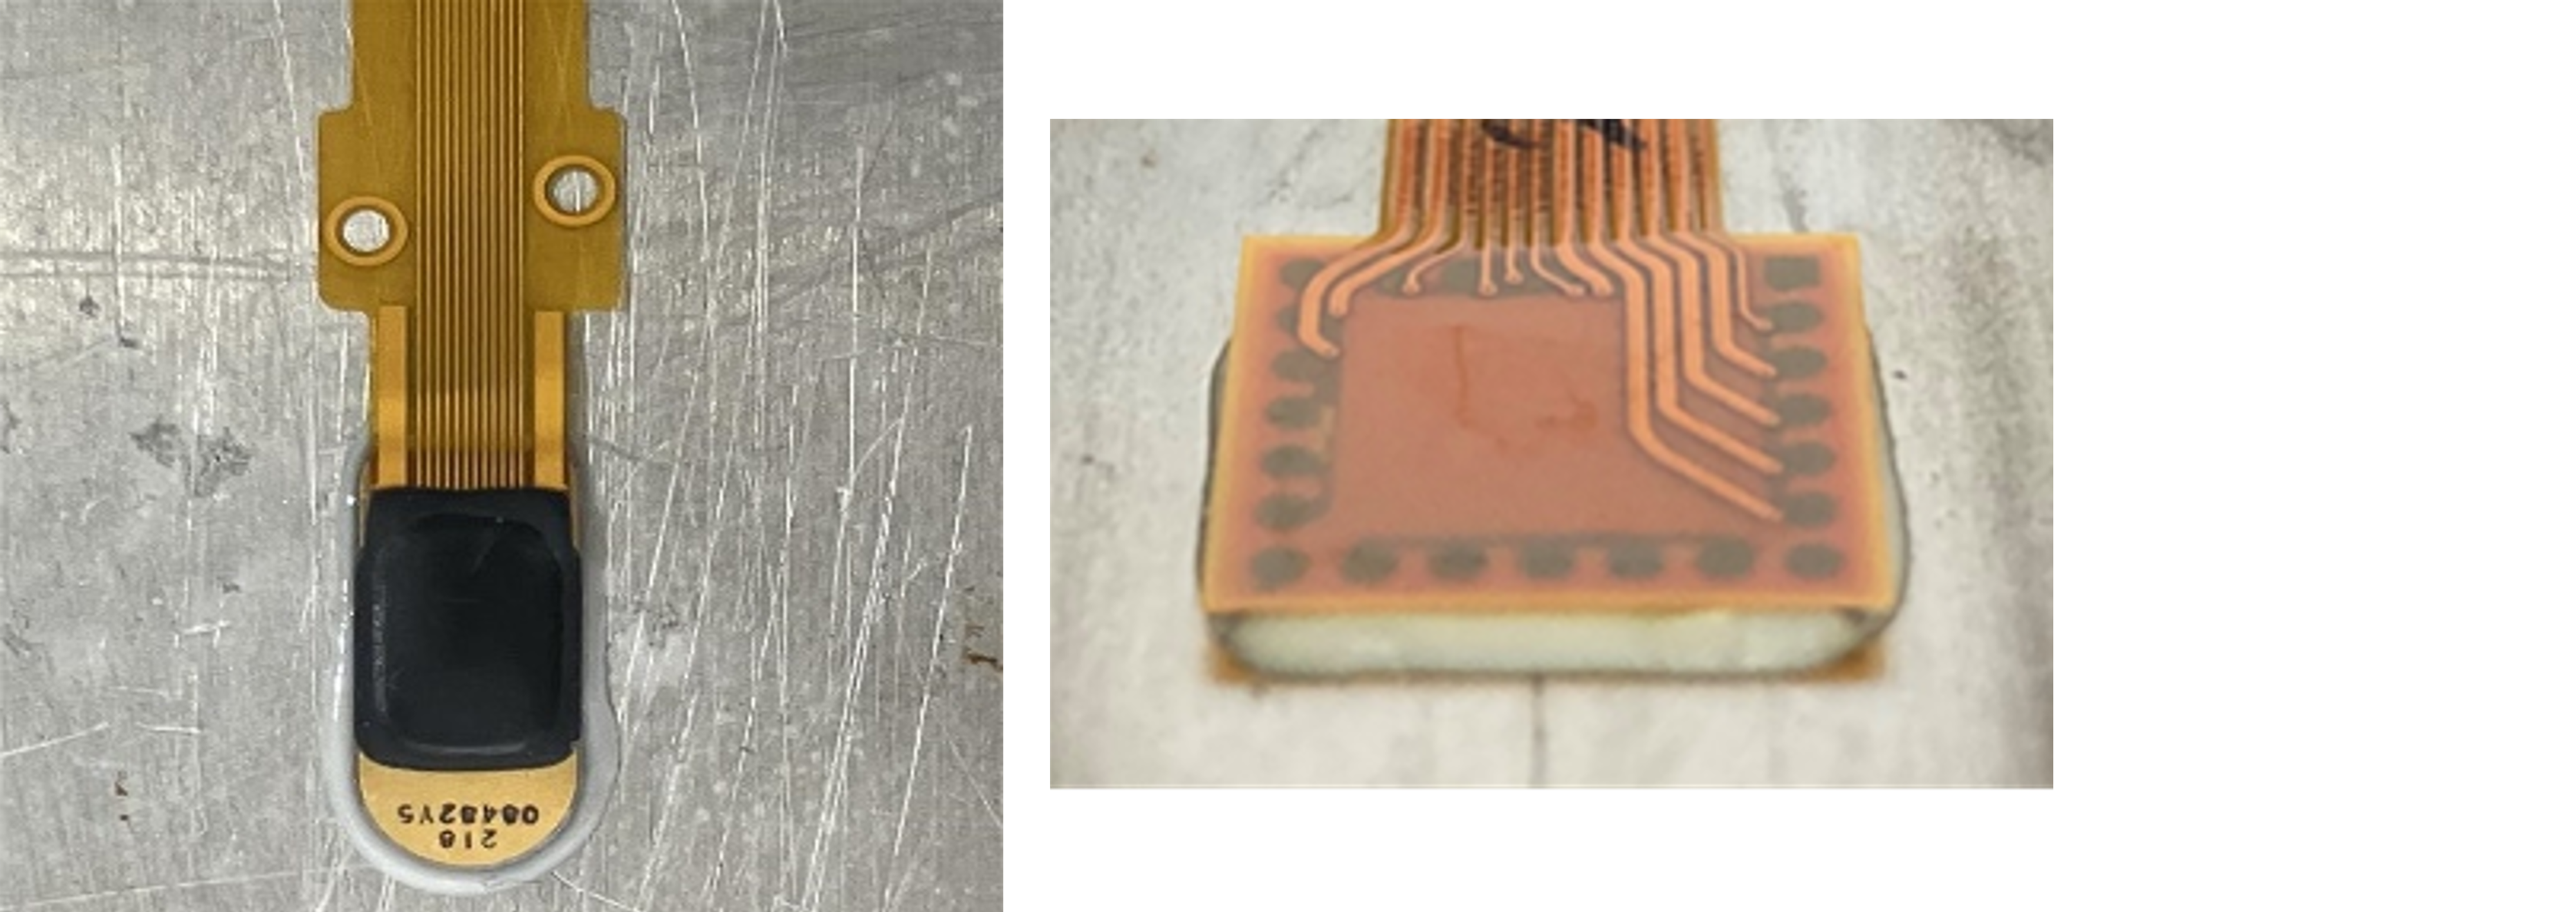
Figure 4: Left (SR300 series attached to the target object with adhesive) Right (SR500 series attached to the target object with adhesive)
STEP 4 Fixation and hardening
Apply a static load of approximately 1 kg or a spring equivalent to 10 N on top of the sensor and fix it perpendicular to the surface to which it is attached.
*When doing this, be careful not to put pressure on the potting material (black resin part) of the sensor body.
If you use TB2217, please heat cure it at 80℃ for 30 minutes after fixing.
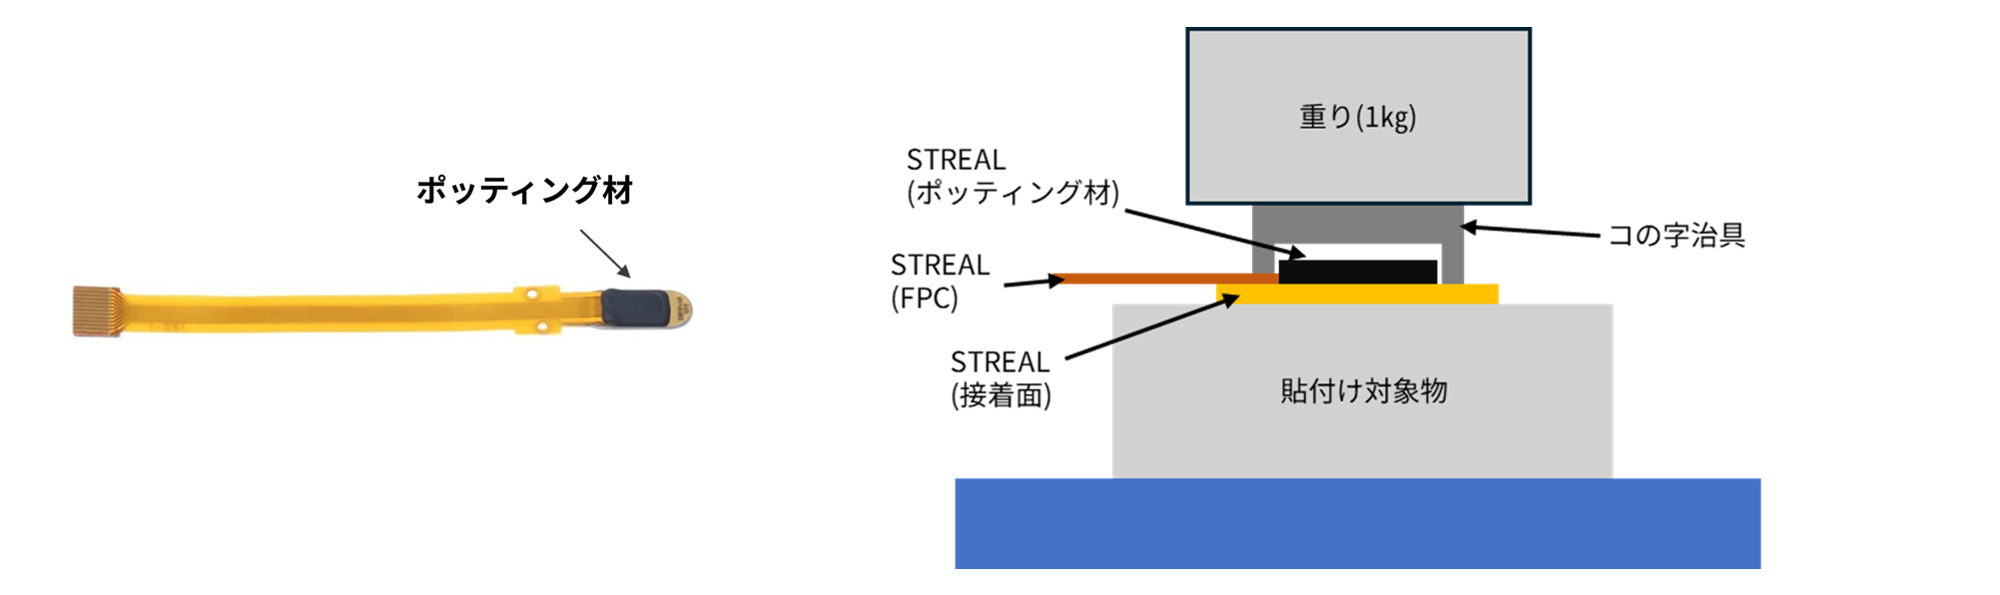
Figure 5: Left side (SR300 series potting material) Right side (image of sensor fixing and curing process)
Common failure cases and solutions
Common mistakes
-Insufficient surface preparation: This can lead to reduced adhesive strength and early peeling.
-Insufficient degreasing: If oil or dust remains, the adhesive's adhesion will be significantly reduced.
-Uneven application of adhesive: If some areas lift, this may cause variations in the measurement values.
-Improper fixing: If the load is not evenly distributed, the sensor will tilt.
measures
- Polishing and degreasing should be done carefully, and we recommend doing it multiple times.
- Mix the adhesive immediately before use, then apply and stick it on quickly.
- Choose stable fixtures and weights and make sure the work surface is level.
- Avoid vibrations and shocks during curing and work in a stable environment.
- After hardening, be sure to check the appearance of the adhesive joint and whether or not it has peeled off.
Frequently asked questions and answers
Q1. What are the criteria for selecting adhesives?
Please select an adhesive based on the usage environment and purpose. We evaluate sensitivity, fatigue durability, and creep to select the optimal adhesive. Thermosetting types such as TB2217 introduced here are suitable for high-temperature environments and when high strength is required. If you are unsure about your selection, please feel free to contact us for advice.
Q2. What are the points where people tend to fail?
The main causes are insufficient surface preparation, insufficient degreasing, and uneven application of adhesive. Residual dust and oil can cause peeling, so careful pre-treatment is important.
Q3. What should I be careful of when fixing it?
For the SR300 series, be careful not to put pressure on the potting material (black resin part) of the sensor body, and apply the load evenly to the adhesive surface.
Q4. How do I check the sticker after it has been applied?
After curing, be sure to check the appearance of the adhesive joint as well as the initial value and zero point of the sensor to ensure there are no abnormalities.
Summary and Safety Precautions
This article introduces an example of the adhesive application process in the initial evaluation of STREAL. Please consider the optimal application method depending on the actual usage environment and purpose. If you have any concerns about selecting an adhesive or application method, please feel free to contact us.
*Notes
When handling adhesives, be sure to follow the manufacturer's safety instructions, ensure proper ventilation, and wear protective gear. Also, the contents of this article are for reference only, and the user is solely responsible for any malfunctions or breakdowns caused by the adhesive.
Contact Us