- Semiconductor BusinessHOME
- Products and Services of Macnica,Inc.
-
technical information

-
Events and Seminars
- Handling Manufacturer
- Support
- Inquiry
- Click here to purchase products
- Semiconductor business e-mail magazine registration
![]()
![]() Narrow down by specifying conditions
Narrow down by specifying conditions
現在2168件がヒットしています。check

background
ForgeFPGA™ is the perfect device for customers who want to replace their current CPLD with a cheaper, lower power IC, or who want to expand the capacity a little more than GreenPAK™. However, some people say that they have not started considering it because they do not know how to set up a device-specific development environment. In this article, we will carefully explain how to set up a simple development environment for ForgeFPGA using diagrams.
If you would like to know more about ForgeFPGA and development tools, please visit the following page.
Renesas Electronics ForgeFPGA Product Page
What is Renesas' low-end FPGA "ForgeFPGA™"? ~Unboxing the development tool and checking its operation~
Preparing the development environment (installing necessary tools)
1. Install Go Configure Software Hub
Click below to install the development environment, Go Configure Software Hub!
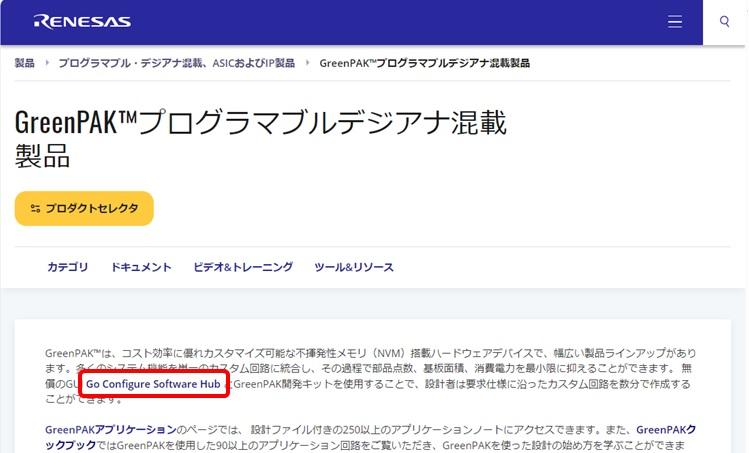
GreenPAK™ Programmable Mixed-signal Products
*The development environment for ForgeFPGA is the same as that for GreenPAK, so install it from here.
Once you are on the web, click Go Configure Software Hub in the red box below.
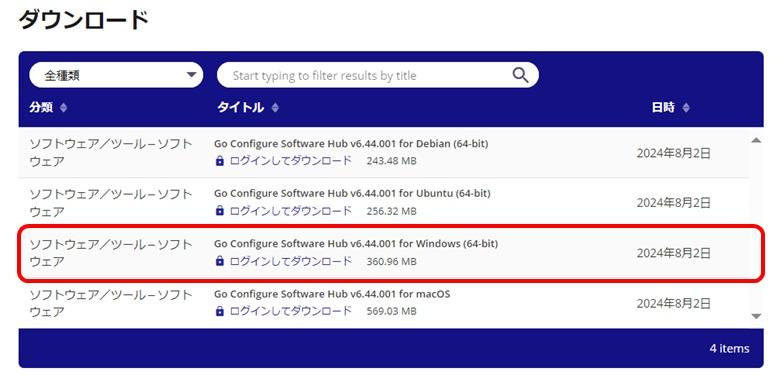
Next, select the PC you are using and click to proceed with the installation.

The installation is complete when the icon on the right appears on the desktop.
There are no license fees or anything else required!
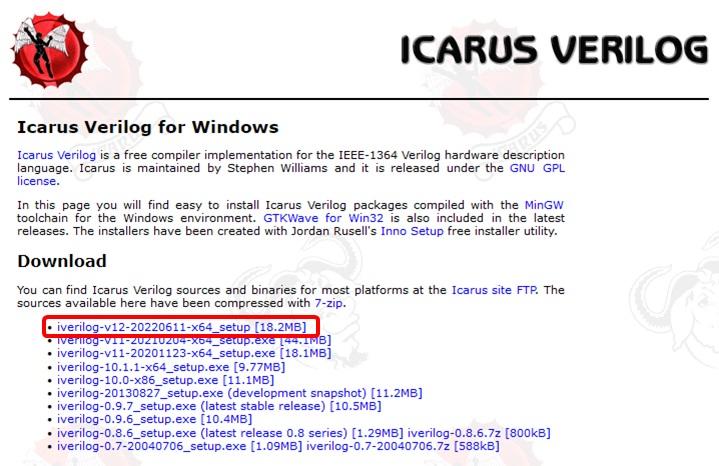
2. Install ICARUS VERILG
Next, let's install ICARUS VERILG. This is software required to launch GTKwave when simulating a program created with ForgeFPGA.
Icarus Verilog for Windows (bleyer.org)
Once you jump to the web, click on the red box below to proceed with the installation.
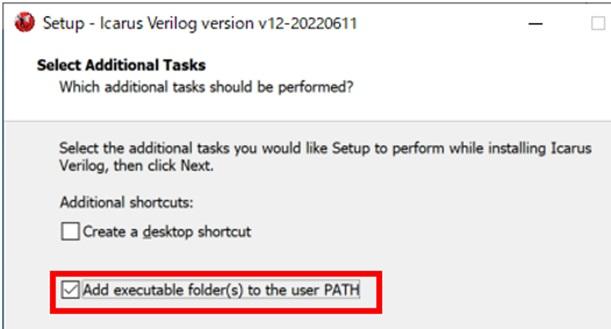
Please note the following when installing ICARUS VERILOG.
The installation folder is located directly under the C drive.

Check "Add executable folder(s) to the user PATH"
After installation, type "iverilog" in the command prompt, and if you see the screen below, the installation was successful.
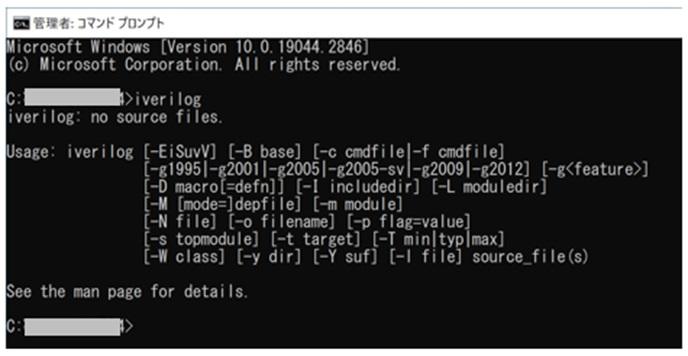
Your development environment is now ready.
Setting up a development environment

Now that you're ready, it's time to launch the development environment GUI!
First, click on the icon on the right.
This will launch Go Configure Software Hub.
Click 1, 2, and 3 here. You can select the ForgeFPGA IC, SLG47910 (RevBB).
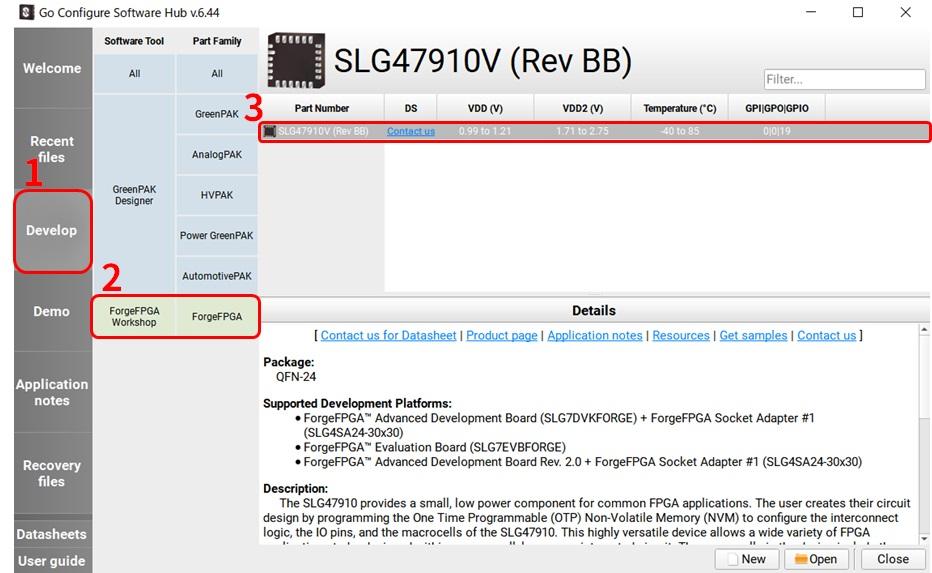
If you proceed further, you will see the following display, but please keep clicking on the numbers in the red frames to proceed.
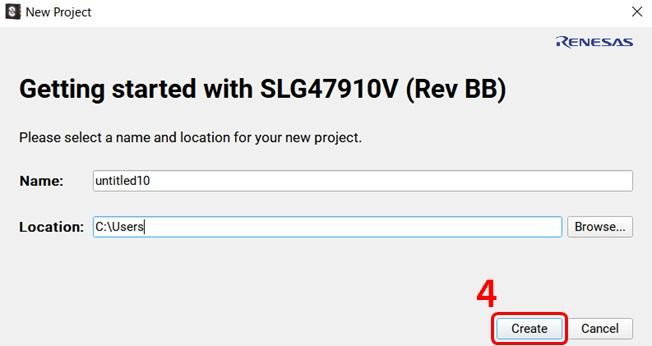
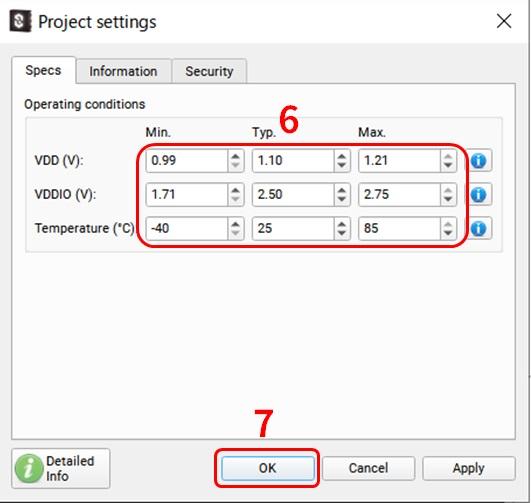
A screen for setting VDD will appear. If you press the arrow on the right of N/D, it will change to the maximum value, so set all N/D values to their maximum values in order.
When complete, it will look like 5 in the red box. Now set it as 6 and click OK.
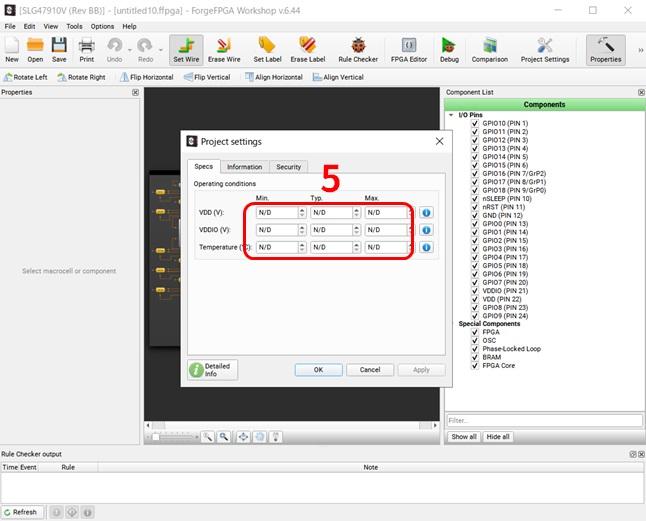
The development screen GUI will then be displayed as shown below, so click on 8 in the red box.
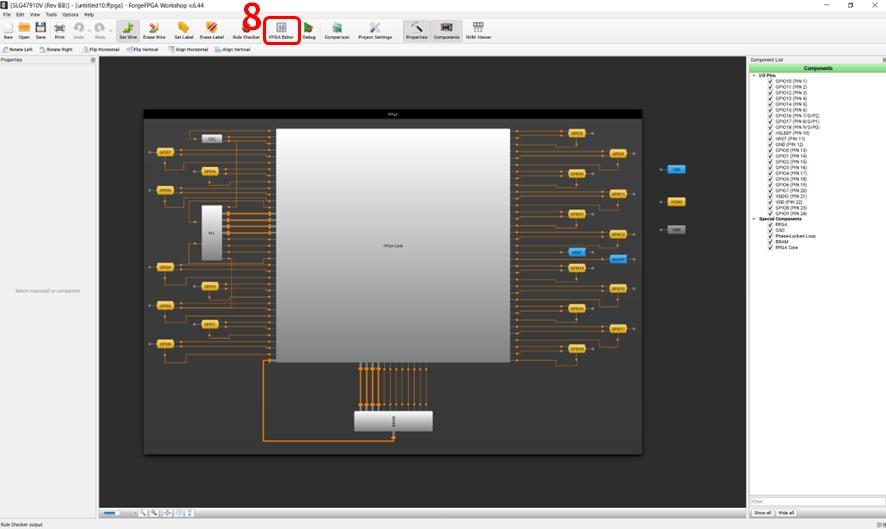
Once you move to this GUI screen, your development environment is ready.
This is the screen where you actually write ForgeFPGA programs (Verilog code) and run simulations.
Let's try running a sample program.
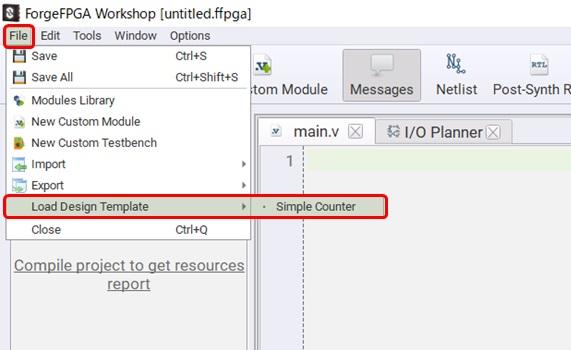
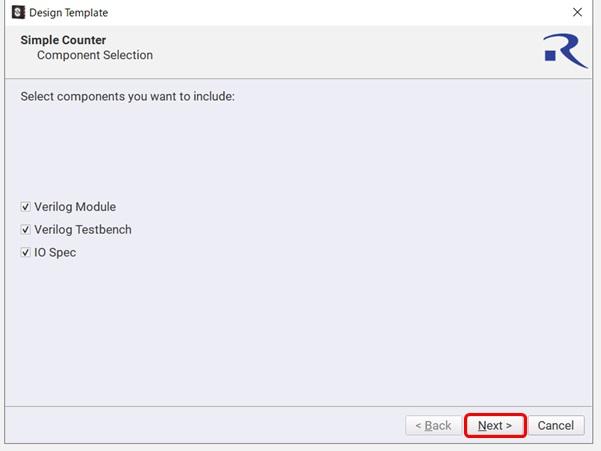
As shown below, click File in the upper right corner of the screen, select Load Design Template and Simple Counter.
Click NEXT on the screen below. Click NEXT on the subsequent screens and continue to Finish.
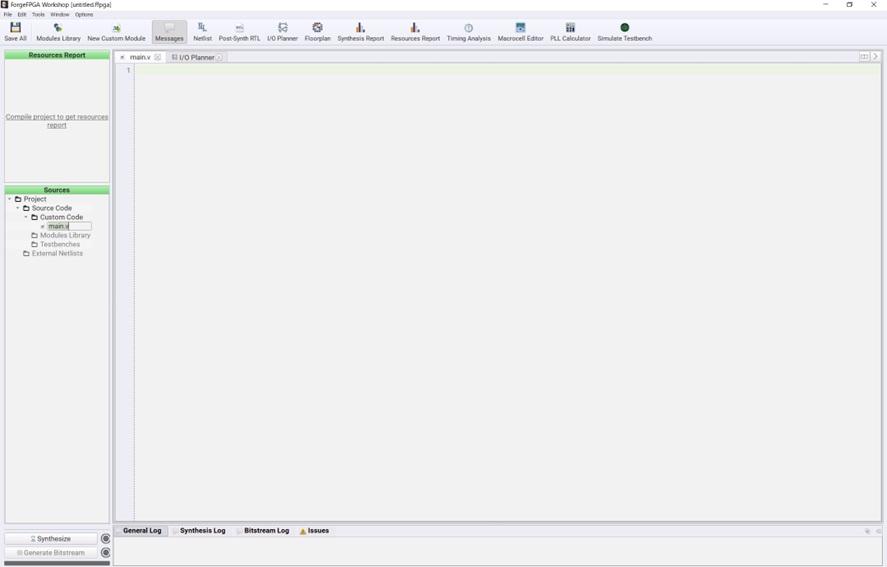
Once completed, the following screen will appear.

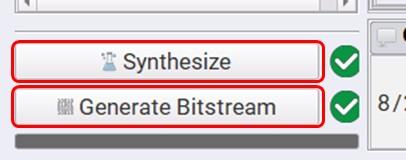
Now, click Synthesize and Generate Bitstream in the lower left corner of the development screen above.
Once the process is complete, a check mark will appear in a green circle as shown below.
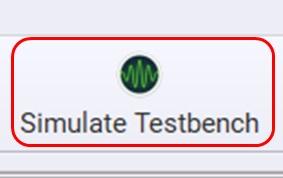
Next, click Simulate Testbench, located slightly to the right of the top of the development screen.
The following screen will then be displayed, so click Simulate.
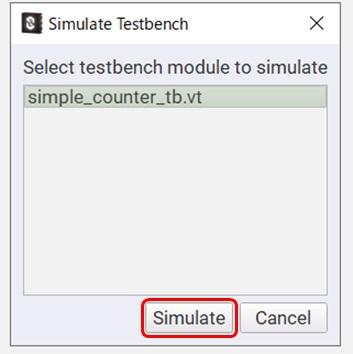
The following screen will appear. This is the simulation screen.
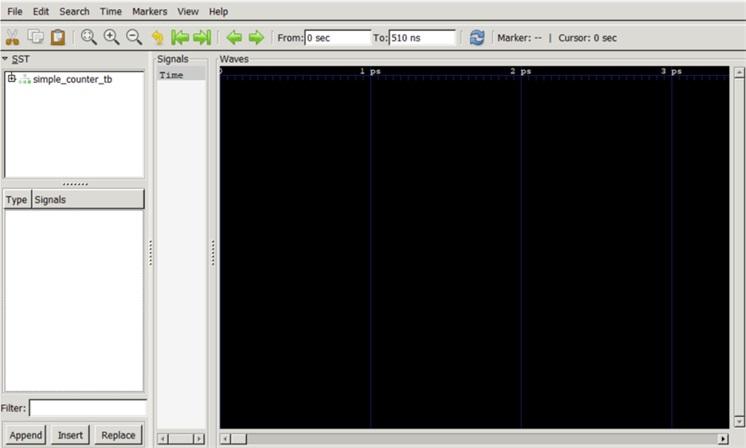
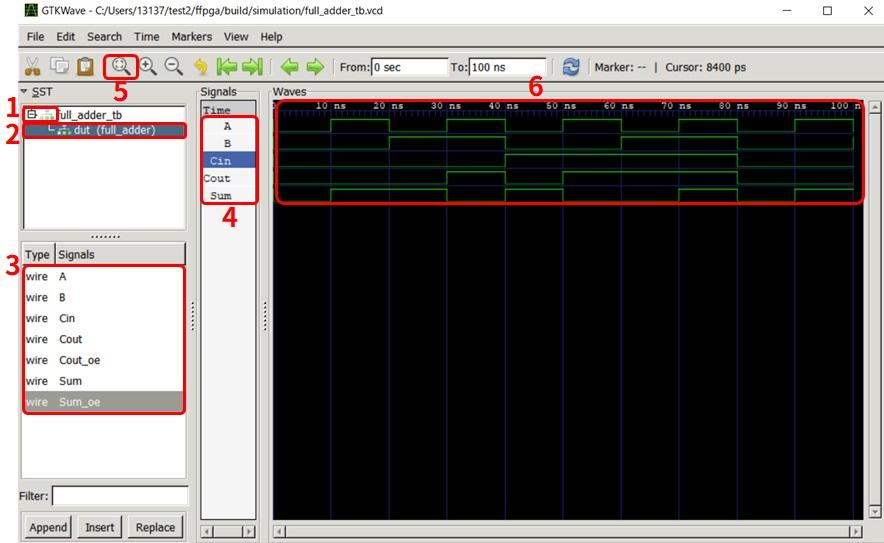
Now, you can run the simulation screen by clicking on 1 to 6 below in order.
In particular, there is no problem if you select only the necessary parameters in 3. The contents will be displayed in 4, and by pressing 5, you can check the operation on the simulation screen as shown in 6.
thank you for your hard work.
This concludes the ForgeFPGA quick start, explaining the basic operations from preparing and launching the development environment to simulation.
Contact Us