
![]()
![]() Narrow down by specifying conditions
Narrow down by specifying conditions
現在1890件がヒットしています。check
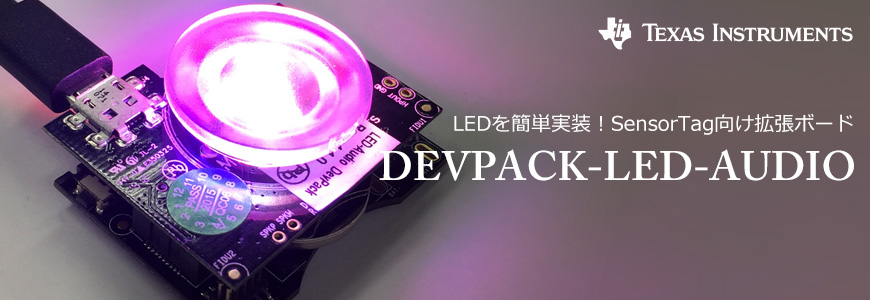
Texas Instruments (hereinafter referred to as TI) has posted many articles about SensorTag in particular, but do you know that there is an expansion board for SensorTag? This time, we will introduce the features and usage of SensorTag's expansion board "DEVPACK-LED-AUDIO".
What you can do with the expansion board DEVPACK-LED-AUDIO for SensorTag
DEVPACK-LED-AUDIO is an expansion board provided for SensorTag made by TI.
The board includes 4 LEDs, a USB power supply, an audio amplifier (TAS2505), and dims the 4 LEDs with PWM control from the SensorTag. Also, the audio amplifier is connected by I2S, but unfortunately the current SensorTag software does not support audio output.
Please refer to this article for SensorTag.
Three features of SensorTag (CC2650STK)
feature
- Evaluation kit that can be attached to the SensorTag (see diagram below)
- 4 LEDs (red, blue, green, white) dimmable by PWM control
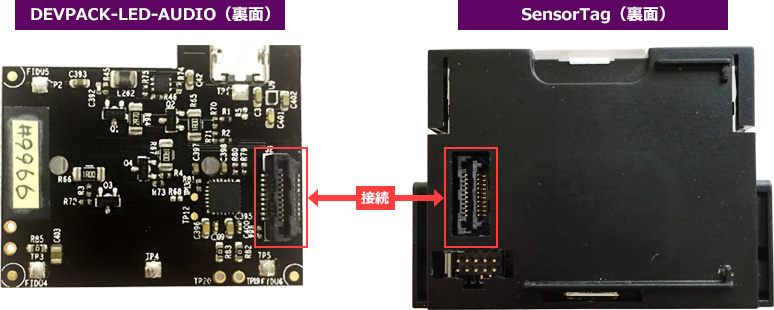
How to connect with SensorTag
1. Connect DEVPACK-LED-AUDIO (back side) and SensorTag (back side).
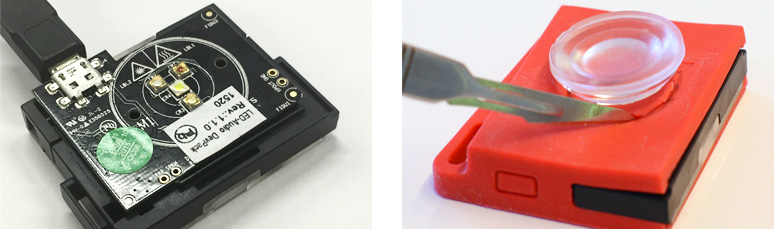
- If SensorTag's HW Rev is 1.3 or later, remove the button battery and connect the USB power supply to the micro USB port.
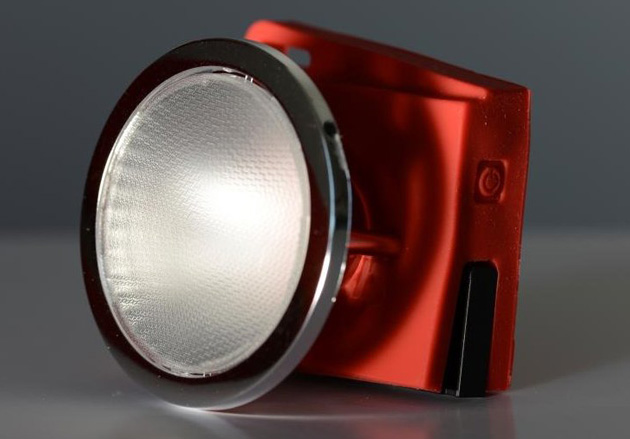
*If HW Rev is 1.1 or 1.2, do not remove the battery as it may cause malfunction. - Cut the red cover of the SensorTag to fit the LED lens size.
How DEVPACK-LED-AUDIO works
Things to prepare
- Sensor Tag (CC2650STK)
- DEVPACK-LED-AUDIO
- Smartphone (I use iPhone this time)
- SensorTag app (This time we will use an iOS app as an example)
procedure
1. Firmware update
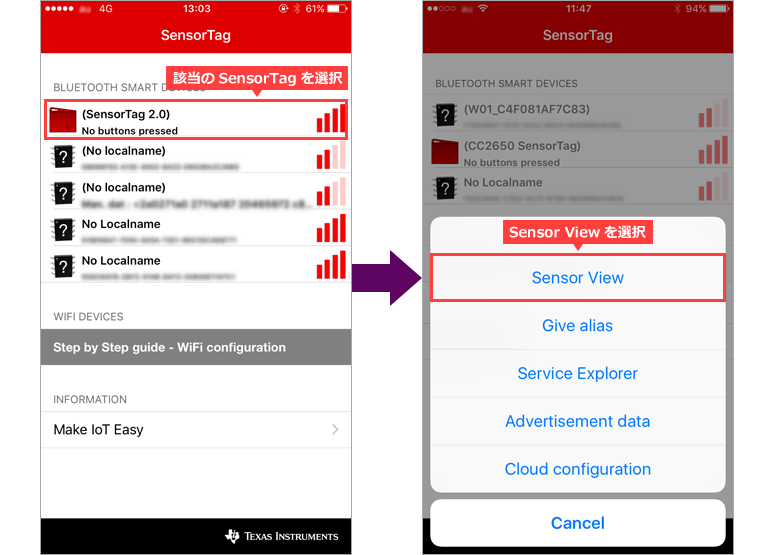
First, update the SensorTag's firmware. In order to update the firmware with OAD this time, launch the SensorTag app, confirm that the SensorTag to be updated is displayed, and select Sensor View.
Please refer to the following page for firmware update.
Let's update SensorTag to the latest F/W -OAD version-
2. Select Upgrade if it is displayed on the left, or select FW Download if it is not displayed.

- Select the FW to update from Select FW File.
This time, we will update to v1.30 LED Devpack FW, so select the following.

4. Follow the steps below to update the FW.
If FW upgrade successful is displayed, it is successful.

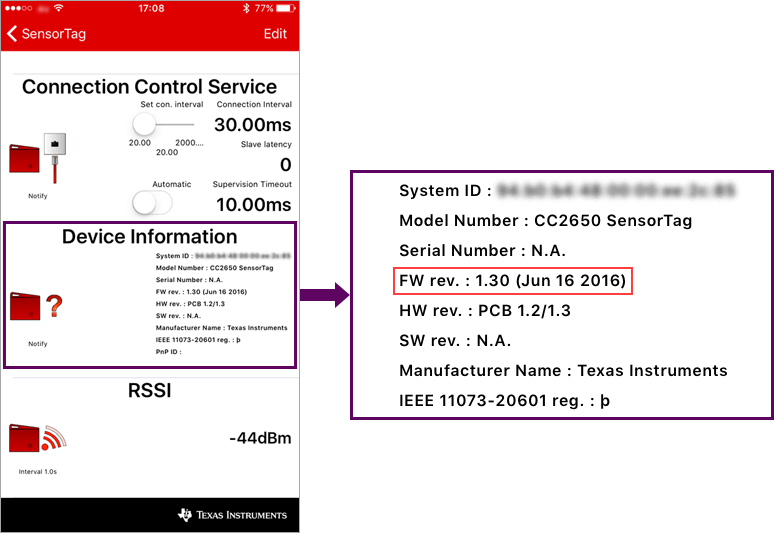
You can check the written FW from "Device Information" in the SensorTag app.
- Once the FW is updated, access SensorTag from your smartphone. Similarly, confirm that the target SensorTag is displayed and select Sensor View.
In addition, since the information of the previous FW may remain in the smartphone app, it is recommended to completely quit the app and then start the app again. Also, update your smartphone app to the latest version.

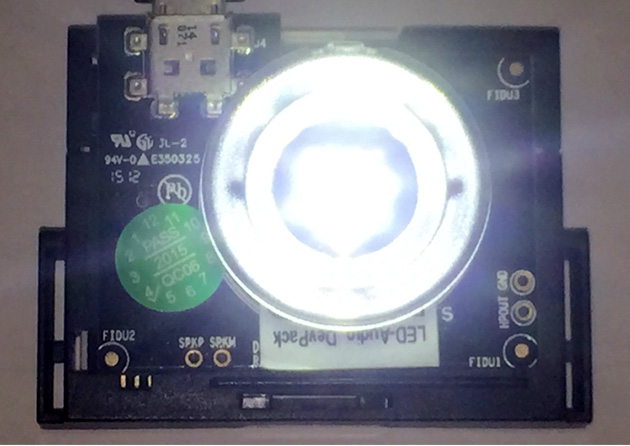
6. The LED on the Devpack will light up when connected.
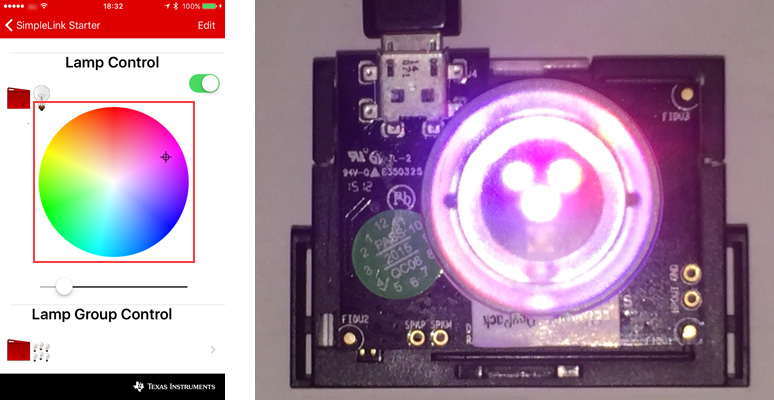
7. In the updated FW, the items of Lamp Control and Lamp Group Control are added on the smartphone app.
Moving the slider below the Lamp Control circle changes the brightness of the LEDs on the Devpack. You can also turn the LED on and off with the switch on the upper right of the circle.
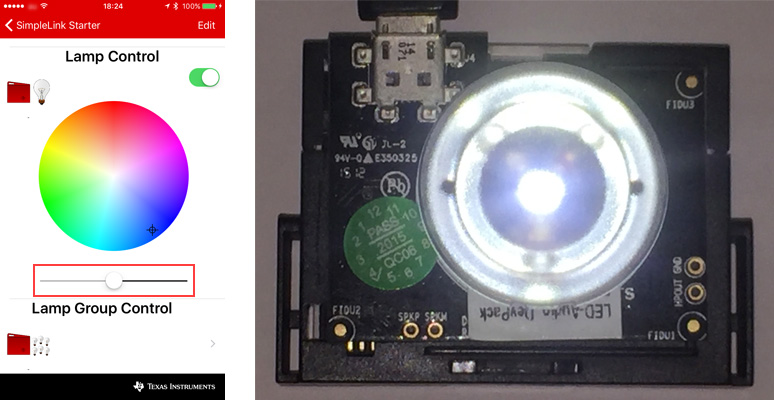
8. Changing the location of the cursor in the Lamp Control circle will change the lighting of the four LED colors on the Devpack.
At the end
This concludes the explanation of DEVPACK-LED-AUDIO.
By using DEVPACK-LED-AUDIO in this way, it is possible to communicate with BLE from the smartphone side and control the lighting of the LED connected to the SensorTag. Please refer to it.
Click here for more information about the product
Click here for recommended articles/materials
Recommended device for IoT development/evaluation! SensorTag Evaluation Kit
I changed the SensorTag to "Eddystone Beacon"
SensorTag: Top 3 Frequently Asked Questions
Click here to purchase products
SimpleLink SensorTag IoT Evaluation Kit CC2650STK
DEVPACK-LED-AUDIO