Okta
Octa
Brief description
This section explains how to set up Okta's AD integration.
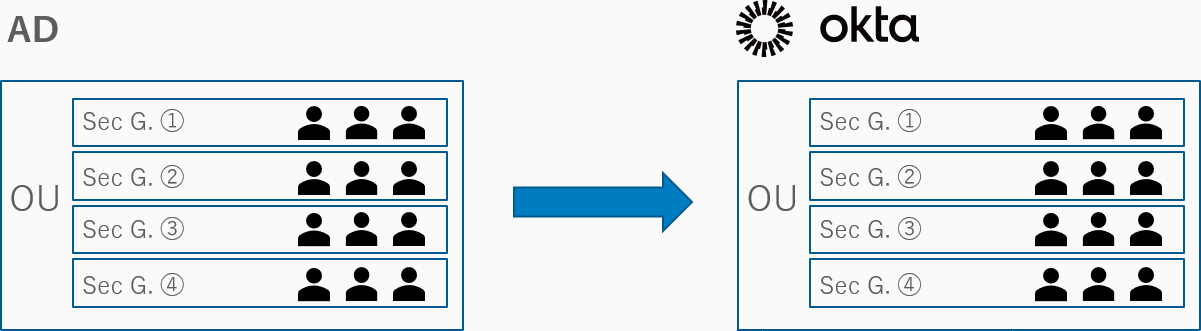
About the AD synchronization function
A feature that synchronizes users from on-premises AD to Okta. OUs can be synced, AD Security Groups are automatically synced to Okta Groups.
Integration settings between Active Directory and Okta
This section explains how to set up Okta's AD integration.
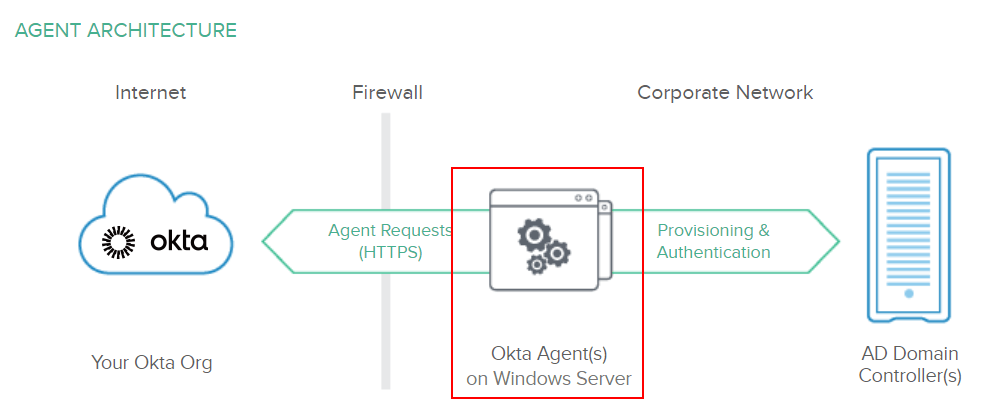
About Okta AD Agent
Set up a relay server (Okta AD Agent) for user synchronization between AD and Okta.
For details on prerequisites for building AD Agent, see below.
https://help.okta.com/en/prod/Content/Topics/Directory/ad-agent-prerequisites.htm
Although it is possible to run the Agent on the server where the Domain Controller service is running, for actual operations, we recommend preparing a separate server to minimize the impact on the Domain Controller service.
- Minimum hardware requirements:
-
- 2 CPU, 8GB or more RAM
- Windows Server 2008 R2 or later
- Implements .NET 4.5.2 or later
- A server participating in the domain to which the AD user (AD user used on Okta) belongs
- Always on and always able to communicate with Okta over the internet
Also, register the following sites as trusted sites in IE on the server where AD Agent will be installed.
- https://*.okta.com/
- https://*.oktacdn.com/
Advance preparation
Advance preparation
Preparation items for building AD Agent.
- Server running Okta AD Agent
In order to perform coordination processing between Active Directory and Okta tenants, the Okta AD Agent must be constantly running on the Windows Server terminal participating in Active Directory, so please use a server that meets the requirements listed on the previous page. Please prepare.
- AD domain admins account or local administrator account on the host server
Used when installing Okta AD Agent. -
- If you want the installer to create an Okta service account during the Okta AD Agent installation, an AD domain admins account is required.
- If you have already created an AD domain users account as an Okta service account and want to install Okta AD Agent, you will need local administrator privileges on the host server.
- AD service account
A user created by the Okta AD Agent installation wizard. You may also create an account in advance.
This is the user who starts and executes Okta AD Agent.
The default account name is "OktaService".
Belongs to the Domain Users group.
- Okta SuperAdmin account
Super Admin account used by Okta AD Agent to connect to your Okta tenant.
We recommend that you create an account separate from your personal SuperAdmin account. This is because if it is a personal account, Admin privileges may be removed or disabled.
- OU to import
It is possible to restrict the import of user groups from Active Directory to Okta by OU. Decide in advance which OU's user group you want to target.
For details on prerequisites for building AD Agent, see below.
https://help.okta.com/en/prod/Content/Topics/Directory/ad-agent-prerequisites.htm
Okta AD Agent installation
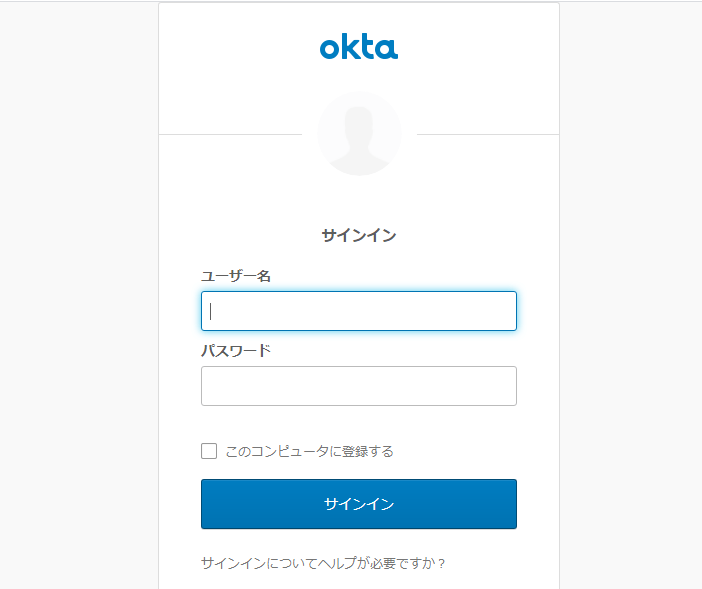
- Log in to the Windows server where you want to install the Okta AD agent, and log in to the Okta tenant with an administrator account.
- Transition to Directory > Directory Integrations screen
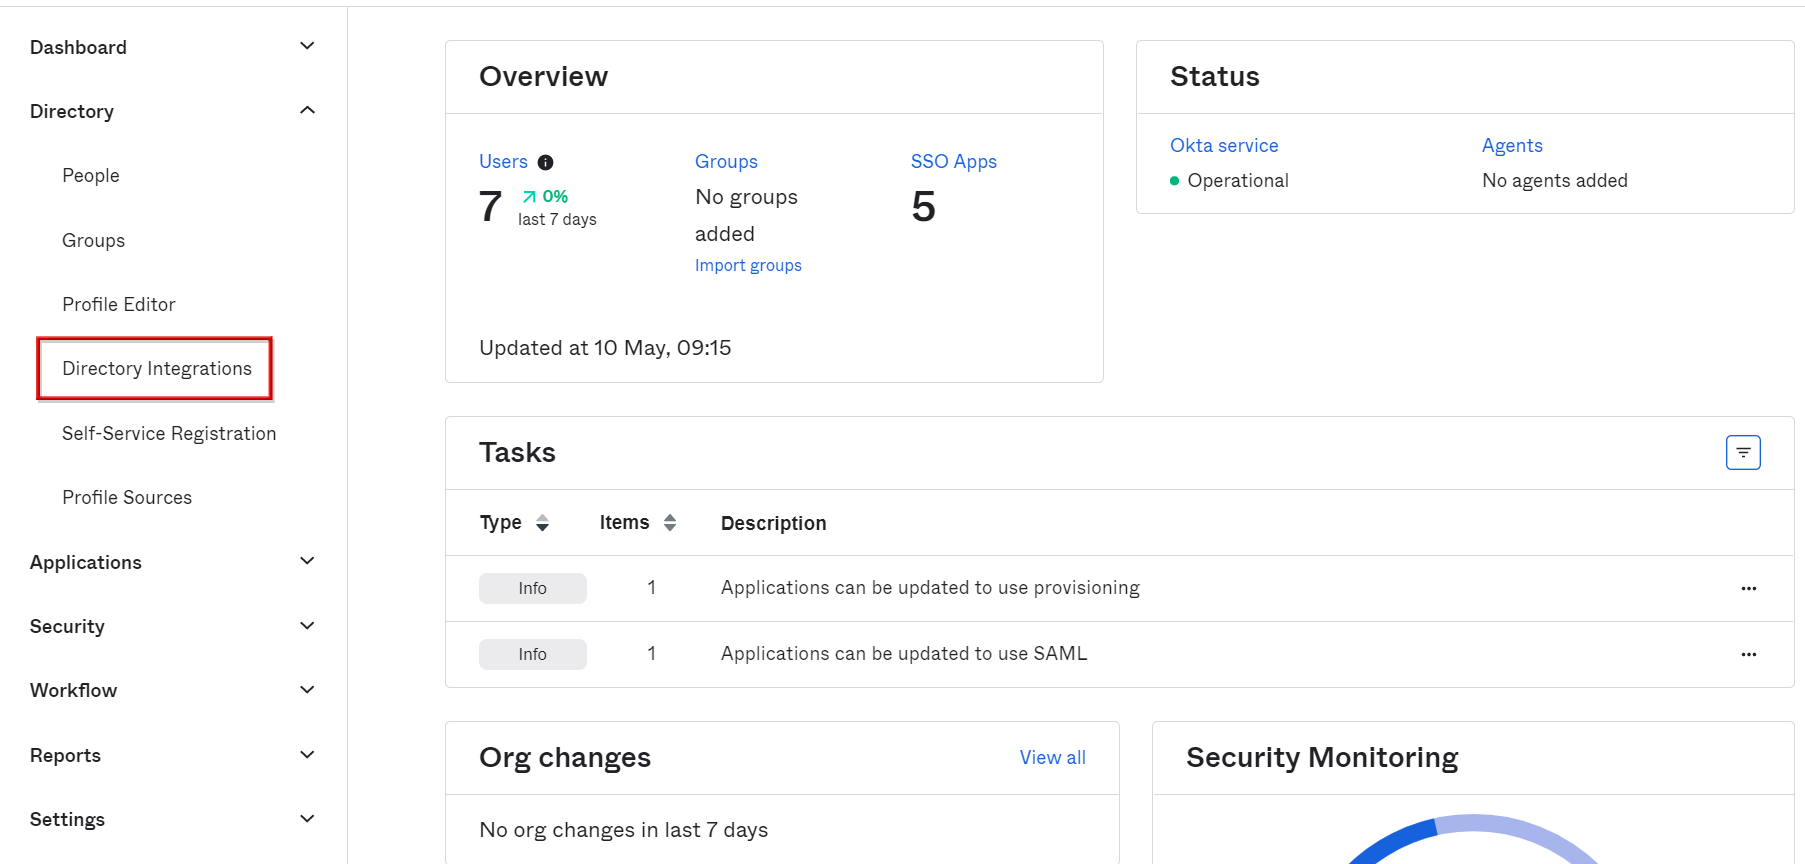
- Click Add Active Directory from Add Directory
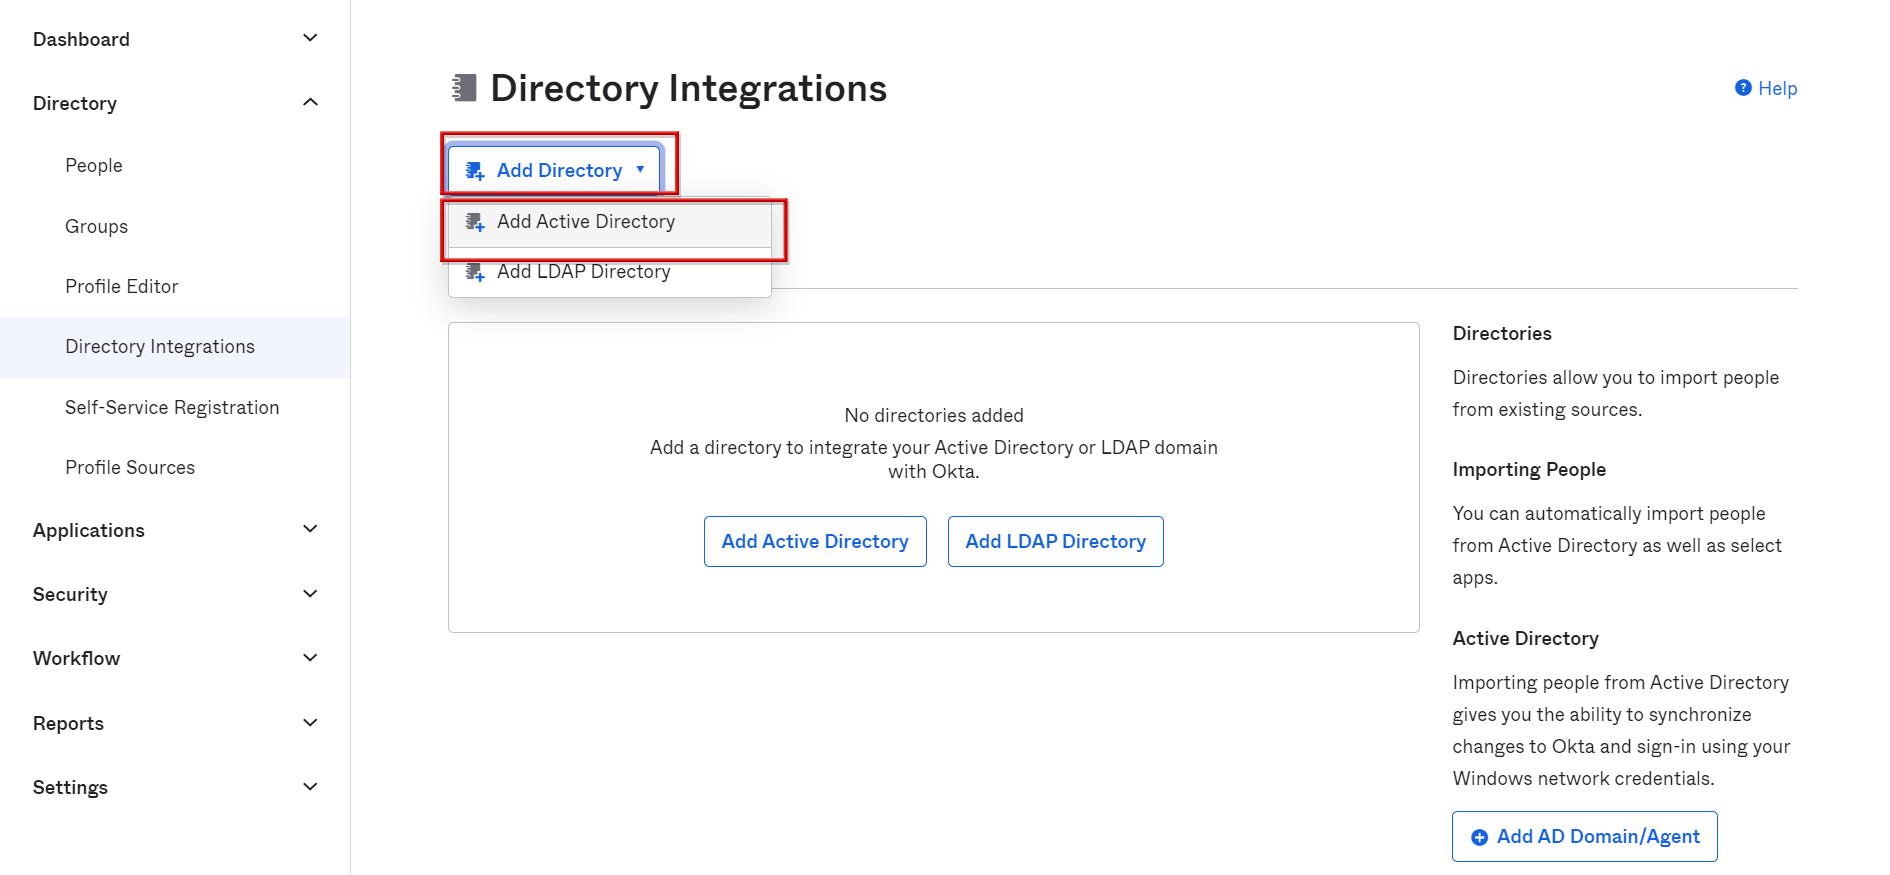
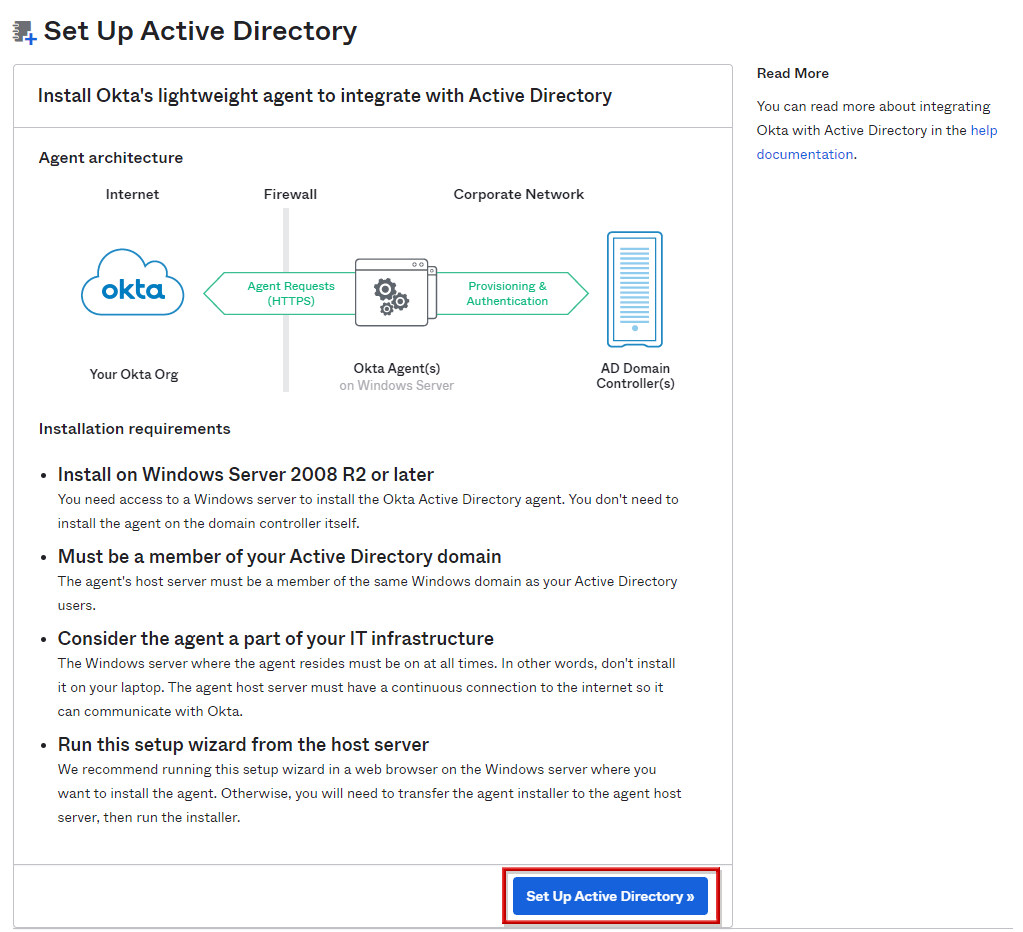
- Click Set Up Active Directory at the bottom of the page
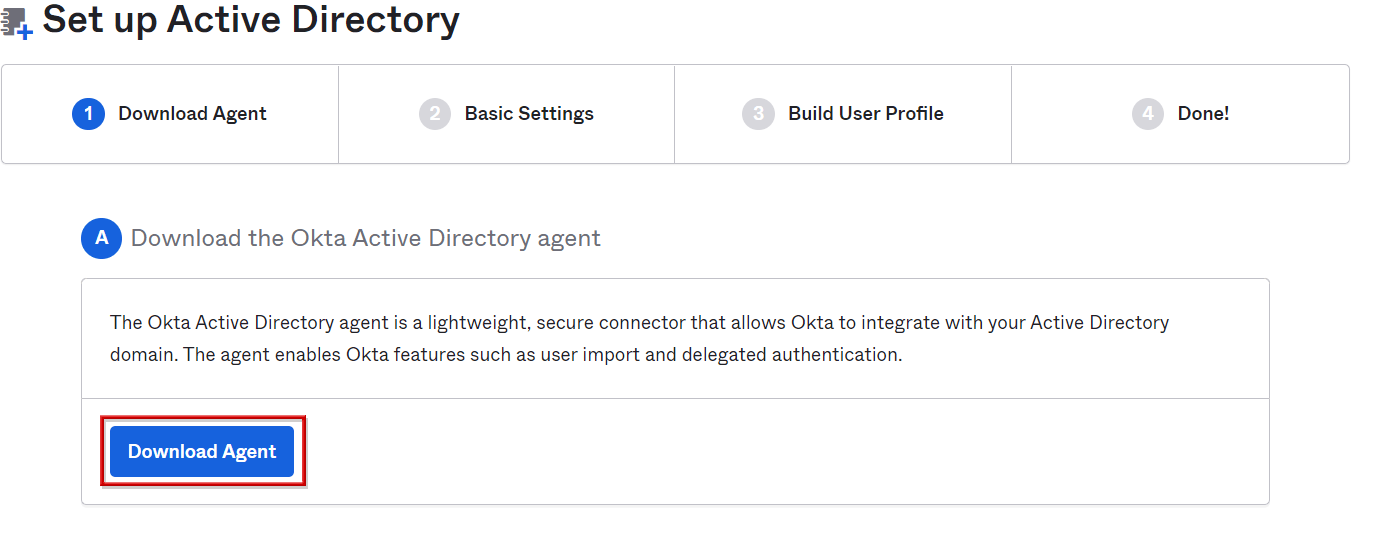
- Click Download Agent to download the Okta AD Agent installation file
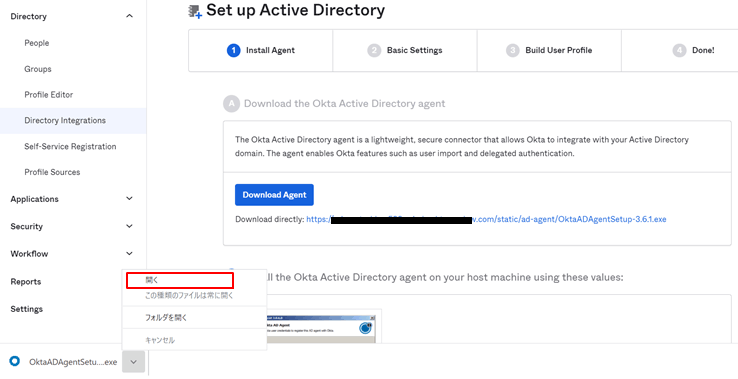
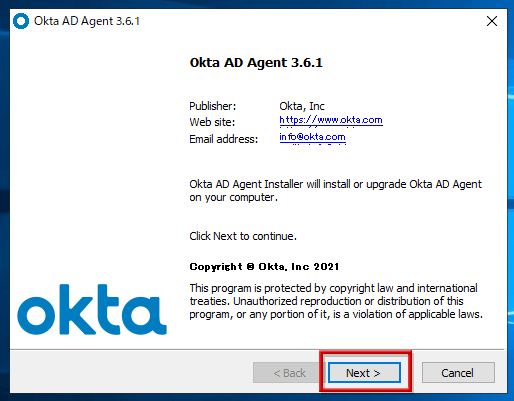
- Open the downloaded Okta AD Agent installation file
- The Okta AD Agent installation wizard will start, click Next
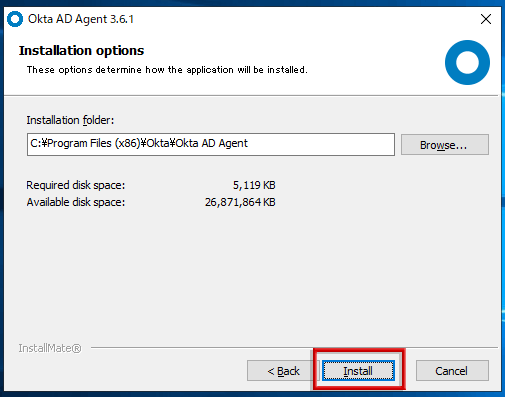
- Click Install
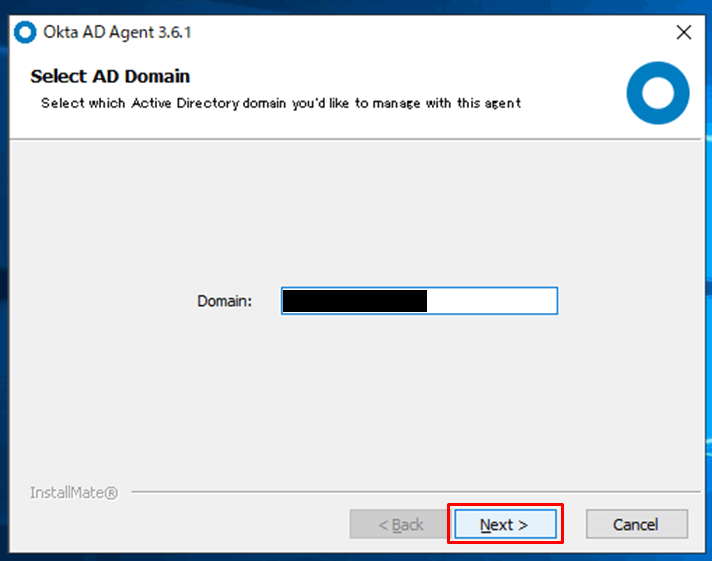
- The AD domain name will be automatically filled in, so just click Next.
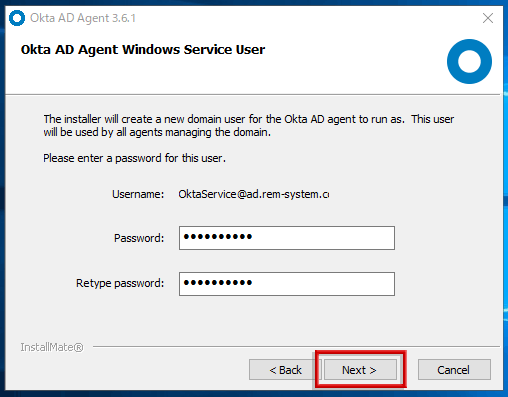
- To create a new AD service account on AD, select Create or use the OktaService account and click Next.
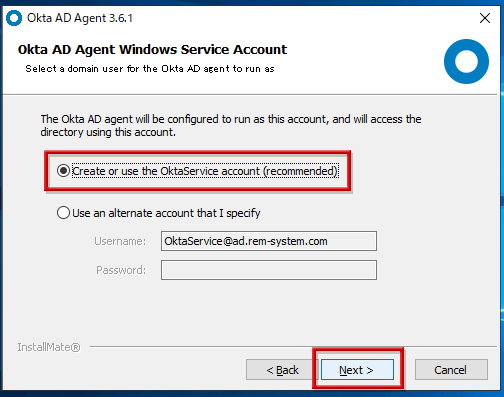
- Enter the OktaService user password and click Next.
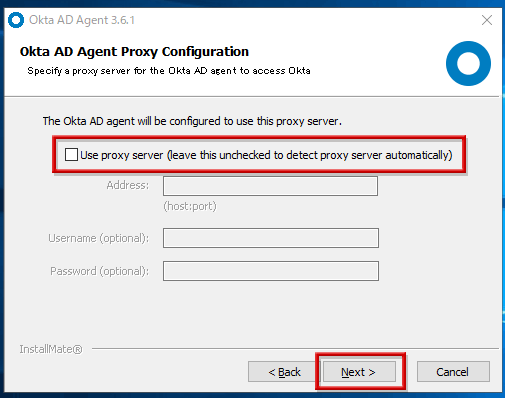
- If using a proxy, check Use Proxy server and enter the necessary information; if not, click Next without checking.
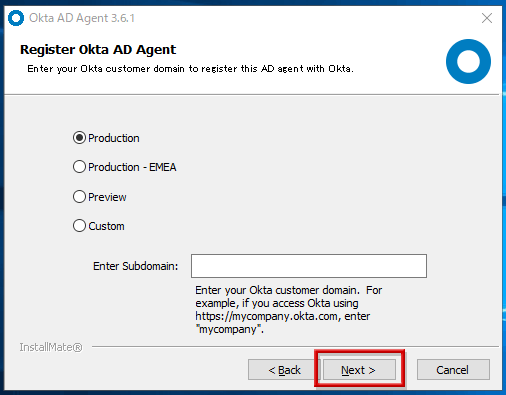
- Select Production, enter the subdomain name of the Okta tenant in Enter Subdomain, and click Next.
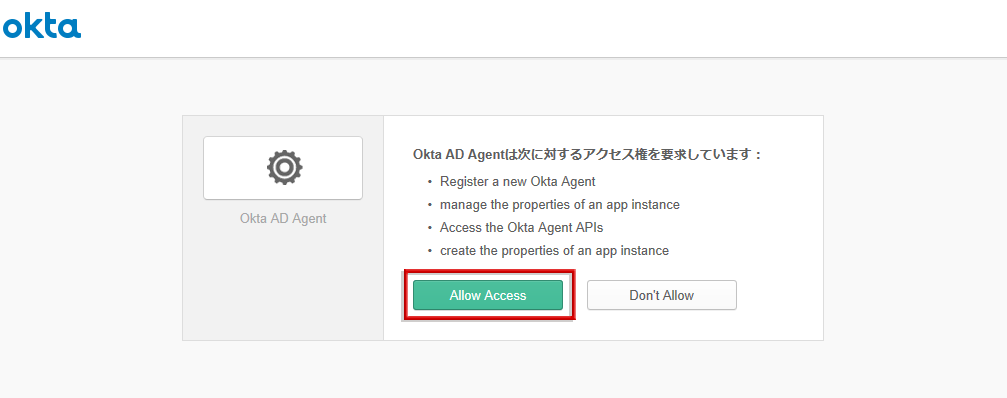
- The browser will start automatically, so log in with an administrator account.

- Click Allow Access to start the installation
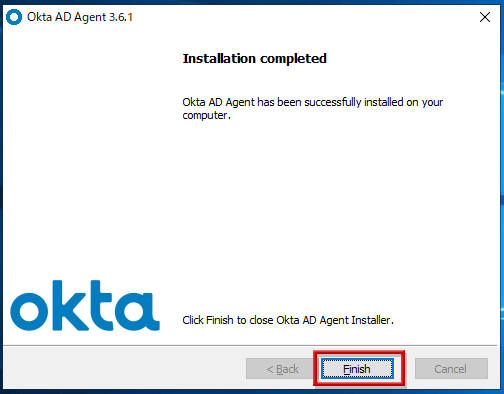
- When Installation completed is displayed, click Finish.
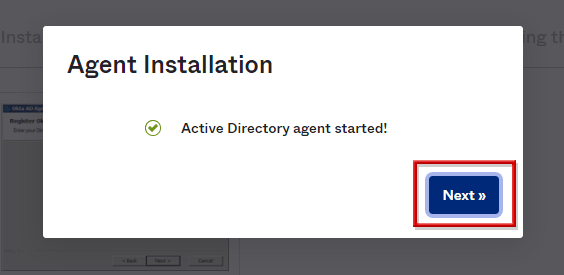
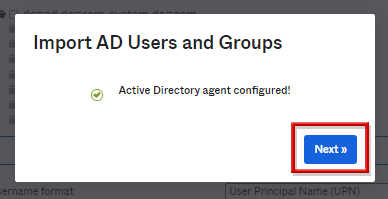
- Verify that the Okta AD Agent has been started, then click Next to complete the installation.
User/group settings to import
- Select OUs to import from AD to Okta
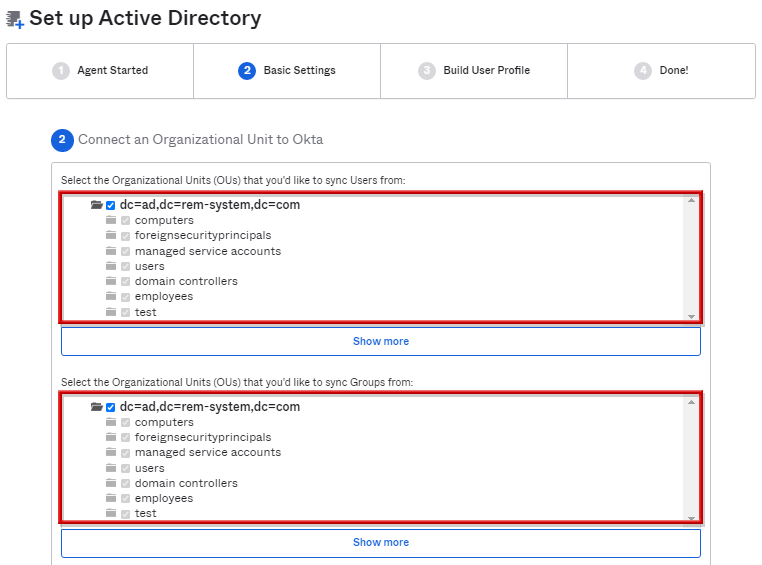
*All OUs are selected by default.
- Specify Okta username format at the bottom of the page and click Next
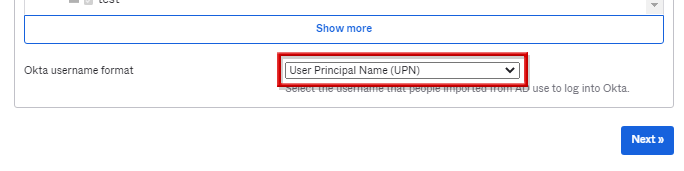
*Okta username format can be selected from the following three types, and it is possible to select which AD attribute information will be used as the Okta username.
- email address
- SAM Account Name
- User Principal Name(UPN) (default)
- After confirming the settings, click Next.
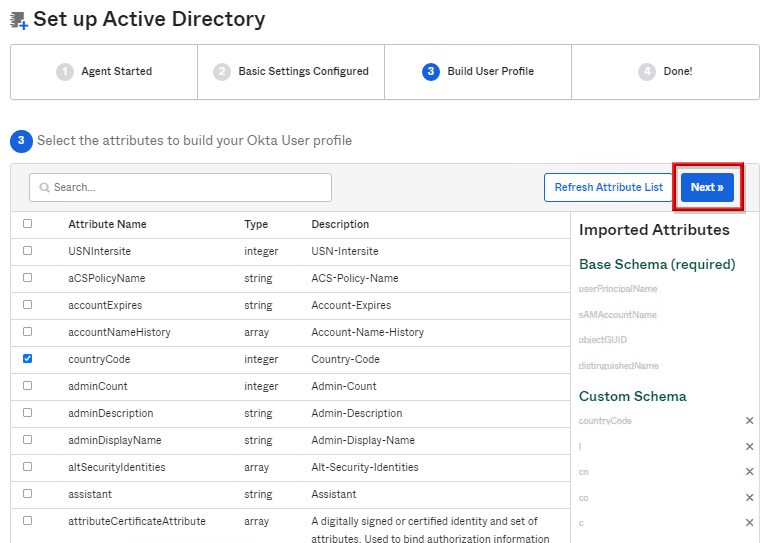
- Specify the association between AD attribute information and Okta user profile, and click Next.
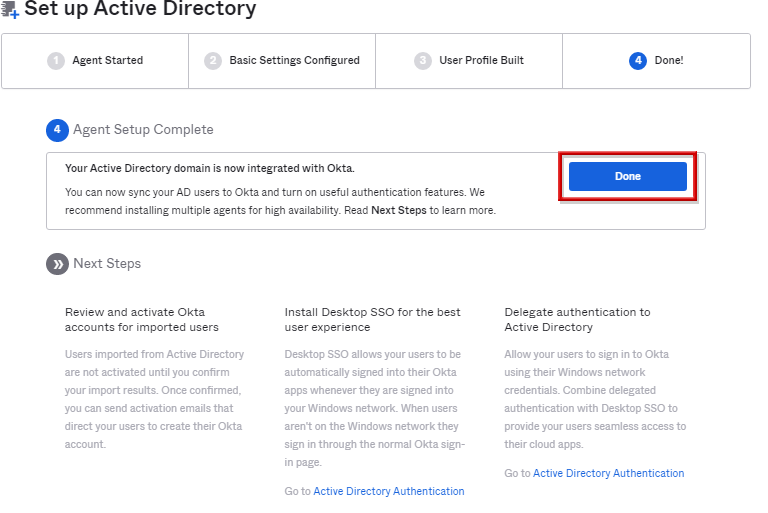
- After confirming that AD setup is complete, click Done.
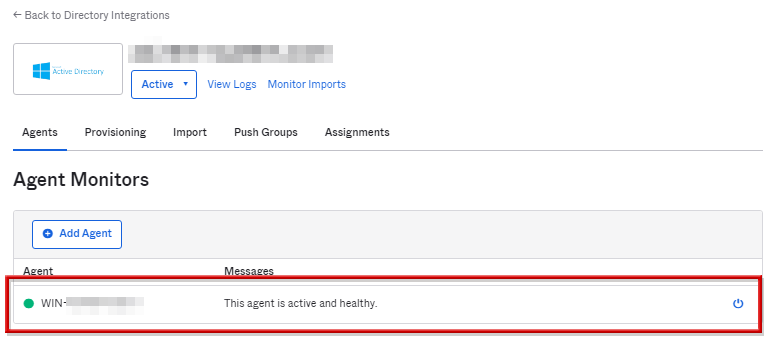
- Confirm that it is the host name of the target server on the Agent tab, and Okta and AD linkage settings are completed.
Inquiry/Document request
In charge of Macnica Okta Co., Ltd.
- TEL:045-476-2010
- E-mail:okta@macnica.co.jp
Weekdays: 9:00-17:00