product
- Why choose Splunk
- Installation record
- price
- Splunk Enterprise Security
- Splunk Phantom (SOAR)
- Splunk ITSI (Next Generation IT Operations)
- Splunk Observability Cloud
- Splunk UBA
- Macnica CSIRT App Basic
- App for Splunk for Financial Institutions
- Splunk Analytics for Hadoop
- About Apps
- Splunk Edge Hub
- What is Splunk
service
- Dashboard/SPL Creation Pack [Implementation/Building Support]
- Version upgrade service [implementation and construction support]
- Smart Security Monitoring App [Original App/Service]
- Splunk × LANSCOPE Original App [Original App/Service]
- Security Monitoring App for Box [Original App/Service]
- Cloud Security Monitoring App [Original App/Service]
Specifications/Technical Information
Application for evaluation machine
- FAQ
How to add an arbitrary search period to the time range selection on the search screen
- release date
- 2017-01-23
- last updated
- 2023-12-01
- version
- Splunk Enterprise 9.1.0
- Overview
- By adding definitions to times.conf, you can select any search period using the time range picker.
- Reference information
- content
-
About the time range picker
You can specify the search period, and you can also add any search period.
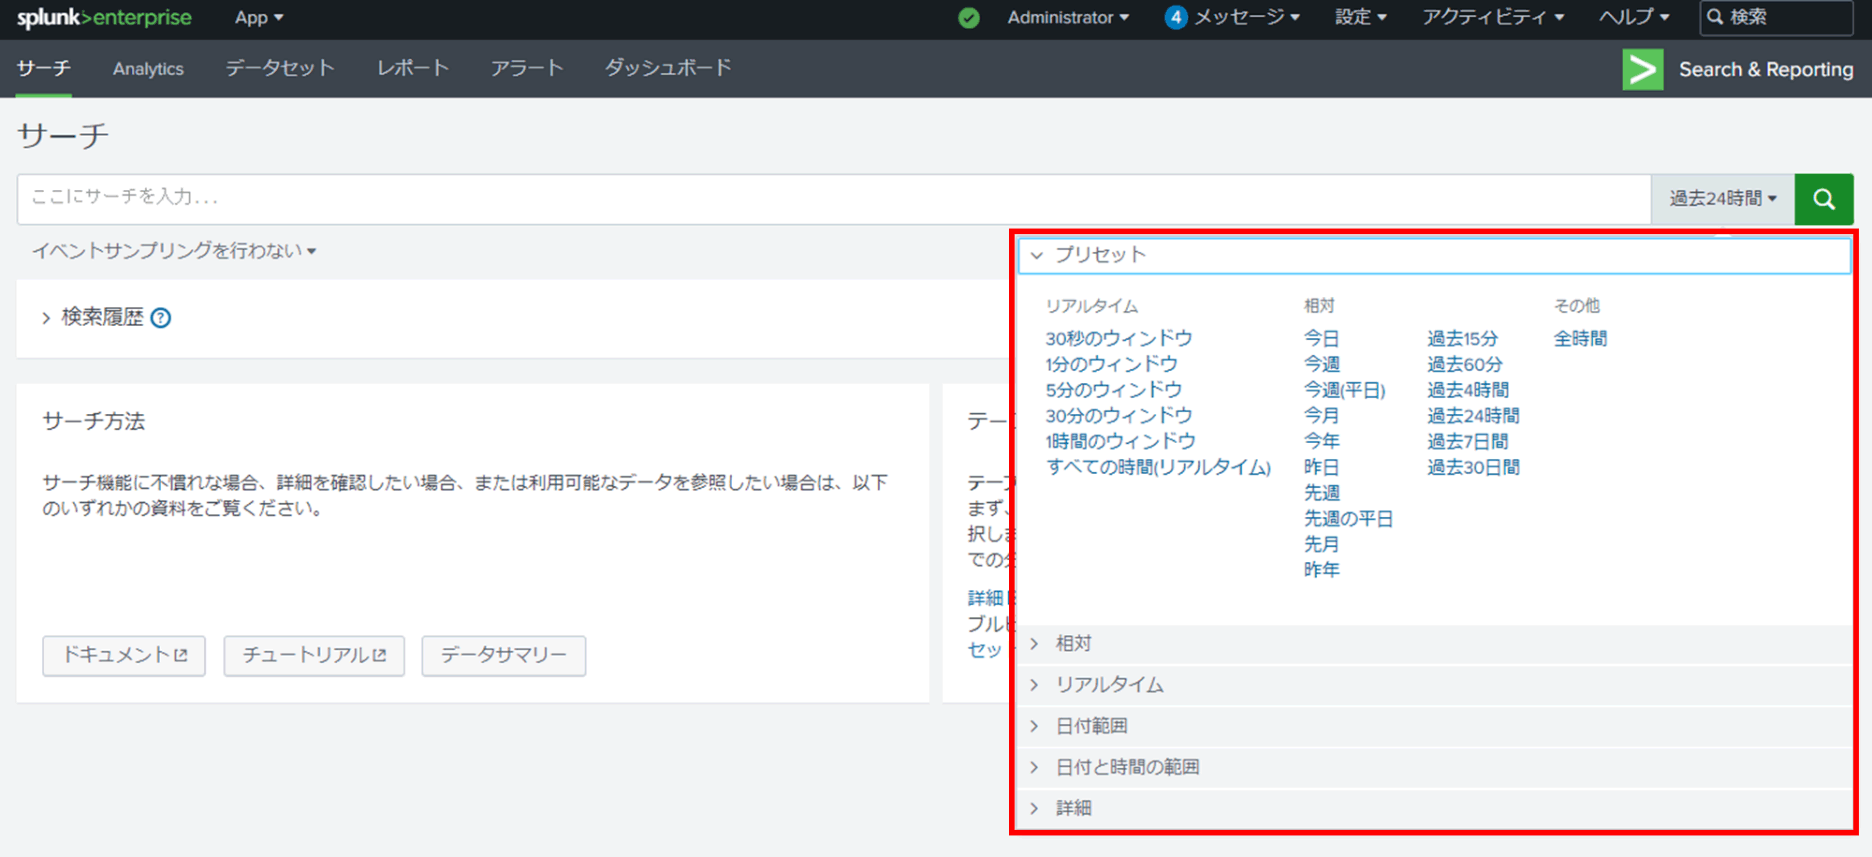
Steps to add any search period to the time range picker
- Open times.conf with a text editor, etc.
*If the file does not exist, create a new file.
If you want to share the added search period throughout, edit times.conf located in the following directory.
$SPLUNK_HOME/etc/system/local/times.conf*$SPLUNK_HOME is the installation directory. If installed by default, the path will be as follows.
Linux : /opt/splunk
Windows : C:\Program Files\Splunk- Add the desired search period according to the format below.
[<サーチ対象期間名称>]
label = <タイムレンジ・ピッカーに表示する文字列>
earliest_time = <サーチ対象期間の開始日>
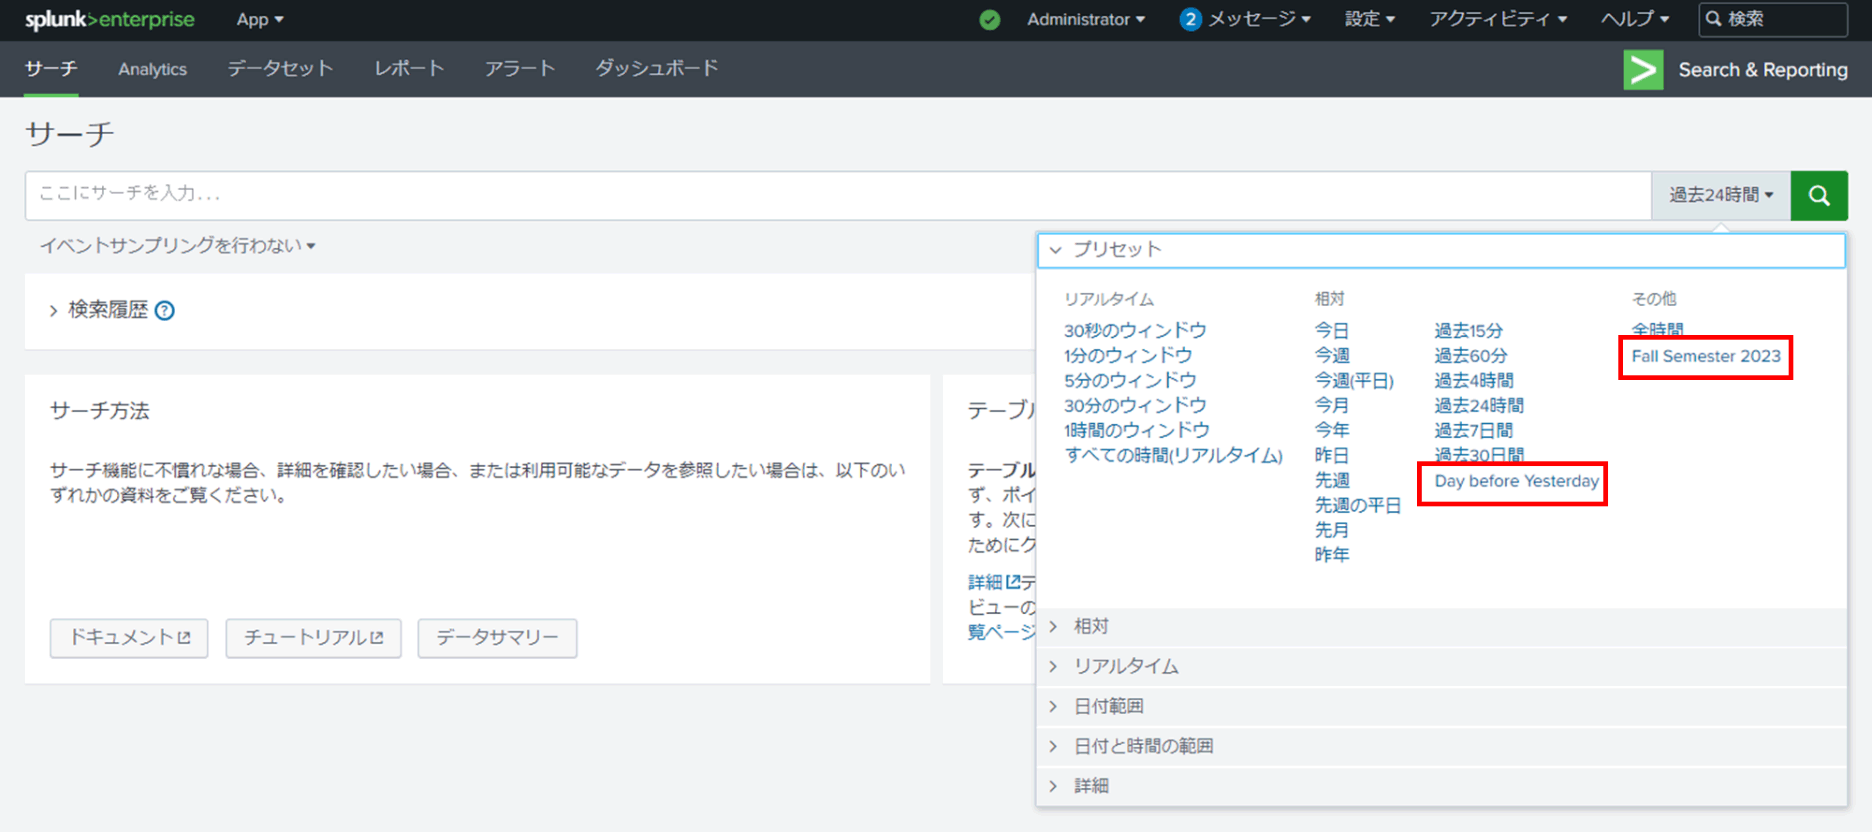
latest_time = <サーチ対象期間の終了日>For example, if you want to add the search period of Fall 2023, enter it as follows.
[Fall_2023]
label = Fall Semester 2023
earliest_time = 1693494000
latest_time = 1701356399
* "1693494000" and "1701356399" are UNIX timestamp notation, and represent 2023/09/01 0:00:00 and 2023/11/30 23:59:59, respectively.
You can also specify the start date and end date of the search period relative to the current time, such as "2 days before today".
[Day_before_Yesterday]
label = Day before Yesterday
earliest_time = -2d@d
latest_time = now- Save times.conf.
- Restart Splunk.
$SPLUNK_HOME/bin/splunk restart
- When you display the time range picker on the search screen, you can select any search period you have added.
that's all
- Open times.conf with a text editor, etc.
In charge of Macnica Splunk Co., Ltd.
- TEL:045-476-2010
- E-mail:splunk-sales@macnica.co.jp
Weekdays: 9:00-17:00