Okta
オクタ
Auth0 Universal Loginカスタマイズ(任意入力項目及び利用規約同意管理追加)
はじめに
2024年2月のアップデートにより、Auth0の認証画面機能であるUniversal Loginにおいて、以下のカスタマイズ機能が追加となりました。
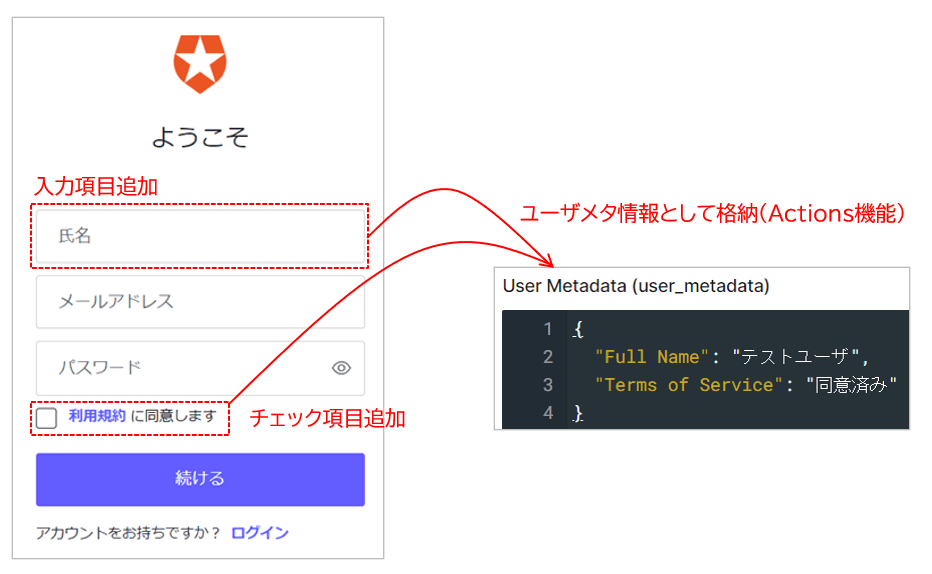
- サインアップ画面上への入力項目追加
- 画面上への選択肢、チェックボックス、テキストの追加
- Actions機能を利用した入力情報の格納(メタ情報として)
本ページでは、今回アップデートされたUniversal Loginのカスタマイズ機能について、実現方法と動作例をご紹介します。
前提
本ページ記載の機能及び設定に関する内容は、2024年3月現在の情報となります。
本ページでご紹介するカスタマイズには、対象のAuth0テナントにて、カスタムドメイン設定が必要です。カスタムドメイン設定の詳細は、Auth0カスタムドメイン設定方法をご確認ください。
また、カスタマイズ設定として、ページテンプレート機能を利用します。ページテンプレートの利用方法は、Auth0 Universal Loginカスタマイズ(ページテンプレート編)をご確認ください。
カスタマイズ設定例
カスタマイズ例として、以下機能の実現をご紹介します。なお、本ページの設定例は、必要最低限の内容であり、入力チェックやエラー処理等を含めておりませんのでご了承ください。
- サインアップ画面への入力項目追加
- 利用規約URL及び同意のチェックボックス追加
- ユーザメタデータへの入力情報登録
設定詳細
1. カスタマイズ用ページテンプレート作成
- カスタマイズ内容をHTMLで記述
<!- 氏名入力欄の追加 -->
<div class='ulp-field'>
   <label for='name'>
      氏名
   </label>
   <input type='text' name='ulp-full-name' id='full-name'>
</div>
<!- 利用規約チェックボックスの追加 -->
<div class='ulp-field'>
   <input type='checkbox' name='ulp-terms-of-service' id='terms-of-service'>
   <label for='terms-of-service'>
      <a href='https://example.com'>利用規約</a>に同意します
    </label>
</div>
- 作成したHTML記述の改行を削除し、一行のテキストに修正 ※「"」は「'\''」に変更
<!- 氏名入力欄の追加 -->
<div class='\''ulp-field'\''> <label for='\''name'\''>氏名</label> <input type='\''text'\'' name='\''ulp-full-name'\'' id='\''full-name'\''></div>
<!- 利用規約チェックボックスの追加 -->
<div class='\''ulp-field'\''> <input type='\''checkbox'\'' name='\''ulp-terms-of-service'\'' id='\''terms-of-service'\''> <label for='\''terms-of-service'\''><a href='\''https://example.com'\''>利用規約</a>に同意します</label></div>
- テンプレートを反映するプロンプトとコンテンツの位置を指定
{"signup": {"form-content-start":"<div class='ulp-field'> <label for='name'>氏名</label> <input type='text' name='ulp-full-name' id='full-name'></div>", "form-content-end": "<div class='ulp-field'> <input type='checkbox' name='ulp-terms-of-service' id='terms-of-service'> <label for='terms-of-service'><a href='https://example.com'>利用規約</a>に同意します</label></div>" }}
2. ユーザメタデータへの入力情報登録用Action作成
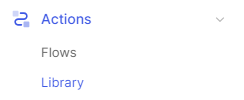
- Auth0管理画面で、[Actions] > [Library]をクリック
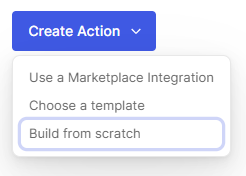
- [Create Action] > [Build from scratch]を選択
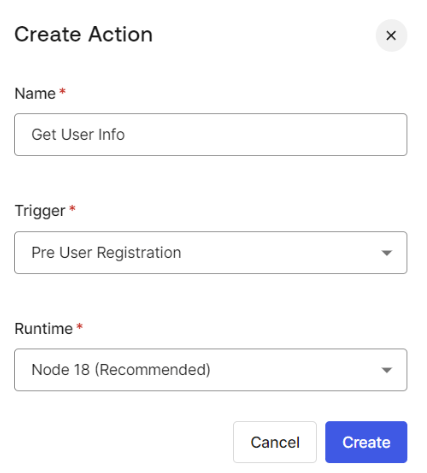
- 作成するActionのName、Trigger、Runtime(実行環境)を選択し、[Create]をクリック
- コードエディタにて、実現するロジックを記載(JavaScript記述)
exports.onExecutePreUserRegistration = async (event, api) => {
  const FullName = event.request.body['ulp-full-name'];
  api.user.setUserMetadata("Full Name", FullName);
  const Checkbox = event.request.body['ulp-terms-of-service'];
  if(Checkbox){
    api.user.setUserMetadata("Terms of Service", "同意済み");
  }
};
- [Deploy]をクリックし、正常に保存されたことを確認
- Auth0管理画面にて、[Actions] > [Flows]をクリック
- 作成したActionを組み込むFlowとして、[Pre User Registration]を選択
- 画面右側のCustomタブに表示されるActionの一覧から、対象Actionをドラッグ&ドロップし、画面左側のフロー図に配置
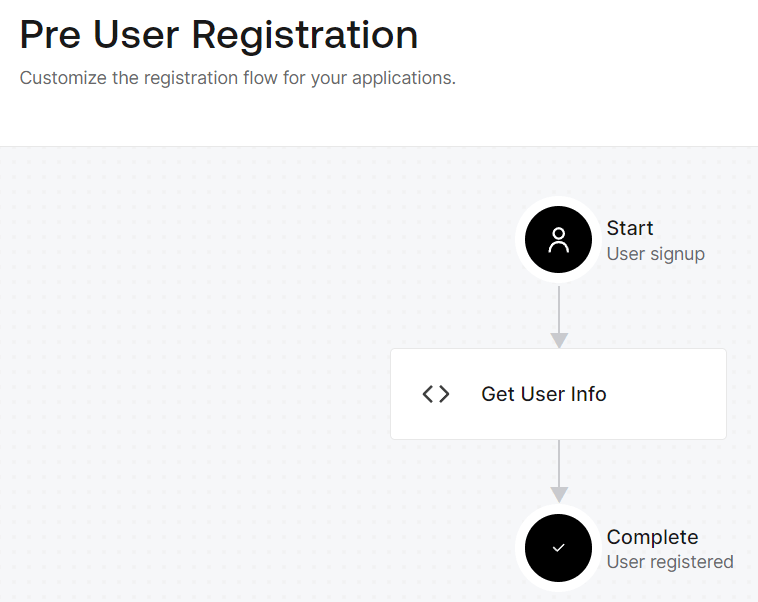
- [Apply]をクリックし、正常に反映されたことを確認
3. Management APIアクセストークン発行
- Auth0管理画面で、[Applications] > [APIs]をクリック
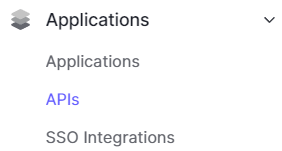
- Auth0 Management APIをクリック

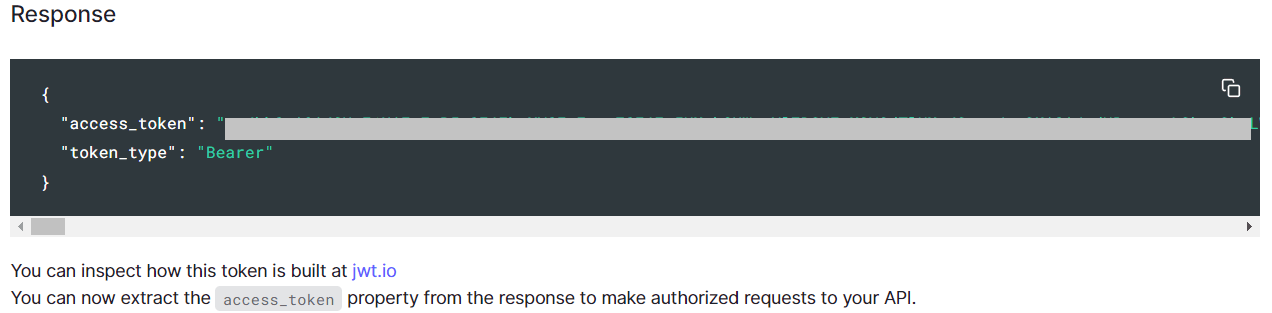
- [Test]タブをクリック ※今回はテスト用途のアクセストークンを利用

- Response欄のaccess_token値をコピー
4. curlコマンドによるカスタマイズ適用
- 以下コマンドを実行し、カスタマイズ内容を適用
> curl -L X PUT 'https://<設定済カスタムドメイン>/api/v2/prompts/signup/partials' -H 'Contetnt-Type: application/json' -H 'Authorization: Bearer eyJhbGciOiJSUzI1NiIs...(略)...Z2LGsGdBICdLedwUClQaMu0Q' -data '{"signup": {"form-content-start":"<div class='ulp-field'> <label for='name'>氏名</label> <input type='text' name='ulp-full-name' id='-full-name'></div>", "form-content-end": "<div class='ulp-field'> <input type='checkbox' name='ulp-terms-of-service' id='terms-of-service'> <label for='terms-of-service'><a href='https://example.com'>利用規約</a>に同意します </label></div>"}}'
5. カスタマイズ結果確認
- Auth0連携済Webアプリケーション画面において、ログイン操作を実施
- サインアップ画面(Universal Login)にて、カスタマイズ内容が反映されていることを確認
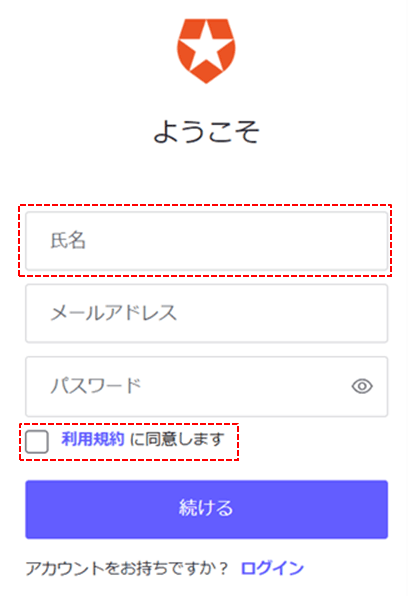
- サインアップ画面にて、要求された情報を入力し、[続ける]をクリック
- Auth0管理画面で、[User Management] > [Users]をクリック
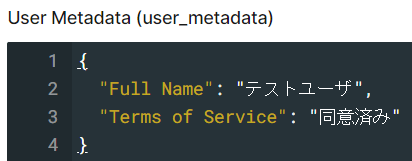
- サインアップしたユーザを選択し、サインアップ画面で入力した情報が格納されていることを確認
おわりに
本ページでは、2024年2月のアップデートにより追加されたUniversal Login画面のカスタマイズ機能をご紹介しました。今後もカスタマイズ可能な範囲が増えていく予定ですので、順次ご紹介していきたいと思います。
無償のAuth0トライアル環境においても、Universal Login画面カスタマイズをお試しいただけます。Universal Login画面のカスタマイズにご興味がある方は、是非弊社までお問い合わせください。
参考
お問い合わせ・資料請求
株式会社マクニカ Okta 担当
- TEL:045-476-2010
- E-mail:okta@macnica.co.jp
平日 9:00~17:00