Okta
Octa
Introduction
The URL of the authentication screen, etc. provided by Auth0 can be a unique domain (custom domain) prepared by the user.
Setting up a custom domain allows you to provide a unified login experience with your cooperating applications and services.
example)
No setting: https://xxxxx.jp.auth0.com/....
With settings: https://login.example.com/....
In addition, the scope of customization in Auth0 can be expanded, such as the ability to edit the Universal Login screen by setting the code base.
premise
Custom domain settings require selection of the certificate to use. The options are:
In the setting example on this page, select Auth0-managed certificates.
| Certificate Type | Certificate management | merit | Demerit |
| Auth0-managed certificates | Managed by Auth0 |
|
|
| Self-managed certificates | Managed by user |
|
|
The information on functions and settings described on this page is current as of May 2023.
Setting overview
The settings required for using a custom domain are as follows.
- Auth0 custom domain setup
- Custom domain setup with Auth0-managed certificates
- Change the Auth0 tenant setting value on the Auth0 linked application side
- Change the Auth0 tenant setting value to be linked with the custom domain setting
Note that even if you set a custom domain, the URL of the Auth0 management screen will not change.
Configuration example: Auth0 custom domain configuration
- On the Auth0 admin screen, click [Branding] > [Custom Domains]
![Auth0管理画面で、[Branding] > [Custom Domains]をクリック](/business/security/okta/image/okta_custom_domains_dr01.png)
- Enter/select the following items and click [Add Domain].
- Domain: Enter the domain name to use
- Certificate Type: Select the certificate to use
![Enter/select the following items and click [Add Domain].](/business/security/okta/image/okta_custom_domains_dr02.png)
- Reflect the displayed DNS settings (CNAME record) on the domain registrar side
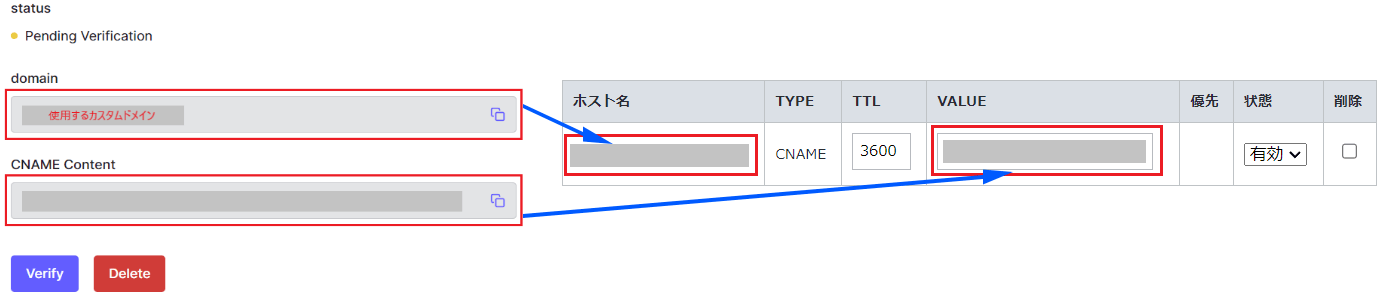
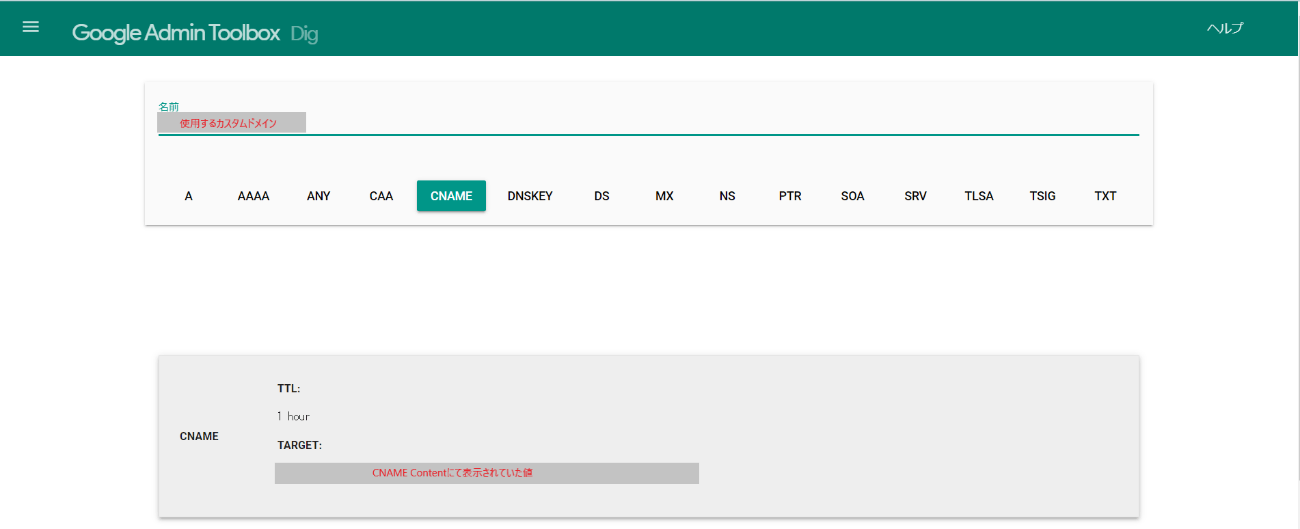
- Confirm that the setting in ③ is reflected using the Dig command or Dig tool
Example: Check with Google Apps Toolbox Dig
- Return to the Auth0 management screen, confirm that the set domain is displayed in the domain field, and click [Verify]
![Return to the Auth0 management screen, confirm that the set domain is displayed in the domain field, and click [Verify]](/business/security/okta/image/okta_custom_domains_dr05.png)
- A pop-up will appear to inform you that the verification was successful, so click [Close].
* Time required to complete setting: 1 to 2 minutes
![A pop-up will appear to inform you that the verification was successful, so click [Close].](/business/security/okta/image/okta_custom_domains_dr06.png)
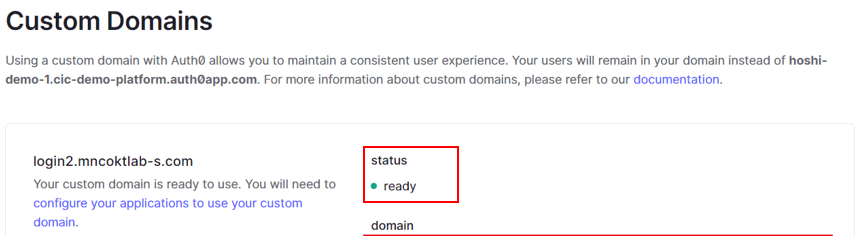
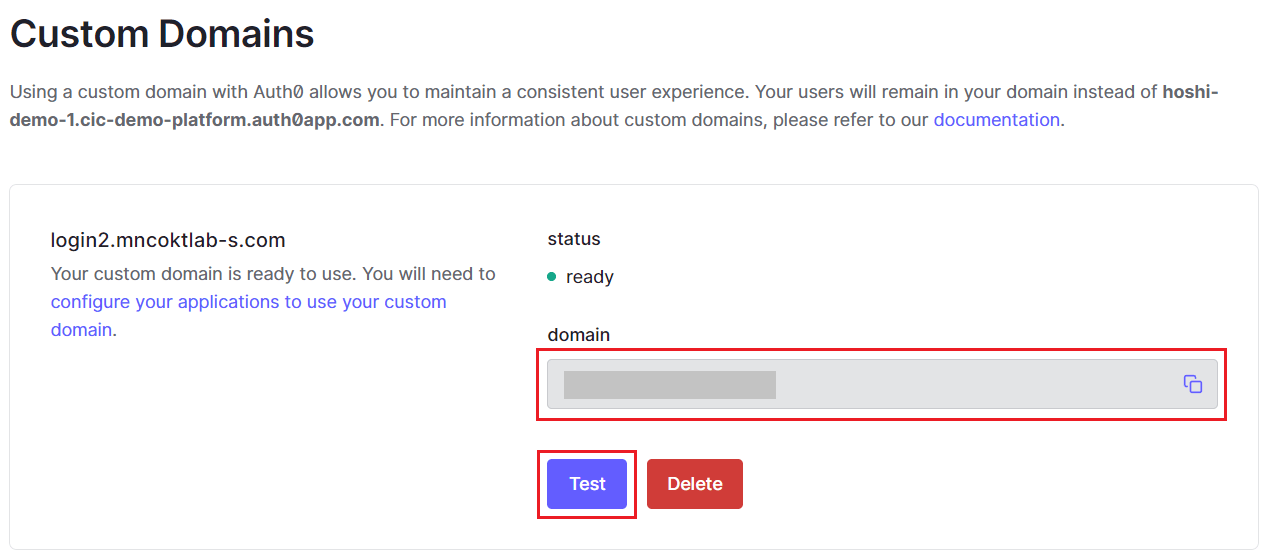
- Confirm that the status has changed from Pending Verification to ready
- Click Test to test that the domain is set successfully
- The following message is displayed, confirming that the test was successful.

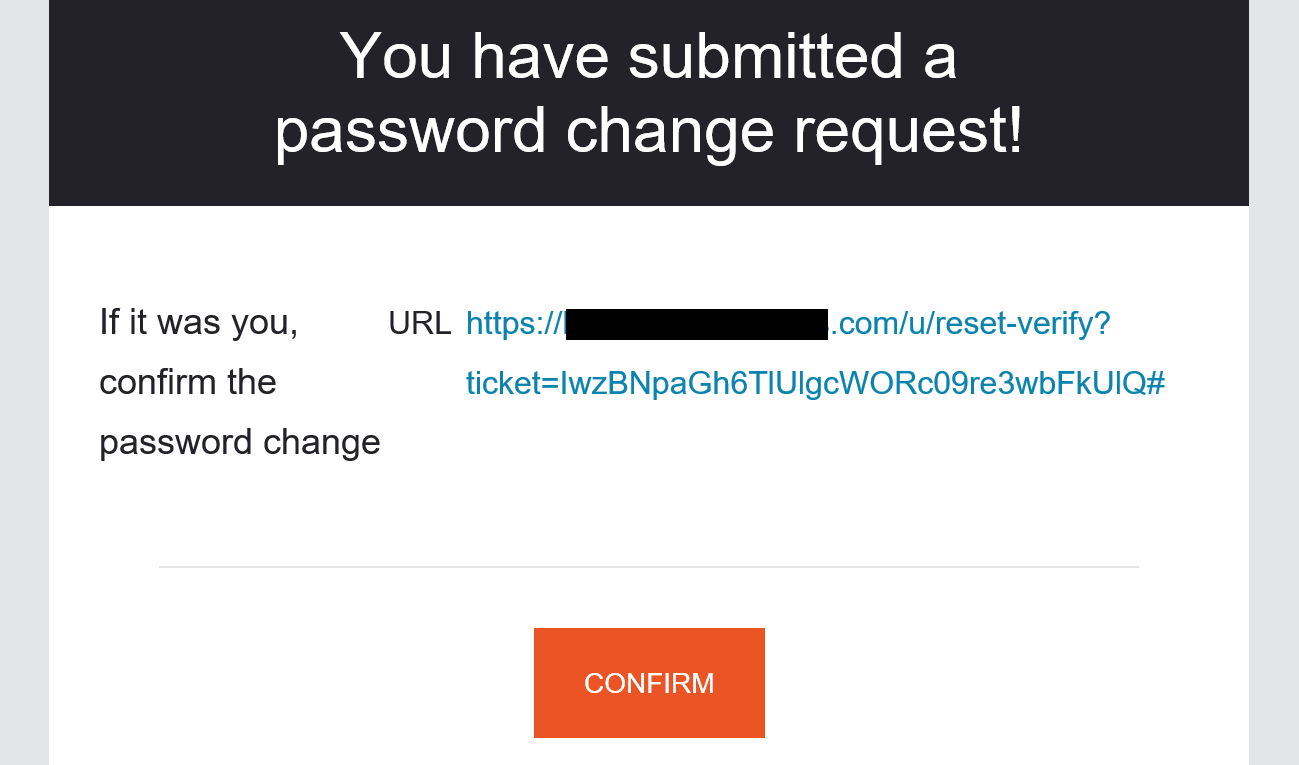
- If you want to use a custom domain for the URL in the email body sent when changing your password,
Settings > Enable Use Custom Domain in Emails

*If you customize the screen using a page template, it is necessary to enable the above setting.
If you do not enable this setting, for example,
When you receive an email containing a URL for resetting your password, the URL in the email body will not have a custom domain applied to it.
The password change screen that is displayed when you access that URL will not reflect the contents of the page template.
Setting example: Auth0 tenant setting value change on the Auth0 linked application side
Along with the custom domain setting, change the Auth0 tenant setting value to be linked on the application side.
On this page, a sample application using the Auth0 SDK will be used as an example. (Reference: How to set up linkage between Auth0 and sample application)
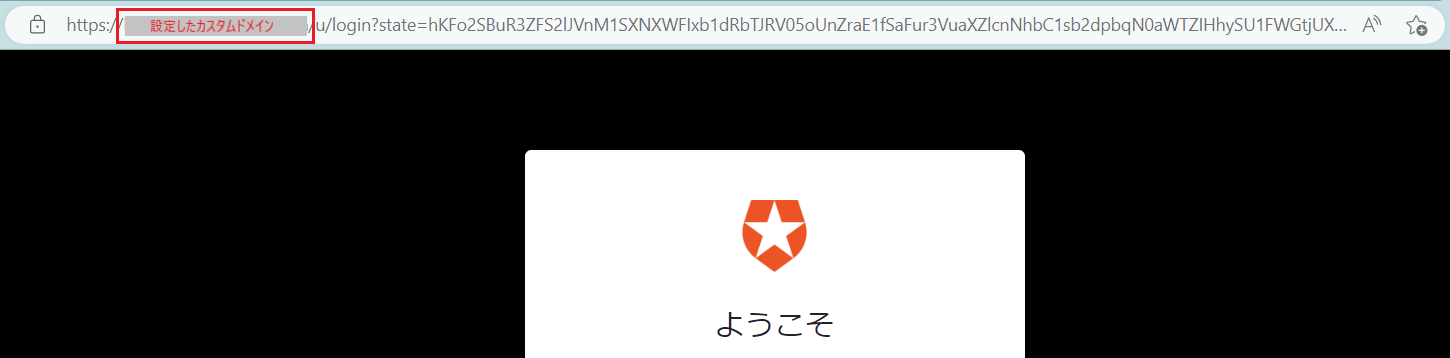
- Change the domain value of the linked Auth0 tenant to the set custom domain

- Access the login screen and confirm that the domain part of the URL has been changed to the set custom domain
in conclusion
Custom domains can also be used to provide a unified login experience for the applications and services you work with and extend the scope of customizing Auth0.
You can read more about the various features Auth0 offers on other pages. Please experience the features of Auth0 and the ease of implementation.
reference
Inquiry/Document request
In charge of Macnica Okta Co., Ltd.
- TEL:045-476-2010
- E-mail:okta@macnica.co.jp
Weekdays: 9:00-17:00