Okta
Octa
Introduction
When migrating the authentication infrastructure of the application to Auth0, if you want to continue using the existing user database without migrating user information to Auth0, by using "Custom Database Connection function", the users stored in the existing user database By referring to the information, you can achieve login processing via Auth0.
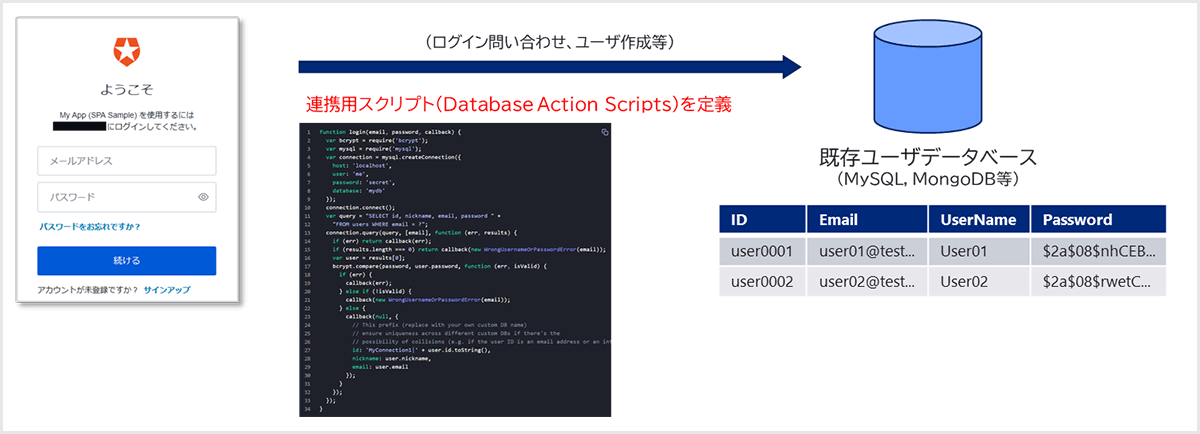
This page introduces the necessary setting procedures for linking with an existing user database using the Custom Database Connection function.
premise
The existing user database environment used in the procedure on this page and the login operation check is as follows.
- Database environment: Use Amazon RDS
- MySQL version 8.0.28
- Network connectivity from Auth0 tenant
*In a real environment, there are cases where it is difficult to directly connect to the database from the Internet. In that case, it is necessary to take measures such as providing an API for database reference.
- Database name: userdb
- Table name: members
- User information stored in the table:
| Identity | User Name | Password * | |
| user01 | test.user1 | test.user1@example.com | $2a$0... (snip)...iH8du |
| user02 | test.user2 | test.user2@example.com | $2a$0... (snip)...iH8du |
* Hash value by bcrypt
The operation examples on this page are for Auth0-linked web applications.
In addition, the information regarding functions and settings described on this page is current as of December 2022.
Functional overview
When using the Custom Database Connection function, it is necessary to implement a script called Database Action Script for various processes on the existing user database. Script templates for major database products are already prepared, so the procedure is not difficult.
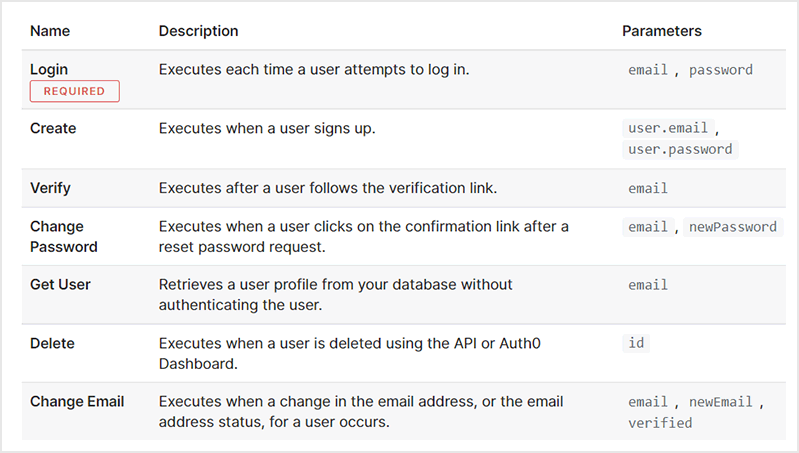
Database Action Script must be implemented for each process type as shown in the table below. The login script must be implemented, but the others are implemented according to the processing you want to achieve. This page targets the login process and implements only the login script.
Setting overview
The following settings are required to log in using the existing user database using the Custom Database Connection function.
- Setting the Custom Database Connection feature
Define a new Custom Database Connection and enable linkage with the existing user database - Customizing Database Action Scripts
Define a script that performs login processing with the existing user database
Setting Example
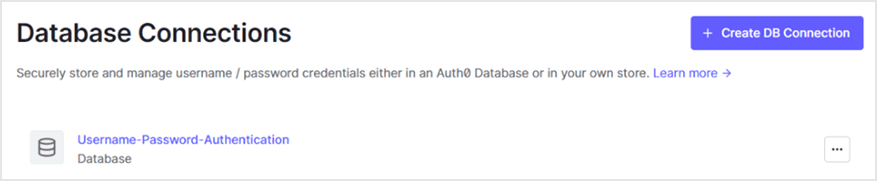
- Click Authentication > Database
![[ Authentication ] > [ Database ]をクリック](/business/security/okta/image/okta_auth0_cdc_dr03.png)
- Click + Create DB connection
- Enter an arbitrary connection name in the Name field and click [Create].
![Enter an arbitrary connection name in the Name field and click [Create].](/business/security/okta/image/okta_auth0_cdc_dr05.png)
- In the Custom Database tab, enable Use my own database

- [Custom Database] tab > Database Action Script > [Login] tab, select MySQL (template for MySQL) from [Load Template]
![[Custom Database]タブ > Database Action Script > [ Login ]タブで、[ Load Template ]からMySQL(MySQL用テンプレート)を選択](/business/security/okta/image/okta_auth0_cdc_dr07.png)
*The IP address listed at the bottom of the script editor is the access source IP address when the Auth0 tenant accesses the existing user database. Access permission from the relevant IP address is required on the existing user database side.
- Edit the template script according to the connection parameters to the existing user database, table information, password encryption algorithm, etc.
function login(email, password, callback) {
	const mysql = require('mysql');
	const bcrypt = require('bcrypt');
	const connection = mysql.createConnection({
		host: ‘データベースのホスト名',
		user: 'ユーザ名',
		password: 'パスワード',
		database: 'データベース名',
		port: ポート番号
	});
	connection.connect();
	const query = 'SELECT ID, UserName, Email, Password FROM members WHERE Email = ?';
	connection.query(query, [ email ], function(err, results) {
		if (err) return callback(err);
		if (results.length === 0) return callback(new WrongUsernameOrPasswordError(email));
		const user = results[0];
		bcrypt.compare(password, user.Password, function(err, isValid) {
			if (err || !isValid) return callback(err || new WrongUsernameOrPasswordError(email));
			callback(null, {
				user_id: user.ID.toString(),
				//nickname: user.nickame,
				email: user.Email
			});
		});
	});
}
- Click [Save And Try] to test the connection
![Click [Save And Try] to test the connection](/business/security/okta/image/okta_auth0_cdc_dr08.png)
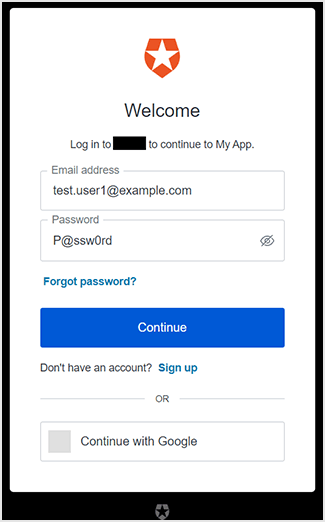
- Enter the user information in the existing user database and click [Try].
![Enter the user information in the existing user database and click [Try].](/business/security/okta/image/okta_auth0_cdc_dr09.png)
- Confirm the success of the connection test by displaying the following message.

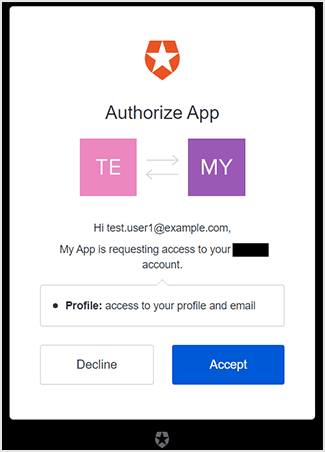
Example of login confirmation method: login by user in existing user database
in conclusion
By using the Custom Database Connection function, you can easily log in with user information stored in the existing user database. This function can also be used in the free Auth0 trial environment, so please try it out.
Auth0 has a user migration method called automatic migration that uses the Custom Database Connection function introduced this time. The automatic migration feature allows you to migrate users from your existing user database to the Auth0 user database when they log in. If you are interested in Auth0, please contact us.
reference
Inquiry/Document request
In charge of Macnica Okta Co., Ltd.
- TEL:045-476-2010
- E-mail:okta@macnica.co.jp
Weekdays: 9:00-17:00