- Semiconductor BusinessHOME
- Products and Services of Macnica,Inc.
-
technical information

-
Events and Seminars
- Handling Manufacturer
- Support
- Inquiry
- Click here to purchase products
- Semiconductor business e-mail magazine registration
![]()
![]() Narrow down by specifying conditions
Narrow down by specifying conditions
現在2191件がヒットしています。check
Konashiを使って初めてのiOSアプリを作ってみましょう
what to prepare
(1) konashi 2.0
(2) xcode最新版が動くMacbook, iMac
(3) BLE搭載のiPhone もしくは iPad
Konashiライブラリを取得する
ユカイ工学のGitHubのリポジトリをcloneしてください。
もしくはこちらから最新版のライブラリをダウンロードしてください。
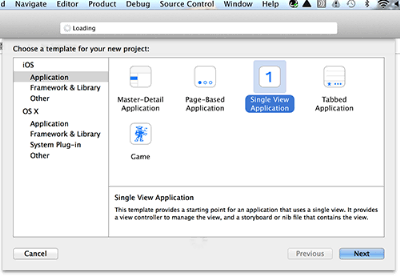
xcode で新規プロジェクトを作成
Single View Application のプロジェクトを作成します。
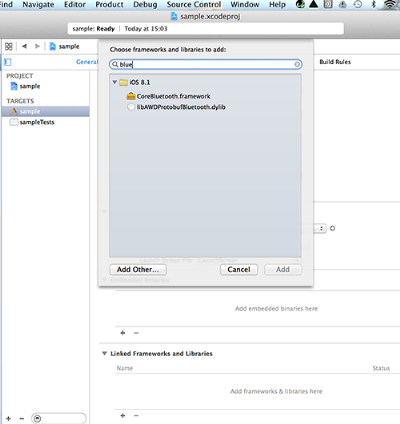
Core Bluetooth Frameworkをプロジェクトに追加
プロジェクトの「Targets」のサマリーを表示し、Linked frameworks and Libraries の+ボタンをクリックして、検索ボックスに「Bluetooth」と入力すると、CoreBluetooth.framework が表示されるのでこれを追加します。
konashi ライブラリをプロジェクトに追加
メニュー[File]-[Add file to "xxxxxx" ... ](xxxxxxはプロジェクト名)から、1.で取得したソースの中にあるkonashi-ios-sdk-3.0.0/Konashi/Konashi ディレクトリを選択し、Addボタンを押してkonashiライブラリをプロジェクトに追加します。

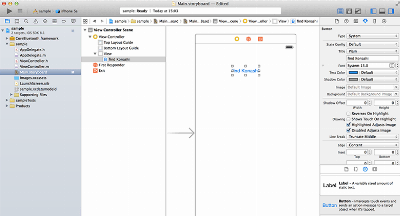
「konashi と接続する」ボタンを追加
konashi と接続するためのボタンをUIに追加します。
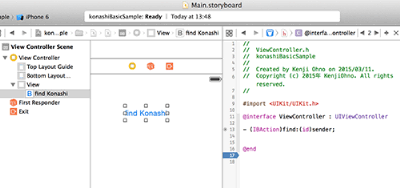
Main.storyboard を開き、ボタンを ViewControllerに配置して、[find Konashi]とします。
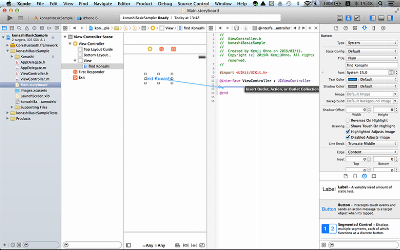
次に、そのボタンを押した時に実行される関数を設定します。
右上の蝶ネクタイアイコンのボタンをクリックしてアシスタントエディタモードにし、右のソースコードを ViewController.h にします。そして[find Konashi]ボタンをコントロールキーを押しながら、@interface ViewController : UIViewController と @end の間にドラッグ&ドロップします。
するとコネクションのWindowが開くので、[Connection]をAction, [Name]にfindと入力して、[Connect] します。
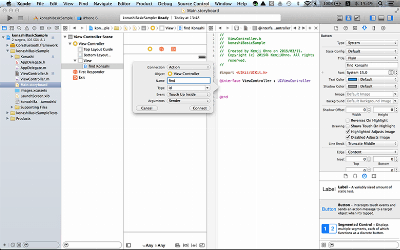
これで、@interface ViewController : UIViewControllerに - (IBAction)find:(id)sender; が追加されます。
ViewControllerのコードを書く
ViewController.m に以下のコードを書いてください。
コピペ OKです。
#import "ViewController.h"
#import "Konashi.h"
@interface ViewController ()
@end
@implementation ViewController
- (void)viewDidLoad {
[super viewDidLoad];
// Do any additional setup after loading the view, typically from a nib.
[Konashi initialize];
[Konashi addObserver:self selector:@selector(ready) name:KonashiEventReadyToUseNotification];
}
- (void)didReceiveMemoryWarning {
[super didReceiveMemoryWarning];
// Dispose of any resources that can be recreated.
}
- (IBAction)find:(id)sender {
[Konashi find];
}
- (void)ready
{
[Konashi pinMode:KonashiLED2 mode:KonashiPinModeOutput];
[Konashi digitalWrite:KonashiLED2 value:KonashiLevelHigh];
}
@end
iOS デバイスの Bluetooth を有効にする
konashi は通信するために Bluetooth 4.0 (Bluetooth Low Energy) を使用します。ですので、アプリを実行する前に iOS デバイスの Bluetooth 機能を有効にします。(すでに有効になっている方はこの項目をスキップしてください)
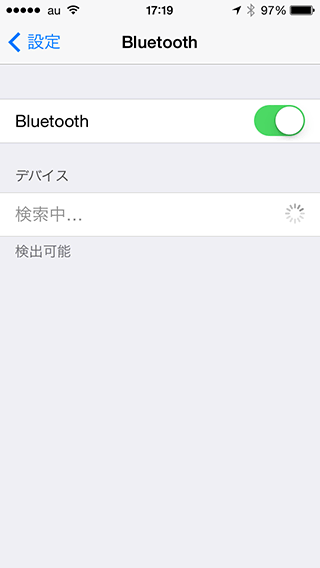
iOSデバイスの「設定」を開き、表示されたリストの中の「Bluetooth」を選択します。
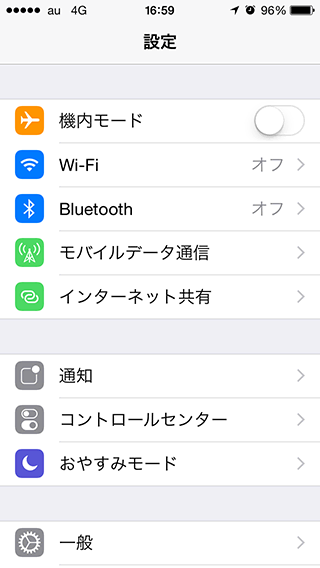
Bluetooth の項目が オフ になっている場合は オン に変更してください。デバイスに検索中という項目が表示されますが、konashiとは関係ないのでホームボタンを押して設定を終了します。
konashi をiOSデバイスから動かす
これで準備は整いました!
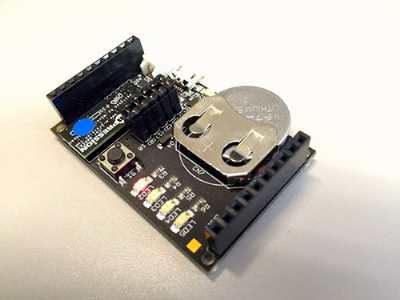
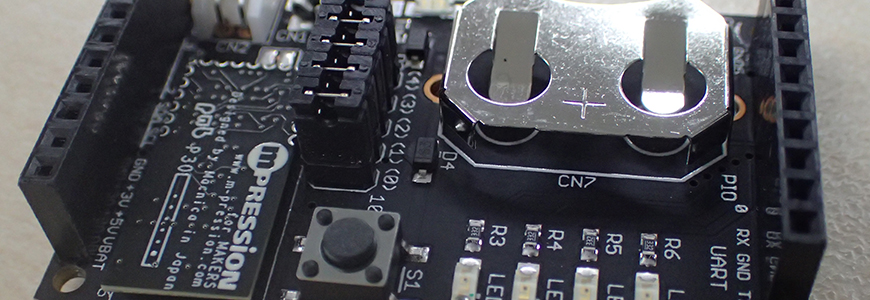
konashi にコイン電池を差し込むか microUSBケーブルを接続して konashi の電源を供給し、プロジェクトを Run してください。
アプリが起動したら [find Konashi] ボタンを押してみましょう。
すると接続できる konashi のリストが表示されるので、接続する konashi を選択してください。

やったぁ! KonashiのLED2が点灯すれば成功です。