Okta
Octa
Introduction
Auth0 provides SDKs and sample applications using SDKs for many programming languages and frameworks. You can check the SDK library provided by Auth0 from the following.
https://auth0.com/docs/libraries
It is very useful when you want to check how Auth0 works with an application without writing the source code from scratch to implement the application, or when you want to check the source code required for working with Auth0.
This page introduces how to set up a sample application that uses the Auth0 SDK to work with Auth0. The protocol used for linking Auth0 and the sample application is OpenID Connect.
premise
The information on functions and settings described on this page is current as of October 2022.
Advance preparation
Please prepare the following before performing the following settings.
• Mac OS or Windows PC
Install Node.js, Node Package Manager
• Issuing an Auth0 free trial account (Reference: [How to use Auth0 trial])
Create and configure an application with Auth0
In order to implement the application authentication function using Auth0, first configure the application linkage settings on the Auth0 side. This time, I will introduce the procedure for Single Page Applications using JavaScript.
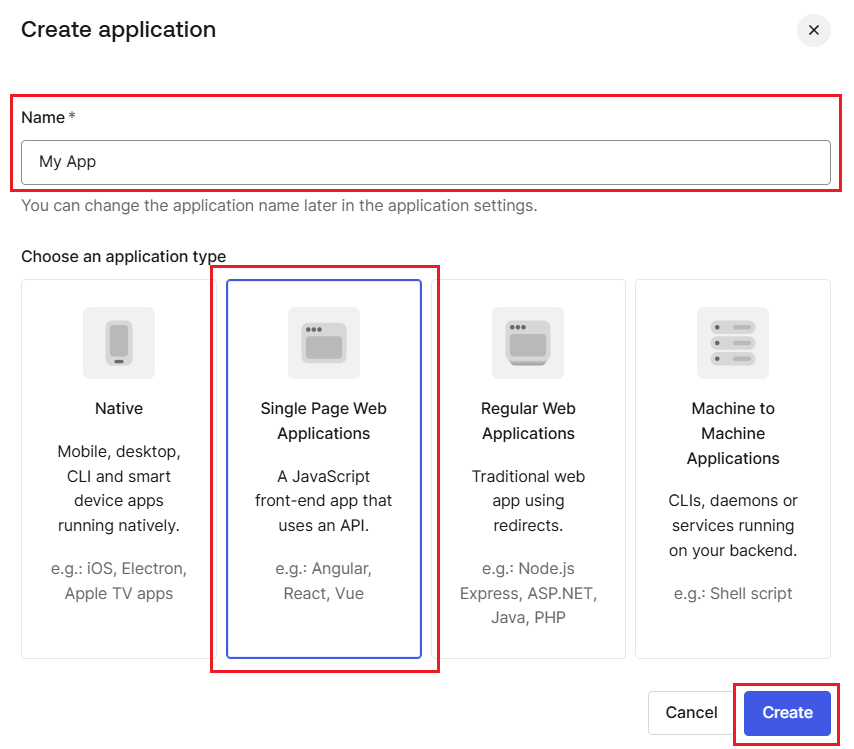
(1) Log in to the Auth0 administration screen and click Applications > [+ Create Application].

(2) Setting items for the application to be created are displayed. Set the following and click [Create].
・Name: Set any name (can be set in Japanese, can be changed later)
・Choose an application type: Select “Single Page Web Applications”
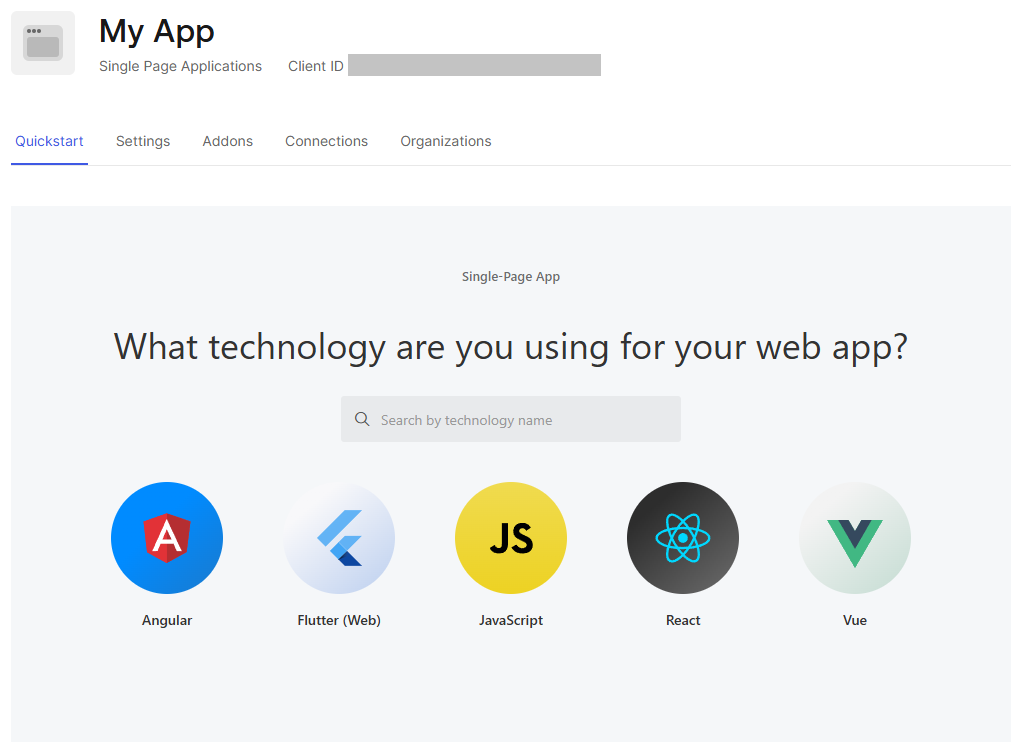
(3) Confirm that the application setting has been created with the specified arbitrary name
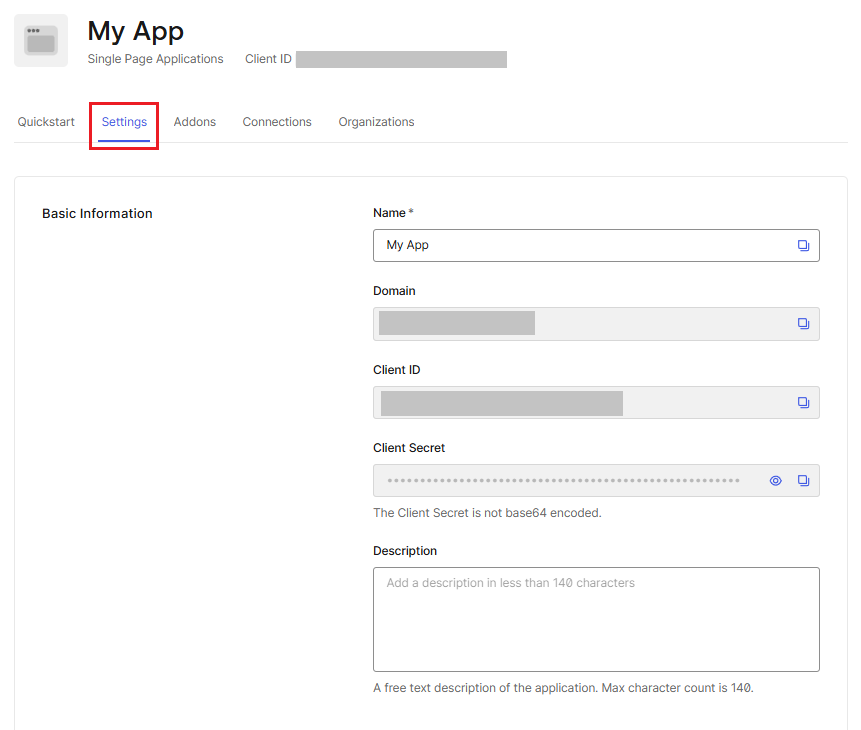
(4) Go to the Settings tab on the application settings screen and move to "Application URIs" at the bottom of the screen.
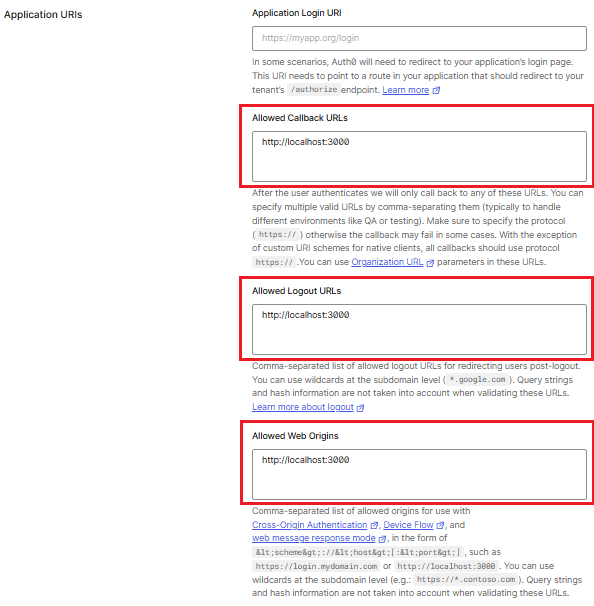
(5) Set "http://localhost:3000" for all of the following setting items
•Allowed Callback URLs (whitelist of URLs that can be redirected after logging into Auth0)
Allowed Logout URLs (whitelist of URLs that can be redirected after logging out of Auth0)
• Allowed Web Origins (whitelist of origin URLs to request to Auth0 API)
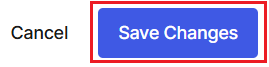
(6) Click [Save Changes] at the bottom of the screen to save the settings.
Download and launch the sample application
A sample application that uses the Auth0 SDK can be downloaded from the application settings screen of the Auth0 management screen. It is also published on GitHub and can be downloaded from here.
https://github.com/auth0
If you download it from the Auth0 management screen, the source code will be pre-embedded with the settings necessary for linking with Auth0, so there is no need to modify the source code. This page introduces the procedure for downloading the sample application from the Auth0 management screen.
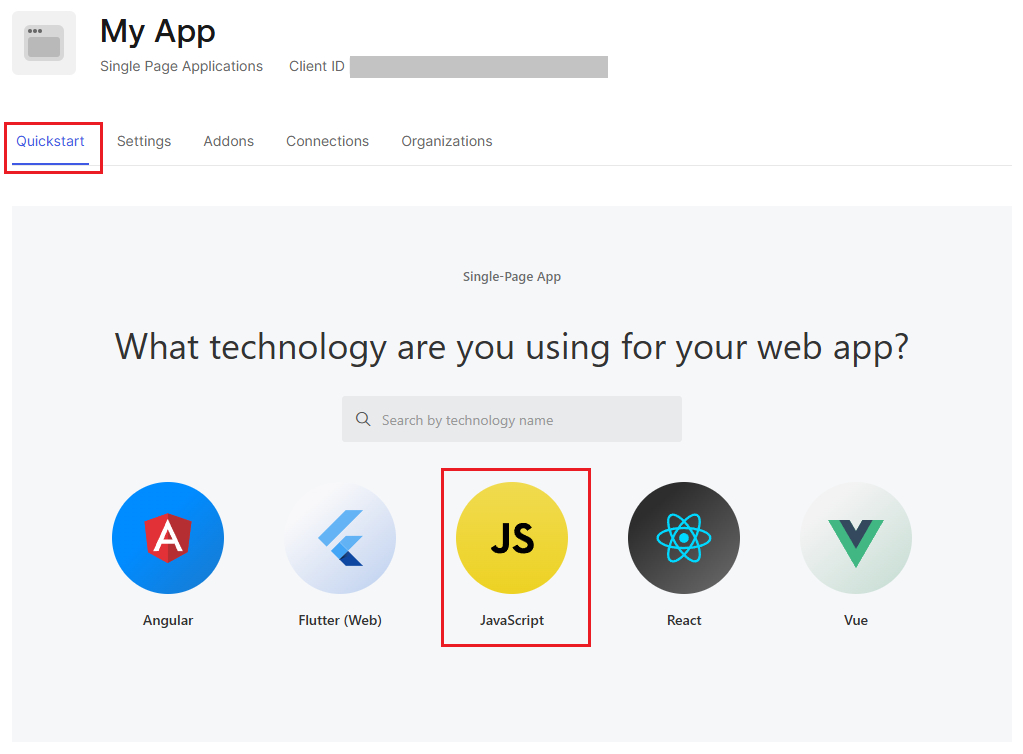
(1) Go to the setting screen of the target application on the Auth0 management screen, and click the [JavaScript] button on the Quick Start tab.
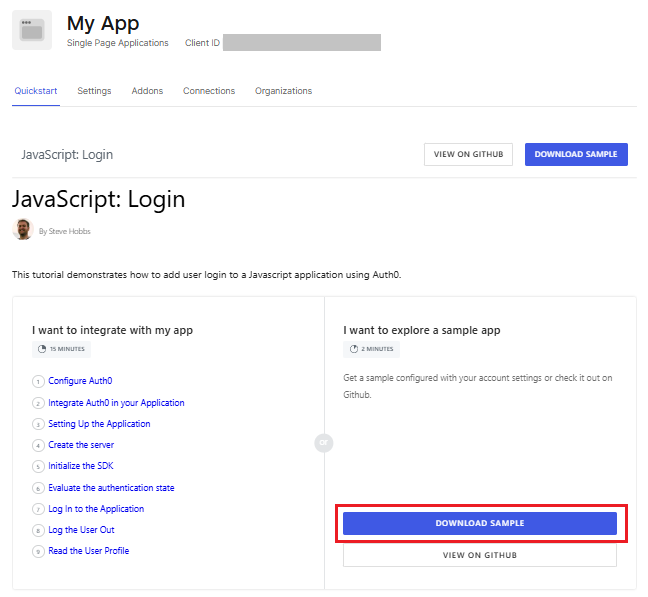
(2) Click [DOWNLOAD SAMPLE] when the setting method of the sample application is displayed.
* The procedure displayed on the left side of the screen is the setting method when additionally incorporating into an existing application.
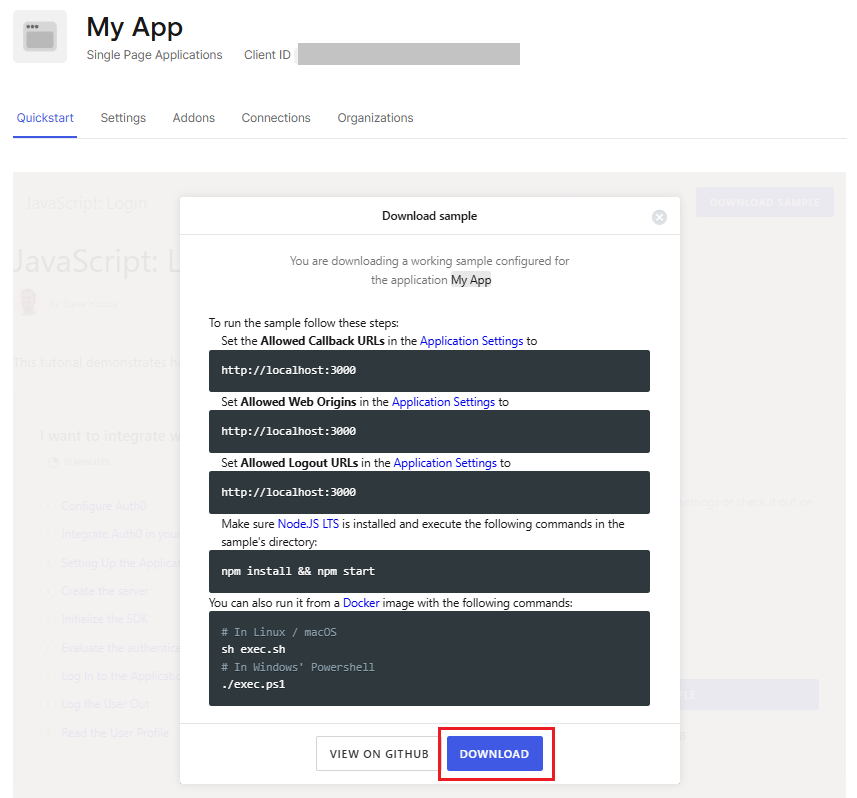
(3) Click [DOWNLOAD] at the bottom of the screen
(4) Since the Zip file is downloaded, unzip it in any directory
(5) Open a terminal and move to the sample application directory
(6) Execute the following command to install the modules required to start the sample application.
(7) Execute the following command to start the sample application.
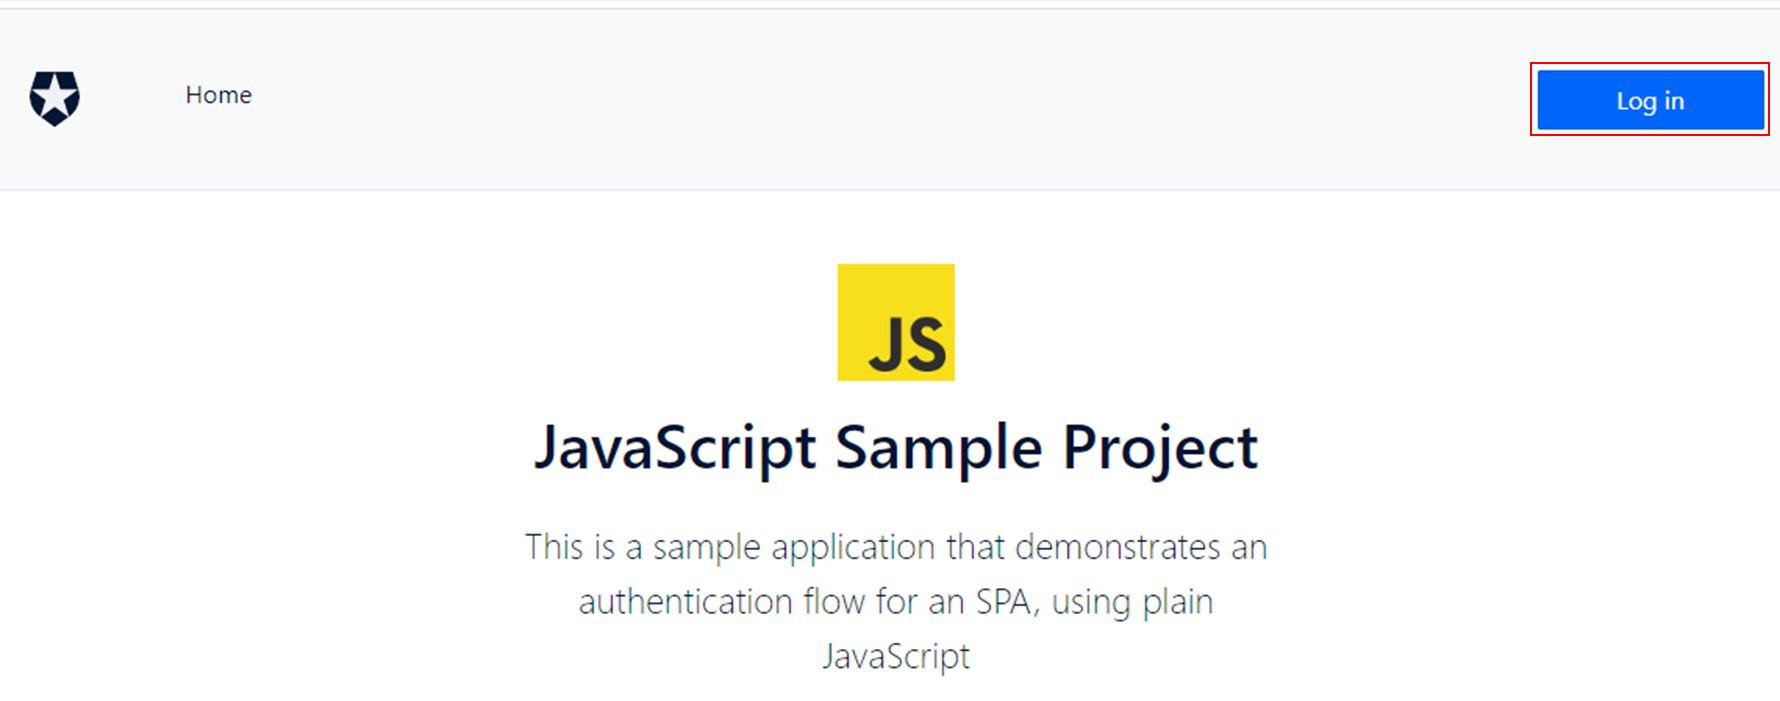
(8) Open http://localhost:3000 in your web browser and check that the top screen of the sample application is displayed.

Login to the sample application via Auth0
Now that Auth0 and the sample application have been set up to work together, let's check the actual login behavior. In addition, after logging in, check the logged-in user information display.
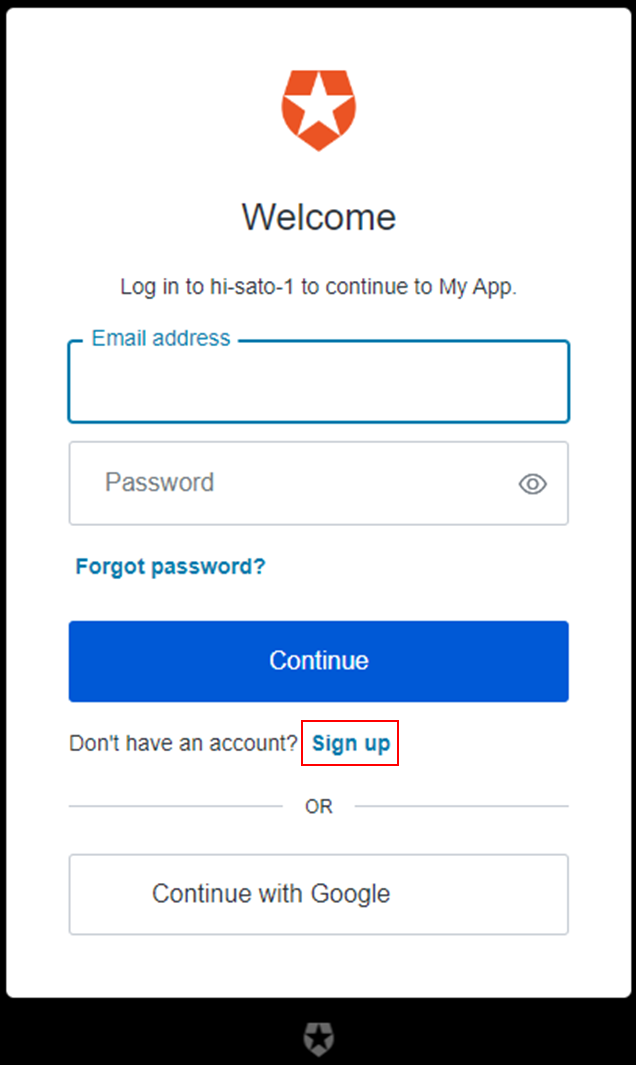
(1) Click [Log in] on the top screen of the sample application.
(2) The Auth0 login screen will be displayed, so click [Sign Up]
*This time, we will log in after registering as a new user, so click [Sign Up], but when logging in as an existing user, just log in.
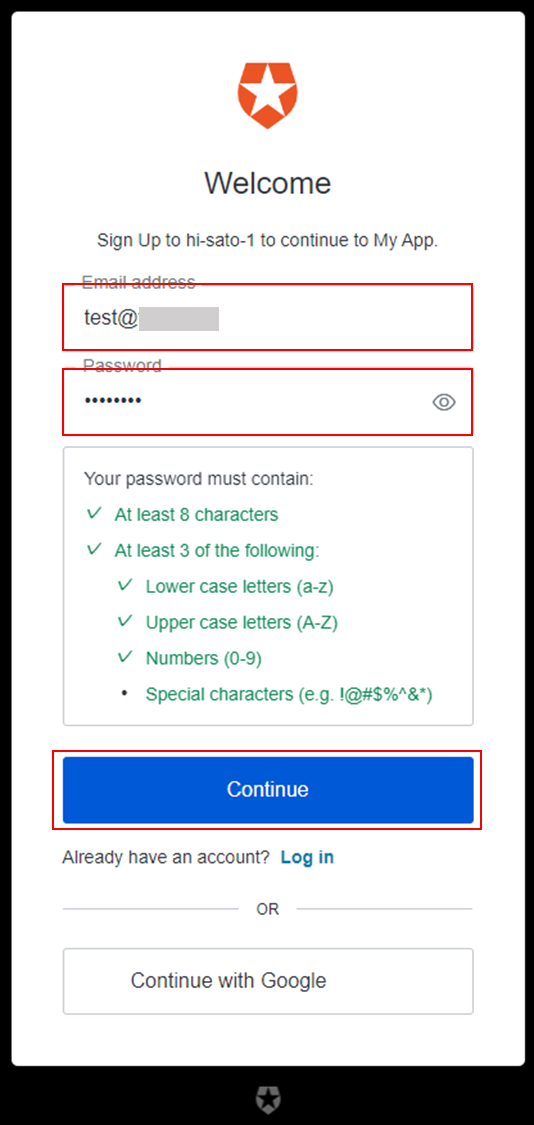
(3) Enter any "Email address" and "Password" and click [Continue]
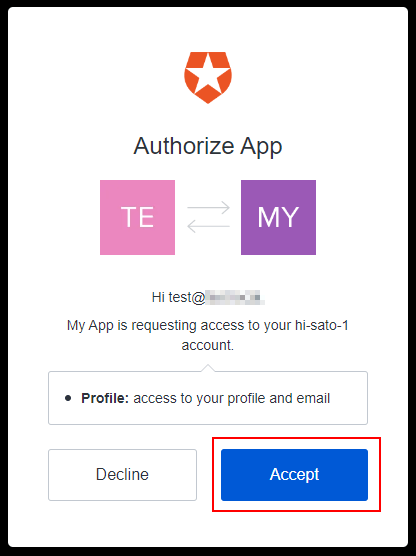
(4) The authorization screen with Auth0 will be displayed, so click [Accept].
* Permission confirmation screen when using newly registered user information in the sample application
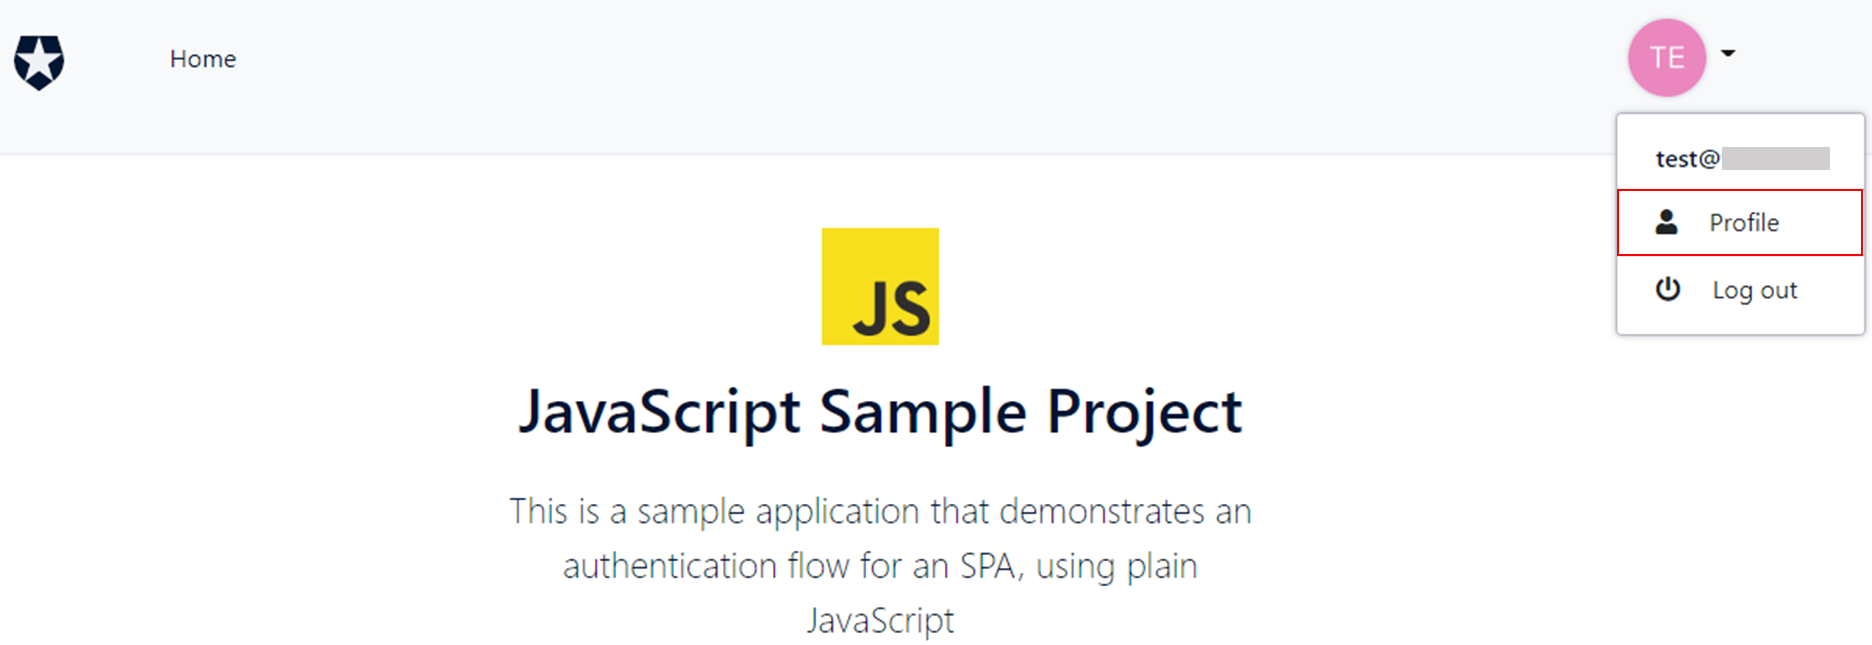
(5) After successful login, transition to the top screen of the sample application and confirm that the icon indicating the logged-in user is displayed in the login button.
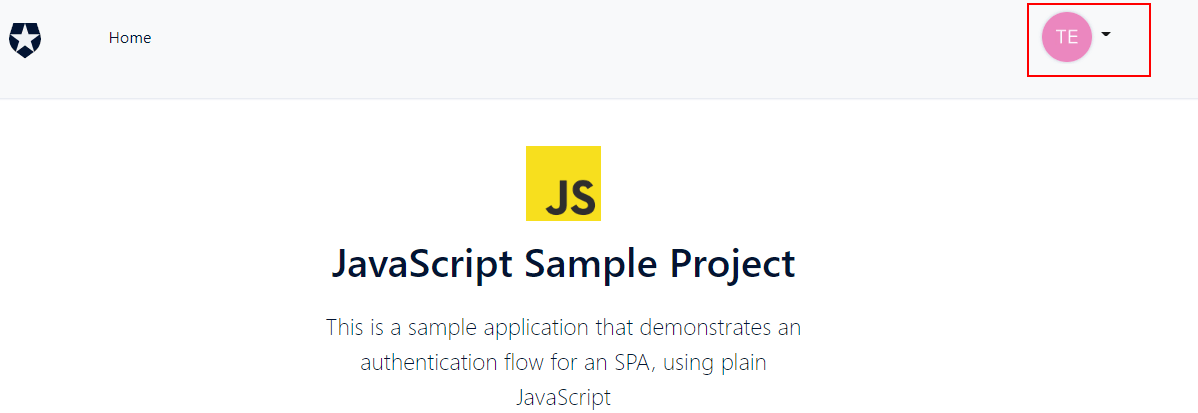
(6) Click the icon on the upper right and click [Profile]
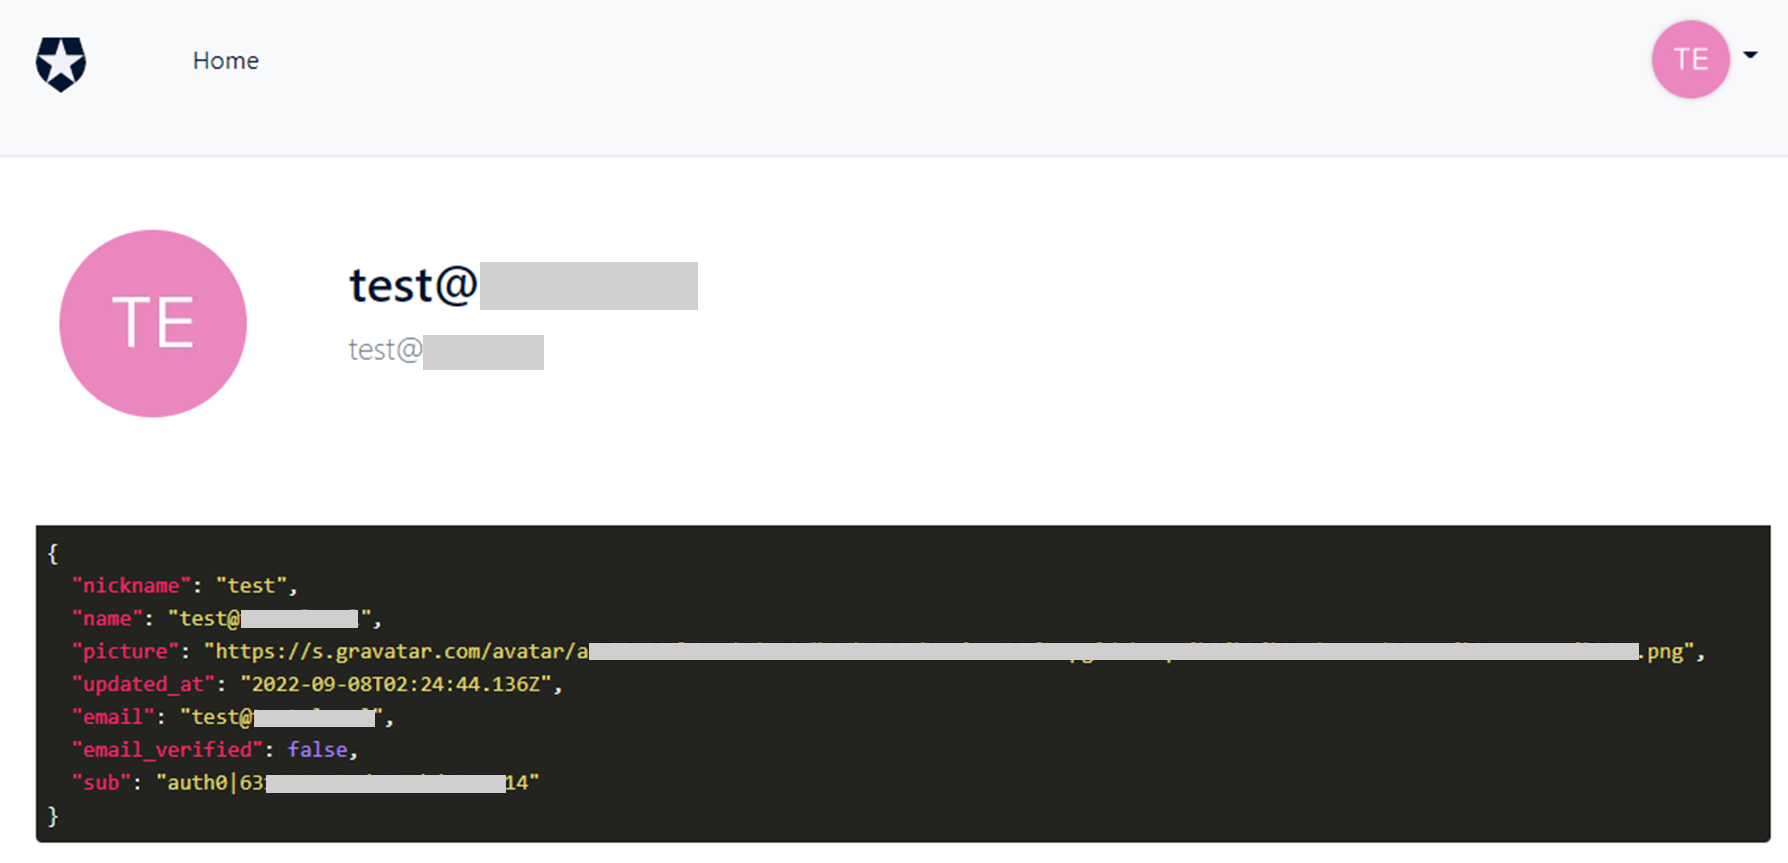
(7)Transition to the profile confirmation screen of the logged-in user and confirm that the logged-in user information is displayed.
Summary
By using the sample application, I hope you have understood that you can easily check the operation of linking with Auth0. The setting methods of sample applications corresponding to programming languages and frameworks other than those introduced this time are listed below, so please check them as well.
https://auth0.com/docs/quickstarts
You can read more about the various features Auth0 offers on other pages. Please feel free to use the sample application to experience the features of Auth0 and the ease of implementation.
Inquiry/Document request
In charge of Macnica Okta Co., Ltd.
- TEL:045-476-2010
- E-mail:okta@macnica.co.jp
Weekdays: 9:00-17:00